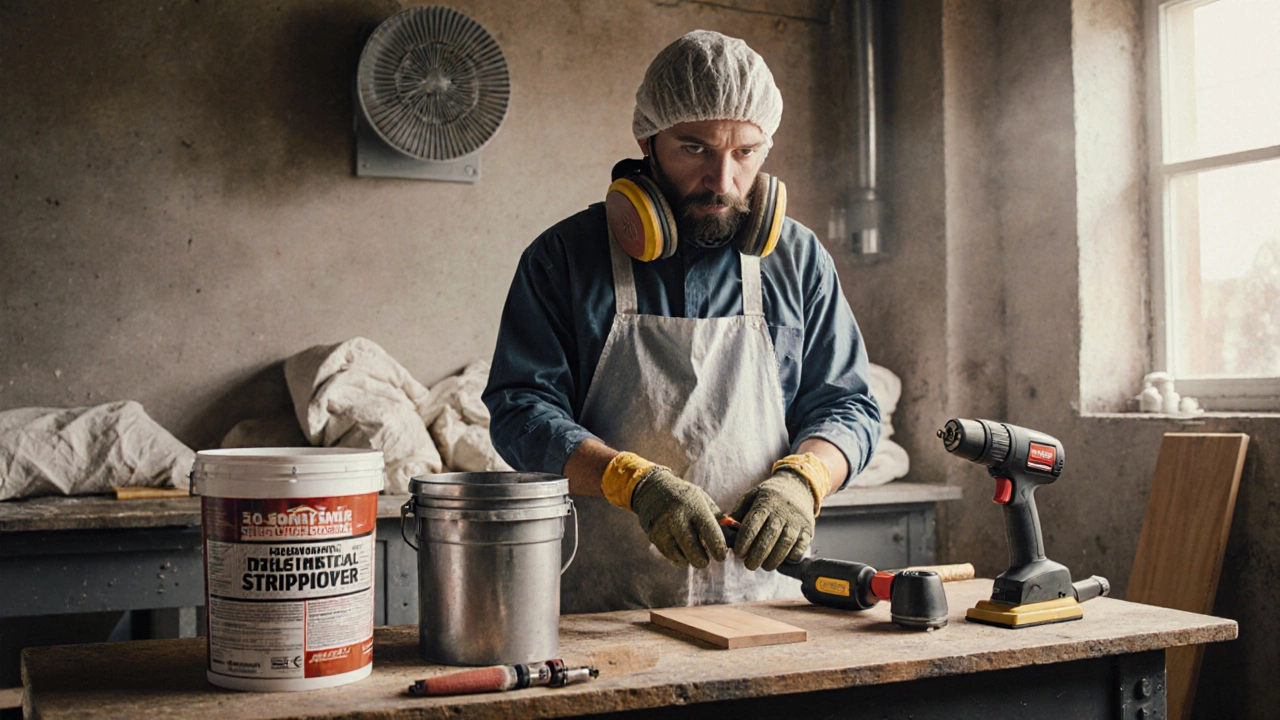
Heat Gun Paint Removal: Fast, Efficient, DIY‑Friendly
When tackling old finishes, heat gun paint removal, a technique that uses high‑temperature air to soften and strip paint quickly. Also known as heat gun stripping, it lets you chip away layers without harsh chemicals. The core tool is the heat gun, a handheld device that blows hot air, usually adjustable from 100 °C to 600 °C, which delivers focused heat right where you need it. Many pros pair it with a light paint remover solvent, a low‑odor liquid that helps dissolve stubborn binders after heating to speed up the process. Of course, safety comes first, so you’ll want proper protective gear, respirators, heat‑resistant gloves, and eye protection designed for high‑temperature work. Together, these elements make heat gun paint removal a viable option for anyone from hobbyists to seasoned renovators.
One of the biggest semantic connections here is that heat gun paint removal encompasses surface preparation, the cleaning, sanding, and masking steps that ready a wall for stripping. Skipping prep often leads to uneven heating and leftover residues. A quick sweep with a vacuum, followed by a light sanding, creates a uniform substrate that lets the heat gun work evenly across the plane. This preparatory stage also reduces the risk of scorching underlying material, which is a common pitfall when beginners rush straight to blasting heat on raw wood or metal.
Key Steps for Effective Heat Gun Paint Removal
The process requires three core actions: heating, softening, and scraping. First, you direct the heat gun at a small section, keeping it moving to avoid burning. This step requires a steady hand and an eye for color change; the paint will bubble and lift as it reaches its glass transition point. Next, a solvent can be applied to the heated spot, creating a chemical‑thermal combo that weakens even the toughest pigments. Finally, a putty knife or scraper lifts the softened paint away, revealing the original surface. These three actions illustrate the semantic triple that "heat gun paint removal" requires "heat application", "solvent assistance", and "mechanical removal".
Artists who work with reclaimed materials often use this technique to rescue vintage wood or metal for new projects. By removing old layers without aggressive sanding, they preserve the underlying grain, patina, and structural integrity—qualities prized in mixed‑media art. This crossover shows how a renovation tool can influence creative practices, linking the DIY world with the fine‑art community.
Environmental impact is another related entity worth mentioning. Traditional paint stripping chemicals can leach harmful VOCs into indoor air, while heat gun paint removal largely relies on electricity and minimal solvent usage. When you pair a high‑efficiency heat gun with a biodegradable solvent, you cut down on waste and keep the workspace healthier. This connection underlines that "heat gun paint removal" reduces "chemical exposure" and supports "sustainable renovation".
Finally, mastering timing and temperature is crucial. Too low a heat setting leaves the paint tacky; too high can scorch the substrate. Most manufacturers recommend starting at 300 °C for latex paints and moving up to 450 °C for oil‑based finishes. Adjust according to the paint’s age and thickness—older, thinner layers usually need less heat. By fine‑tuning these variables, you turn a potentially messy job into a controlled, repeatable process.
With these insights, you’re ready to dive into the articles below. They cover everything from safety checklists and tool comparisons to detailed case studies of artists repurposing reclaimed surfaces. Browse on to find the exact tip you need for your next paint‑removal project.