Lighting – All About Light in Art & Photography
Light is the backbone of every visual piece. Whether you paint a portrait or snap a digital shot, the way you shape light decides how the audience feels. On this page we’ve gathered the most useful lighting articles so you can start improving your work today.
Getting Started with Basic Lighting Setups
First, understand the three‑point lighting system. It uses a key light (the main source), a fill light (softens shadows), and a back light (creates depth). You don’t need fancy gear – a desk lamp, a cheap LED panel, and a reflector can do the job. Position the key light at a 45‑degree angle to your subject, place the fill opposite the key at half the intensity, and set the back light behind the subject to separate them from the background.
Try this setup before you invest in professional lights. Adjust the distance and angle until the shadows look natural. A quick test: move the fill light a bit closer and watch the shadows soften. If the subject looks flat, lower the back light or add a simple white board to bounce more light.
Advanced Lighting Tips for Portraits and Installations
When you’re ready for more control, explore colored gels, diffusers, and snoots. Gels add mood—blue for a cool feel, orange for warmth. A diffuser softens harsh edges, perfect for close‑up portraits where skin texture matters. Snoots narrow the beam, letting you highlight specific details like a brushstroke or a sculpture’s contour.
Our article “Why You Need 3 Lights for a Portrait” walks you through exactly why each light matters and how to set them up in small spaces. It also shows you how to use natural light as a fourth element, blending it with artificial sources for a balanced look.
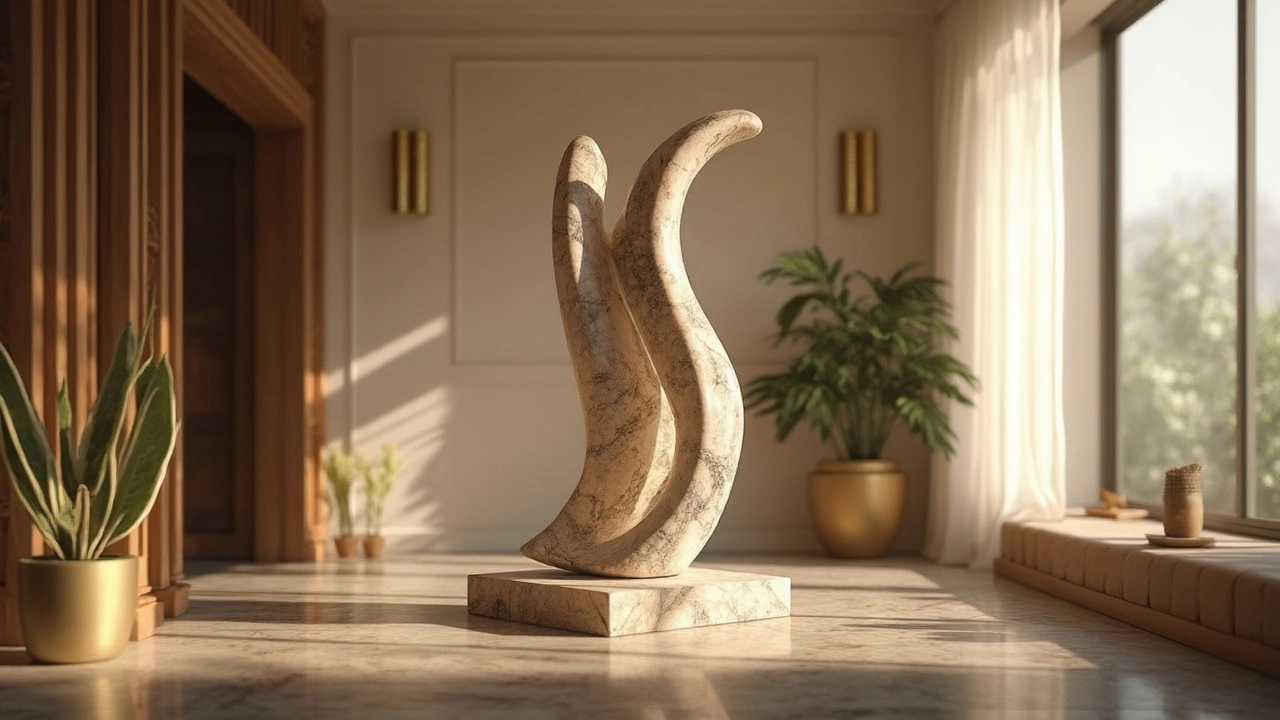
Lighting isn’t just for studios. Installations benefit from directional spotlights that create dramatic shadows on walls or floors. Try a low‑angle light to cast long silhouettes, then experiment with multiple colors to turn a plain room into an immersive experience.
Remember, the goal is to make your subject pop, not to overload the viewer. Test each change, take a photo or sketch, and compare. Small tweaks often produce the biggest visual impact.
Need more inspiration? Browse the posts listed under this tag. You’ll find step‑by‑step guides, real‑world examples, and quick checklists that keep you from missing any crucial step. Each article is written in plain language so you can apply the tips right away.
Lighting is a skill you can build one experiment at a time. Start simple, practice consistently, and soon you’ll notice how a few adjustments can completely transform your art or photography.