Painting Process: A Practical Step‑by‑Step Guide
If you’ve ever stared at a blank canvas and felt stuck, you’re not alone. The painting process can look messy, but breaking it into clear steps makes it doable for anyone, whether you work with oil, acrylic, or watercolor.
Preparing Your Surface and Materials
Start with the right surface. For oils and acrylics, a primed canvas or panel gives the paint something to grip. If you’re using watercolor, a heavyweight cold‑press paper (300 gsm or more) prevents buckling when you wet it.
Next, gather your tools. A basic set includes brushes of varying shapes (flat, round, filbert), a palette, and a medium that fits your paint type. Oil painters often add linseed oil or a fast‑drying medium; watercolorists need clean water and masking fluid for reserved whites.
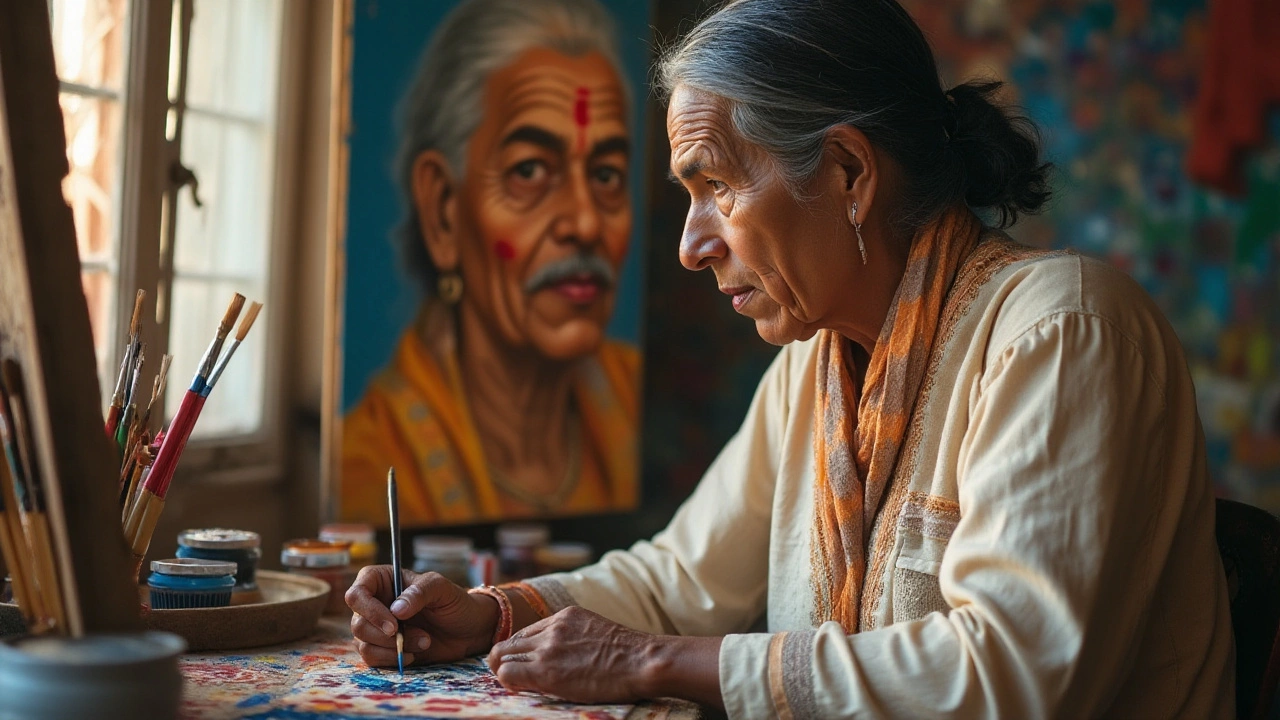
Before you even touch the paint, sketch a light outline. Use a charcoal pencil for oils and acrylics, or a light pencil for watercolor. Keep the lines faint—your goal is to map composition, not create a finished drawing.
Building Up the Image: Layers and Details
Now comes the fun part: layering. With oils, start with a thin “underpainting” in a single hue (often burnt umber) to set values. Acrylics dry quickly, so you can apply broader color blocks first and add details while the surface is still wet.
Watercolor works the opposite way—wet‑on‑wet for soft backgrounds, then wet‑on‑dry for sharper edges. Remember to let each layer dry before adding more; this avoids muddy colors.
When you move to details, switch to smaller brushes. For oil and acrylic, add texture by mixing in a medium that slows drying, letting you blend longer. In watercolor, use dry‑brush techniques to pull out grainy textures for foliage or rocks.
Don’t forget the “fat over lean” rule for oils: each successive layer should contain more oil than the one beneath it. This keeps the paint from cracking over time.
As you near completion, step back often. Seeing the work from a distance helps you spot unbalanced values or color clashes that you might miss up close.
Finally, apply a protective finish. Oil paintings benefit from a varnish after 6‑12 months of curing. Acrylics can be sealed with a clear acrylic medium the same day you finish. Watercolor works are best protected with a UV‑resistant spray, but avoid over‑coating—it can alter the paper’s texture.
The painting process doesn’t have to be intimidating. By prepping properly, working in logical layers, and finishing with a protective coat, you’ll see steady improvement and finish more pieces. Grab your brushes, follow these steps, and watch a blank canvas turn into a finished artwork.