Watercolor Paintings: Tips, Tricks, and Fresh Ideas
If you’ve ever watched a watercolor bleed in a way you didn’t expect, you’re not alone. Most artists hit a wall where the colors run, the paper curls, or the finished piece just looks flat. The good news? Those problems have simple fixes, and a few new techniques can take your work from “meh” to eye‑catching in no time.
Why Your Watercolor Looks Off and Quick Fixes
First, check your paper. Cheap pads soak up too much water, causing colors to spread uncontrollably. Grab a heavyweight, 140‑lb cold‑press sheet – it holds pigment better and lets you lift mistakes without tearing. Next, watch the water‑to‑paint ratio. Too much water makes a wash look like a watercolor puddle; too little leaves harsh edges. A good rule of thumb is to start light, then add more pigment as you go.
Another common slip is loading too many colors at once. Mixing three or four hues on the palette can muddy the result. Keep a limited palette for each painting; it forces you to think about value and contrast, and the colors stay clean. Finally, let each layer dry before adding the next. Rushing creates unwanted blooms and muddy backs. If you’re in a hurry, use a hair dryer on low to speed up drying without overheating the paper.
Easy Techniques to Level Up Your Work
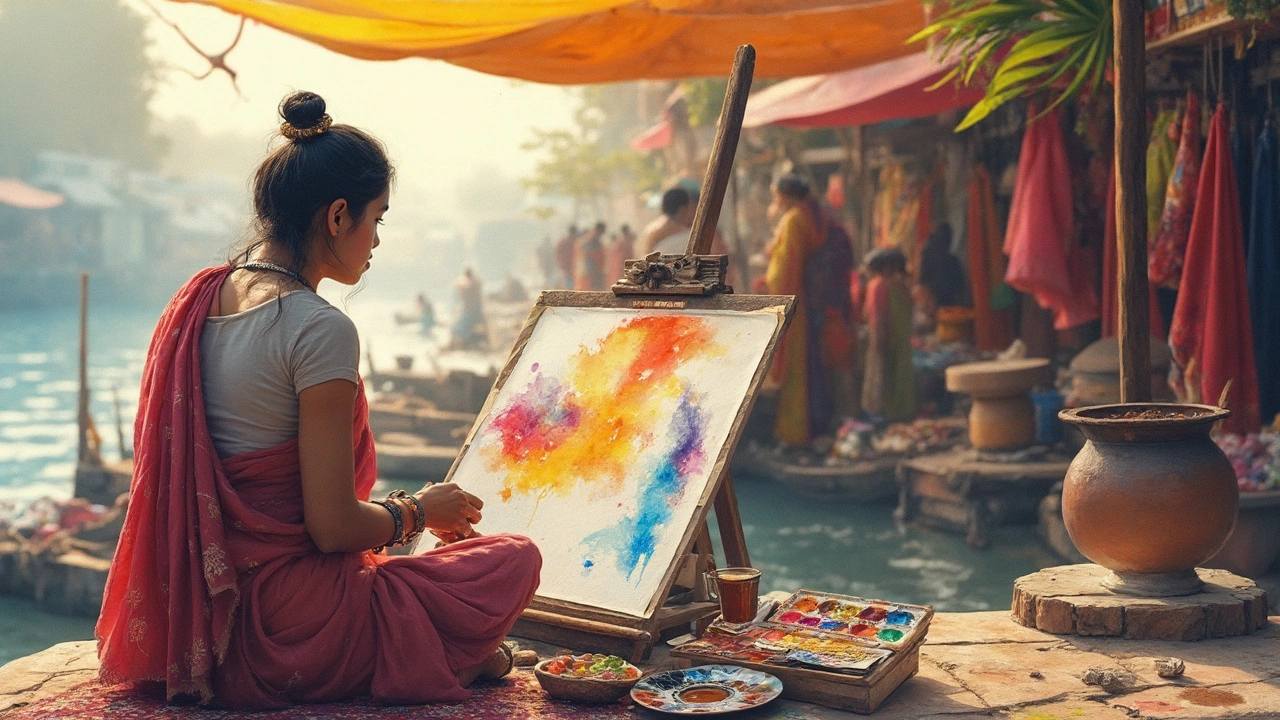
Wet‑on‑wet is the classic go‑to for soft, dreamy backgrounds. Splash a clean brush of water onto the paper, then drop in pigment. The colors will flow into each other, giving you organic shapes with minimal effort. For sharper details, try dry‑brush: use a barely‑wet brush and drag it across dry paper. The result is a grainy, textured line perfect for foliage or bark.
Masking fluid is a lifesaver for preserving whites. Dab it on areas you want to stay paper‑white, paint over the rest, then peel it off once dry. It’s great for creating stars, light spots, or intricate patterns without fighting the paint. Lifting is another handy trick – while the wash is still damp, press a clean, damp cloth or a sponge onto the area you want to lighten. You’ll see the pigment lift away, allowing you to create highlights without adding more layers.
Mixing media can spark fresh ideas. Try adding a thin wash of ink for bold outlines, or sprinkle a little salt on a wet area for a speckled texture. Even a quick dab of watercolor pencil after the paint dries can add fine details that brushwork alone can’t achieve.
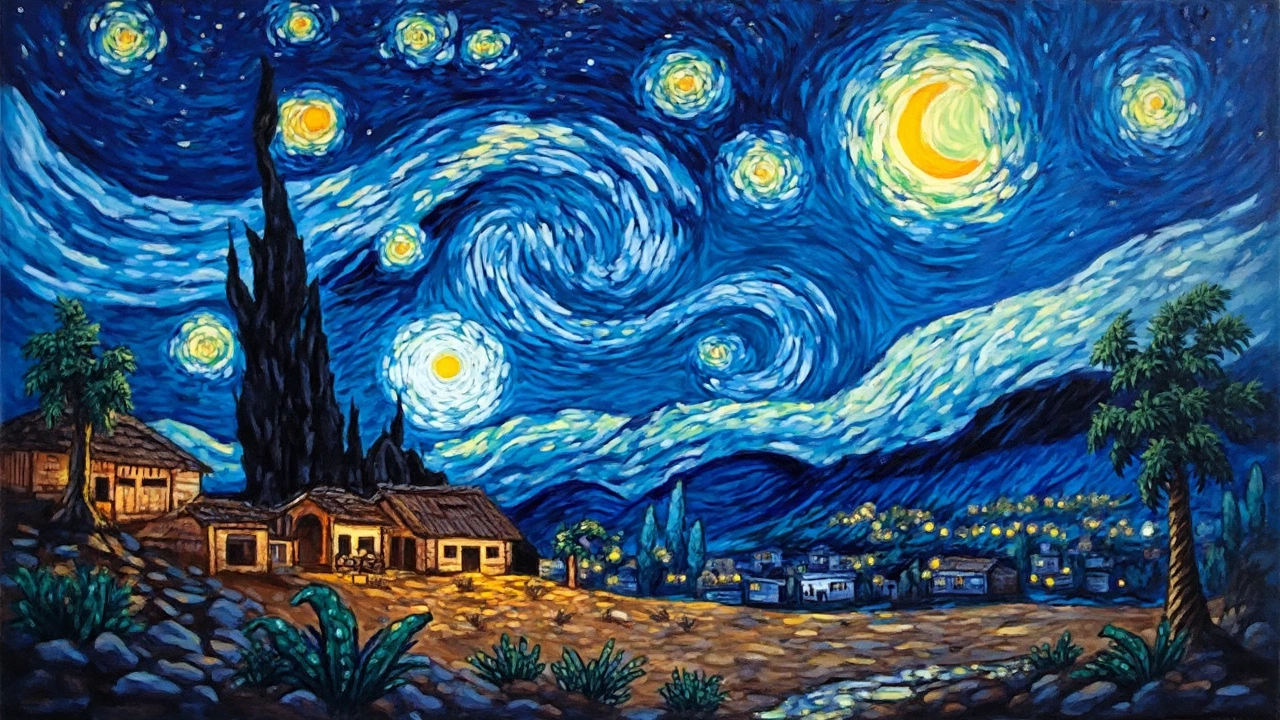
Looking for inspiration? Check out how the masters handled light. You might be surprised to learn that Van Gogh’s famous “Starry Night” wasn’t a watercolor at all, but studying his bold strokes can still inform your own brushwork. Modern artists are blending watercolor with digital tools, printing their washes and then painting over them. Experiment with a printed wash as a base layer – it gives you a stable surface while keeping the hand‑made feel.
Finally, practice consistently. Set aside 15 minutes a day to work on a small study – a leaf, a fruit, a simple sky. Over time you’ll notice patterns in how your water behaves and you’ll develop an instinct for when to add water or pigment. Join online groups or local meet‑ups; sharing work and getting feedback speeds up learning.
Remember, watercolor is as much about embracing happy accidents as it is about control. Keep experimenting, stay patient, and soon you’ll see those washes turn into confident, vibrant paintings you’re proud to show off.