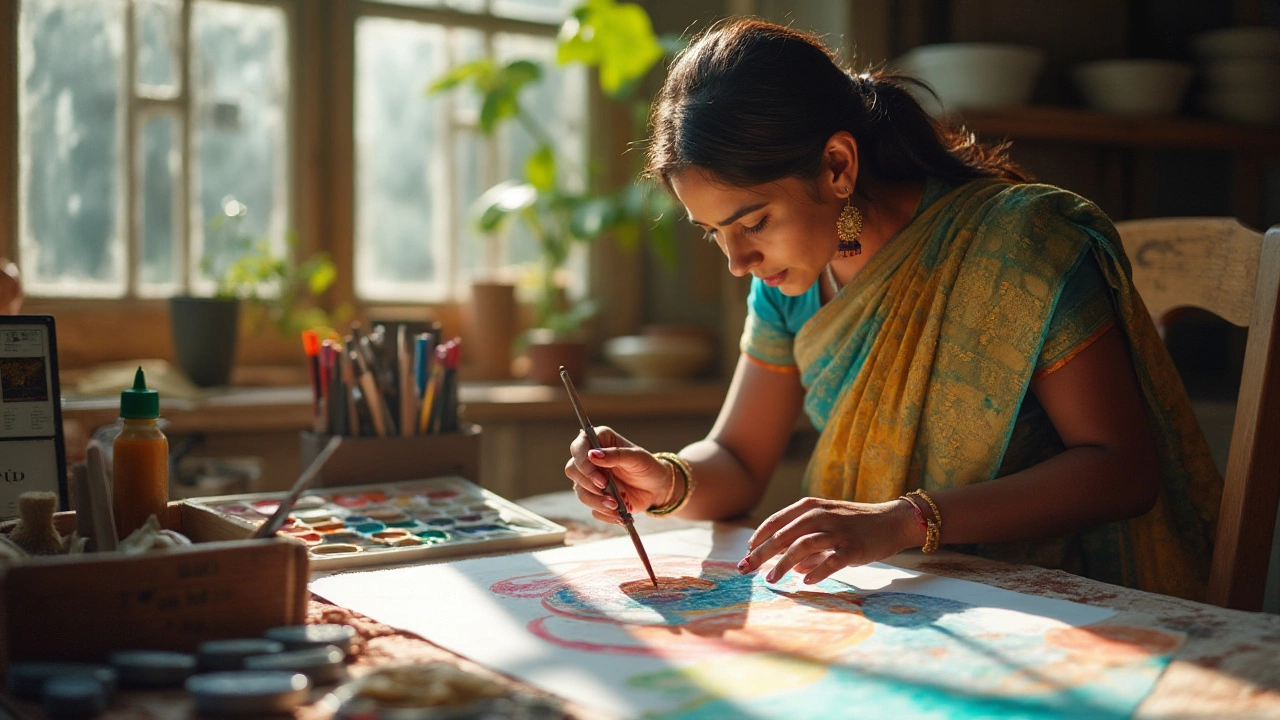
Watercolor painting is an art form cherished for its delicate translucent layers and vivid ethereal effects. However, achieving that seamless finish can sometimes be a daunting task when ripples dare to appear on your canvas. These pesky wave-like irregularities can mar your piece's surface, resulting in uneven textures and disrupting the visual harmony of your watercolor masterpiece.
Understanding why these ripples occur is the first step in preventing them. Uneven drying, excessive water, or a poorly prepared paper are frequent culprits, but with a bit of know-how, these can be overcome. This exploration will delve into practical techniques tailored for every level of artist, ensuring that each brushstroke contributes to the fluid dance of colors, unmarred by unruly ripples.
- Understanding Ripple Causes
- Preventing Ripples During Painting
- Fixing Ripples on Finished Paintings
- Essential Tools for Smoother Watercolors
- Tips for Every Artist Level
Understanding Ripple Causes
Delving into the phenomenon of ripples in watercolor paintings, it becomes evident that recognizing the root causes is crucial for artists aiming to refine their craft. Often, ripples manifest due to an interplay between water, pigment, and paper. A primary contributor is the type of paper used—watercolor paper generally varies in weight and texture, influencing its reaction to water. Lighter paper tends to warp when loaded with substantial moisture, causing those annoying textures known as ripples. Moreover, the paper grain plays a significant role; hot-pressed papers, being smoother, respond differently compared to cold-pressed or rough papers.
Another frequent origin of ripples is excessive water usage. Artists passionate about creating sweeping washes might be tempted to forsake caution in their water-to-paint ratios, only to discover the unfortunate results—wavy surfaces that are hard to conceal. This is where mastering the 'Goldilocks zone'—not too wet, not too dry—becomes vital. Apart from water usage, drying methods also impact ripple formation. Allowing paintings to dry naturally while stretched or taped onto a rigid surface prevents unwanted movement. Interestingly, varying humidity levels can subtly influence ripple creation too. Maintaining a stable environment is a nuanced aspect that many overlook but which bears repeating.
" Mastering watercolor involves a delicate dance with water," asserts famed watercolor artist Jean Haines in her insightful guide, underscoring the finesse needed in controlling water flow and paper behavior. This perspective echoes throughout the art community, emphasizing the observational skills required to preempt ripple development. Additionally, uneven application of color is another factor, where an initially balanced application during layering transforms into a flood prone to bluster unintended textures.
Our exploration wouldn't be complete without considering the pigment's consistency and the tools employed. Watercolors with larger granular pigments interact less predictably as opposed to finely milled counterparts. Meanwhile, brushes with efficient water retention properties offer control, allowing for subtle adjustments that fend off ripple formation. Understanding these elements, from the watercolor painting materials to environmental conditions, equips artists with the necessary knowledge to navigate and mitigate the nuisances of ripples, achieving the cherished smoothness integral to their artistic vision.
Preventing Ripples During Painting
Creating a watercolor masterpiece without the unwelcome interference of ripples requires a fine balance of technique and material, even for the most experienced artists. Understanding your paper choice is your first step. Cold-pressed paper, for instance, is often favored because of its slight texture and ability to absorb water more uniformly. Arches and Fabriano are notable brands that offer reliable cold-pressed options preferred by many artists worldwide for their seamless finish. Yet, even with the right paper, without apt stretching and environmental control, pesky ripples might still find their way.
Pre-stretching paper is an effective method to counteract buckling. First, thoroughly wet your watercolor paper until saturated, then gently tape it down to a sturdy board using artist's tape to dry. This process ensures the fibers dry tightly, reducing the likelihood of uneven drying during painting. Make sure, however, not to submerge into over-stretching—light tension is ideal. Another preventive action includes maintaining a well-ventilated workspace with consistent humidity levels; extreme dryness or humidity might adversely impact your results.
A careful approach to water application is key. When applying washes, use minimal water at first, spreading pigment evenly with precision. By opting for several layers instead of saturating all at once, you balance moisture levels, helping avoid warping. Moreover, painting tips include angling your board slightly so gravity aids in even distribution of water. Some experienced artists even suggest rotating your paper often during drying to influence uniformity. As botanist and watercolor artist Frederick Griswold once said, “Watercolor is a swim in the metaphysics of the medium…” embracing this philosophy might allow fluidity in your process without succumbing to the tug of ripples.
"Control the water, and you control the ripple. Patience and practice are your allies in creating harmony with watercolors." — Frederick Griswold, renowned artist.
Even experienced artists like Winslow Homer faced the challenge of unwanted ripples. What distinguishes their work, however, is the evolution of understanding environmental impacts - like temperature and humidity - on watercolor paintings. A stable, controlled environment allows the medium to settle naturally. Implementing a gentle drying process, such as using clips or weights on already taped down paper, can maintain flatness. Within your art space, consider a hygrometer to keep the surrounding moisture level consistent, ensuring every layer of color dries as intended.
Fixing Ripples on Finished Paintings
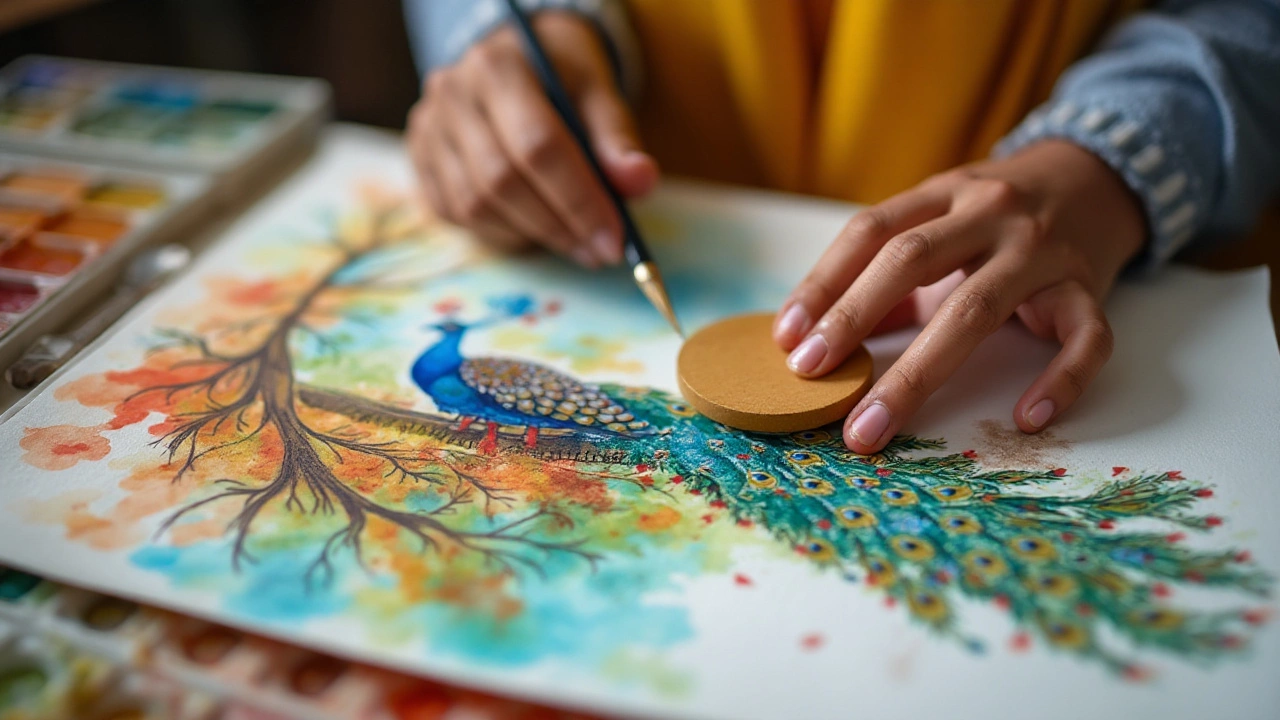
Even the most accomplished artists occasionally face the irritating occurrence of ripples on their final watercolor painting. It's a reminder of the unpredictable nature of this medium. But fear not, for there are techniques to rescue and refine your beloved art. The first and often most effective approach is re-stretching your paper. Start by gently misting the back of your painting with clean water using a spray bottle. This method works because as paper absorbs water, it becomes more pliable. However, one must be cautious—too much moisture can distort the very hues you perfected. Leave the work on a flat, hard surface, applying even pressure with clean boards or books on its corners until it's thoroughly dry.
Another technique that artists swear by involves using a flat iron to calm those unruly ripples. Set your iron to a dry, low-heat setting. Place a protective layer—a piece of white, non-patterned cloth—over your artwork to avoid scorching direct contact. Then, gently iron the back side of your piece, applying consistent, smooth strokes. This technique is meticulous and requires patience, but with careful attention, it can yield a blissfully flat painting. A seasoned watercolorist once mentioned,
"Ironing brings an understated elegance, as if pressing a fine blouse."
Trimming is another option, although it should be a last resort due to its irreversible nature. Use a ruler and a sharp craft knife to remove sections of the piece where ripples are most stubborn. This can recapture the painting's essence in a harmonious format even if it means losing the original dimensions. But always align this choice with your artistic vision. Spontaneity also has its place, where new ripples are infused into the work creatively to enhance texture. It's about transforming a supposed flaw into a feature.
If these methods seem daunting, consider requesting professional assistance from a framing gallery. They possess the specialized tools and expertise to flatten artworks without risking their integrity. The value in maintaining your paintings resides not only in aesthetic appearance but also in preserving their archival quality. For artists, perfection isn't merely in execution, but rather in nurture—how we tenderly restore each piece with attention and care.
Ultimately, pristine outcomes await those who embrace these tried-and-true strategies to eliminate undesirable ripples, ensuring a smooth surface captures every gaze. With a few spare tools and simple steps, your painting is redeemed, and your artistic confidence renewed.
Essential Tools for Smoother Watercolors
A key aspect of achieving flawless watercolor painting is having the right set of tools at your disposal. Each piece of equipment plays a vital role in ensuring that your colors blend harmoniously without unwanted ripples marring the surface. Let's dive into some indispensable tools that every artist should consider including in their arsenal.
Firstly, quality paper is of utmost importance. Opt for 100% cotton, acid-free watercolor paper with a weight of at least 140 lb (300 gsm). This type of paper provides excellent water absorption, minimizing the risk of ripples due to uneven drying. Heavier paper doesn't buckle as easily when wetted, which is a common issue with lighter paper. Traditionally, cold-pressed paper offers a fine texture suitable for both intricate detailing and large washes, creating a balanced work surface for beginners and seasoned painters alike.
Brushes are another cornerstone of the painting process. Round brushes made of natural fibers, such as sable hair, hold more water and color, giving you the ability to create smooth washes effortlessly. Flat brushes, on the other hand, help cover larger areas swiftly. Investing in a good quality brush variety ensures flexibility in technique and smoother color application on paper.
Stretching your paper is an underrated technique to avoid ripples altogether. This involves soaking your watercolor paper and taping it onto a board to dry before beginning your painting. Once stretched, the paper won't distort as much when painted. There’s also the option of purchasing pre-stretched paper blocks, which are glued on all sides except one, reducing ripple risk significantly. More artists now lean towards this modern convenience for its timesaving perks.
While preparing to paint, ensure a well-mixed palette. Palettes with multiple wells for mixing help achieve the right hues without unexpected texture issues. Ceramic palettes are preferred for their smooth surface and easy-to-clean nature. A spray bottle comes in handy to keep paints moist during long sessions, ensuring consistency in texture throughout the painting process.
Pioneers' Take
Even accomplished artists like Jean Haines emphasize the importance of understanding your tools. Jean shared, "The versatility of watercolors lies not just in the pigments; it's in how you prepare and support them through wise choices."
Additionally, consider using masking fluid to reserve white space and prevent bleeding where clear boundaries are needed. This can minimize unnecessary corrections post-painting. And don’t overlook a reliable easel that offers adjustable angles, enabling the natural flow of water without pooling, which can lead to unwanted texture.
| Tool | Purpose |
|---|---|
| Quality Paper | Prevents buckling and rippling |
| Natural Brushes | Ensures smooth application |
| Stretched Paper | Holds shape under moisture |
| Mixer Palette | Consistent hue mixing |
| Masking Fluid | Maintains defined spaces |
Tips for Every Artist Level
Embarking on the journey of mastering watercolor painting encompasses a spectrum of skills and techniques. Whether you are a novice dipping your brush into the watery hues for the first time or a seasoned painter with years of experience, the quest to eliminate ripples from your work is a common one. For beginners, the tactile sensation of paper can be a bewildering factor, yet selecting the right type can vastly improve results. Cold-pressed and hot-pressed papers differ in texture, and understanding these differences is crucial. Opting for cold-pressed paper provides a toothy texture that can absorb water evenly, reducing the chances of ripples.
"The key to mastering any art is to overcome challenges, not avoid them," says Lisa Congdon, a renowned artist in the contemporary space.
As artists gain confidence, experimenting with the water-to-pigment ratio becomes paramount. Experienced artists appreciate that less water per stroke can give them more control over drying times, thus minimizing unexpected texture changes. This control comes from experimenting and understanding how different pigments react with water. A controlled wash technique, where you gradually layer from light to dark shades, can prevent overwhelming the paper with moisture, which often leads to those unwanted ripples.
For master artists, subtle variations in techniques can lead to profound revelations. Experimenting with mixed media, integrating watercolor with other mediums can offer surprising insights into handling moisture better. Some artists integrate a light brush of gesso on watercolor paper to provide an additional layer of texture control. Another advanced approach involves stretching your paper before you start. This involves wetting the paper completely and then affixing it down to an acrylic board, allowing it to dry flat. This technique is an ingenious solution to prevent ripples, especially for larger works.
Consider creating your own ripple-control plan, tailored to your unique style and environment. Understand the humidity levels in your studio, as it affects drying time and consequently, ripple formation. Having a hygrometer handy can help you adjust your techniques based on daily humidity. Last but not least, do not shy away from leveraging tools like spray bottles for misting water evenly or using a silicone squeegee to flatten noticeable ripples on still-damp paint. These strategies can feel like deepening lanes in a painter's toolkit, assuring each stroke and layer sits beautifully flat on your canvas.
