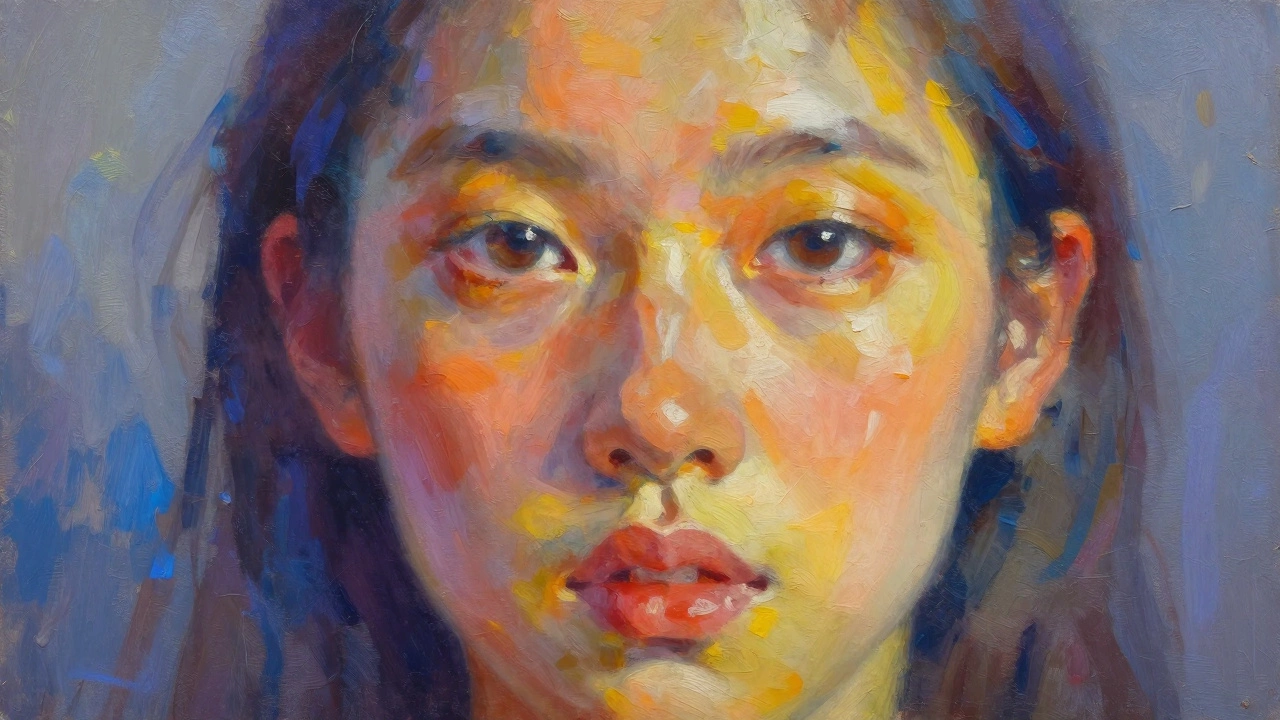
Smudged skies, muddy greens, accidental blobs where clean edges should be—sound familiar? You start a watercolor painting with a clear vision, but halfway through something goes totally sideways. Your flowers look withered, your skies turn mucky, and for some reason your proudest “pop of color” tries to escape right off the paper. Even experienced artists remember those days. Honestly, nobody’s born with magic brushes and miracle paper. And yes, watercolor gets its reputation for being ‘unforgiving’ for good reason. But there are clear, fixable reasons why your watercolor paintings turn out so bad that even your dog raises an eyebrow. Blunt truth? Most of it comes down to a few common mistakes, misunderstandings, and habits we pick up when we first get started.
The Trouble with Watercolors: Why Things Go Wrong
Watercolors, by their very nature, are difficult to control. Experienced watercolorists in Sydney love to say ‘let the paint do its thing,’ but if you’re just starting, it often feels like your paint’s main ‘thing’ is ruining your afternoon. The way water reacts with pigment, pooling in some spots and feathering wildly in others, causes problems like backruns, cauliflower blooms, and streaky washes. Should you blame the paint? Or maybe the weather, your brush, or the dog for distracting you? Most issues stem from three main sources: using the wrong materials, rushing the process, and misunderstanding how water works on paper.
Let’s be real: cheap paper ruins even the best paint and talent. Lower-grade papers can't handle repeated washes. They buckle, pill up, and eat color alive. If your painting ends up looking dull or patchy or you see shreds of paper stuck in the pigment, you’re probably painting on thin, wood-pulp paper—not 100% cotton. In 2014, a well-known watercolor survey of over 850 artists found that nearly 70% listed ‘better paper’ as the single biggest improvement they made. The difference is wild. Even professional-grade paints don’t shine on a paper that’s turned to mush.
Brushes aren’t one-size-fits-all, either. You might have seen those cheap starter kits with 12 brushes, none of which actually hold enough water or give you any control. When you’re fighting with soggy mop heads or stiff bristles, you can’t focus on technique. It shows up as scratchy lines or awkward blobs. Good news? You don’t need a ton—honestly, one size 8 round and a flat will work wonders.
Many beginners overload their brush or their paper with water, thinking: ‘Well, it’s called watercolor, right?’ That’s how you get muddy, out-of-control puddles that never dry evenly. Not using enough water, on the other hand, results in scratchy patches and dull, lifeless color. Getting this balance right is the key. Sometimes, it’s as simple as letting your first layer dry fully before adding the next. Professionals call this ‘respecting the drying time.’ At Sydney’s National Art School, tutors insist students literally walk away between layers—think of it like a forced coffee break! This is how you avoid unwanted blooms and overlaps.
Colors themselves can betray you if you’re not careful. Ever mix a gorgeous green, put it on paper, then realize it’s actually grey and sad? Some pigments don’t mix well—known as ‘fugitive’ colors or those with low lightfastness. Some paints made for kids or beginners use fillers instead of pure pigment, robbing you of those brilliant transparent washes. When you layer them, you get brown sludge or opaque streaks instead of sparkling life. That’s why learning to read labels helps: look for single-pigment paints for clarity and vibrancy, and never be afraid to upgrade from those supermarket palettes.
Crucial Watercolor Techniques Nobody Taught You
If you ever watched a watercolor demo online—especially one of those soothing Instagram reels—everything probably looked so easy. Water glides, pigment spreads, and suddenly there’s a perfect wave or rose. But which techniques actually matter when you’re wrestling your own brush and muddy paints?
Here’s a surprising fact: the most common mistake among beginners is skipping proper practice of basic washes. Flat, graded, and variegated washes set the stage for every other effect. You want a beautiful blue sky? That’s a flat wash. Want sunset clouds? That’s a variegated wash bleeding from orange to purple. But if you’re just slapping wet paint on and hoping it blends, you’re missing vital skill-building.
The way to master washes is to practice with purpose. Set up a row of test rectangles. On one, try making a perfectly even color (flat wash). On another, start with strong blue at the top, then lighten as you move down (graded wash). Finally, let yellow bleed into blue (variegated). Take a break, let each dry, repeat. It’s boring, but every pro has done it, and the muscle memory sticks.
Controlling edges is another game-changer. Wet-on-wet gives you those soft, magical transitions, but also means chaos if you’re not watching your moisture levels closely. If you’re impatient, painting into pools of water, you’ll get wild spidering effects—fun for flowers, terrible for faces. Wet-on-dry is where you get sharp, crisp lines, but too dry and you get scratchy, broken strokes.
Here’s an easy trick: look at your palette, brush, and paper. If there’s a bead of wet paint shimmering at the edge, your wash will move and flow. If it looks chalky, you’ve let it dry too long. Learning to spot these stages, and switching between wet-on-wet and wet-on-dry at the right time, is massive. In fact, at the Museum of Contemporary Art in Sydney, local artists running demonstrations often keep two paintings on the go—when one is drying, they work on the next. That way, they always catch the right ‘damp’ moment, not letting boredom or impatience ruin the painting.
Layering is where watercolor gets its magic, but also where disaster strikes if you rush. Transparent overlays create sparkling greens or glowing oranges, but only when the bottom layer is bone dry. Even slightly damp? Wolfish blooms appear, and your careful work melts into confusion. Pro tip: use a hairdryer (carefully!) to speed up drying between layers if you paint in Sydney’s muggy summers.
Here’s a common, overlooked detail: paint from light to dark, not the other way around. Watercolors can’t cover mistakes easily. If you go straight in with dark green for a leaf, there’s nowhere to go but muddier. Save the darkest accents for the very end—this is the opposite of acrylics or oils, where you fix mistakes by painting over them.
Real Life Fixes: What Actually Makes Watercolors Better?
So you’ve messed up a painting or three, and the bin’s getting full. Instead of giving up, it helps to understand what tangible steps actually make your work look better. Let’s get specific. Here’s a table with three actual changes you can make and what difference you’ll notice, based on real feedback from students in Sydney’s local art classes:
| Common Mistake | Simple Fix | Outcome |
|---|---|---|
| Muddy colors everywhere | Switch to single-pigment paints, clean your water and brush often | Brighter, clearer color; more vibrant paintings |
| Paper buckling/fluttering up | Use 100% cotton paper (like Arches or Saunders Waterford), tape it down before painting | Flatter surface, cleaner washes, more control |
| Puddles and runbacks in your sky | Let each layer dry fully, tilt paper to move water where you want | Smoother skies, fewer weird water stains |
The next step: ditch the fear of wasting paper. Every brilliant watercolorist burned through dozens of ugly sketchbook pages before nailing their technique. A shocking stat: Most watercolor artists say their painting ‘success rate’ is only one in five, even after years of practice. Your favorite YouTuber deletes more videos than they post, and artists in the Rocks markets here in Sydney will tell you they keep their prize-worthy paintings in a pile while hiding the disasters out of sight.
Working small can actually help, too. Use postcard-sized paper to practice a single wash or a tiny landscape. Smaller spaces mean less room for error, faster drying, and no heartbreak if you need to bin it and try again. Plus, you can line up your tests and spot improvement week by week.
Limited palettes are your best friend. Beginners often buy cheap palettes with 24 colors, but end up with mud because they mix too many pigments. Professional artists sometimes use just three colors—usually a warm and cool blue, red, and yellow. This not only forces you to learn mixing but also gives your paintings a beautiful harmony. Once you master a triad, you can expand. Try this challenge: paint an entire scene with just ultramarine blue, burnt sienna, and raw sienna.
It’s not all about technique, though. Your workspace matters, too. Night painters in Sydney know this: tricky indoor lighting can trick your eyes, making colors look good under warm bulbs and terrible in daylight. Always check your work in natural light, and if possible, paint near a big window or bring finished work outside before you call it done. That simple habit saves hours of repainting.
There’s a mental game here, as well. Perfectionism squashes creativity. If you compare your daily painting to a prize-winning piece from the Archibald Prize finalists, you’ll always be disappointed. Instead, track your progress weekly—pin your old work above your desk and notice what’s getting better. And if you ever feel like chucking your paints out the window, remember: even masters have ugly days.
Common Watercolor Questions—and Real Answers
Let’s run through the big questions that keep popping up—because odds are, you’ve thought (or shouted) them at your own wet painting at least once.
- Why are my watercolors so pale? It’s probably too much water and not enough pigment. Common fix: Mix up a puddle that looks much darker and thicker than you think you need. Watercolors dry lighter—by 15-30%, according to Michael Harding pigments’ technical guides. Trust your dark puddles, not just how the wet paint looks.
- Why do my washes look streaky? You’re moving too slowly or using a brush that’s too small. Lay down color in quick, even strokes with a loaded brush—don’t fiddle with half-dry edges. Try switching to a larger brush or working in a smaller area if you struggle.
- Why is my paint granulating or looking weirdly textured? Some pigments, like ultramarine blue or cerulean, naturally granulate—a feature, not a bug! Enjoy the effect for rocks, sky, or texture, but avoid it where you want flat color. Use smoother colors (like phthalo blue) for even washes.
- What’s up with these hard-edged ‘blooms’? Your paper was too wet, and you dropped in paint or water while it was drying. You can minimize blooms by controlling the moisture in your brush and waiting until each layer is dry to add details. Some artists use blooms purposefully, so experiment a little—they can suggest clouds, trees, or texture in landscapes.
- How do I fix a mistake? You can blot gently with a thirsty brush or clean tissue, but deep color is often there to stay. Some artists scrape out highlights with a razor blade or magic eraser, but results vary. Learn to embrace a few happy accidents—they might become the best part of your painting.
If you want your painting to look less like a beginner’s project and more like something you’d proudly display, remember: every ‘bad’ painting is a step closer to a better one. Try new approaches, invest in one decent brush and better paper, and work smaller until your confidence grows. Watercolor has a mind of its own, but once you understand its quirks, the results can absolutely blow you away—even if your dog still shakes its head every now and then.