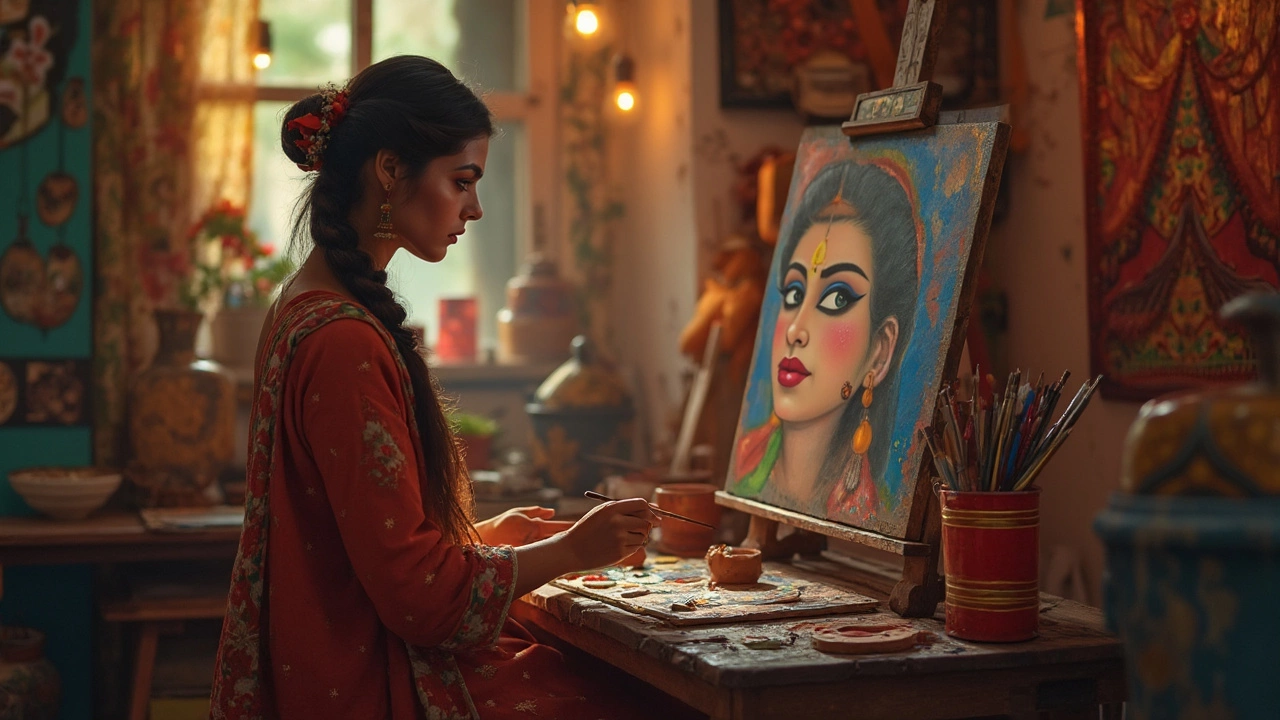
Light Setup Essentials: Simple Steps to Get the Right Light
Ever wondered why some photos look bright and clear while others feel flat? The answer is usually the light setup. You don’t need fancy gear or a professional studio to make a big difference. With a few smart choices you can improve any scene – be it a living room, a home office, or a vlog studio.
Choosing the Right Light Sources
The first thing to decide is what kind of light you’ll use. LED panels are popular because they stay cool, use little power, and let you change brightness with a dial. For a budget option, you can repurpose desk lamps or cheap clamp lights – just make sure they have a daylight‑balanced bulb (around 5600 K). If you want a softer look, consider a ring light or a softbox. Those diffusers spread the glow and reduce harsh shadows.
Don’t forget natural light. A window can be your best friend if you position the subject so the sun hits from the side or above. On cloudy days the light is already diffused, which is perfect for portraits. If the sun is too strong, hang a sheer curtain to act like a giant diffuser.
Positioning and Diffusing for Best Results
Where you place the light matters more than how bright it is. A classic 45‑degree angle from the subject creates depth without crushing details. For video, you might want a three‑point setup: key light, fill light, and back light. The key light is the main source, the fill light softens shadows, and the back light separates you from the background.
Diffusion is your secret weapon. A simple white sheet, a shower curtain, or a piece of parchment can turn a harsh beam into a gentle wash. Clip the material in front of the lamp and watch the shadows disappear. If you’re shooting close‑up, a small diffuser works best; for a whole room, a larger sheet hung nearby spreads the light evenly.
Color temperature should stay consistent. Mixing warm bulbs (2700 K) with cool daylight LEDs (5600 K) can make the image look uneven. If you need to balance, use a cheap color gel or adjust the white balance in your camera. Most phones let you tap the screen to set the right tone.
Finally, test and tweak. Turn on your lights, take a quick shot or video clip, and look at the exposure on the screen. If shadows are too deep, move the fill light closer or raise its intensity. If the background looks too bright, dim the back light or slide a flag (a piece of black cardboard) to block spill.
With these steps you can build a solid light setup without breaking the bank. Grab a couple of LED panels, a diffuser, and experiment with angles. You’ll notice the difference instantly – sharper details, natural colors, and a professional feel that makes your content stand out.
