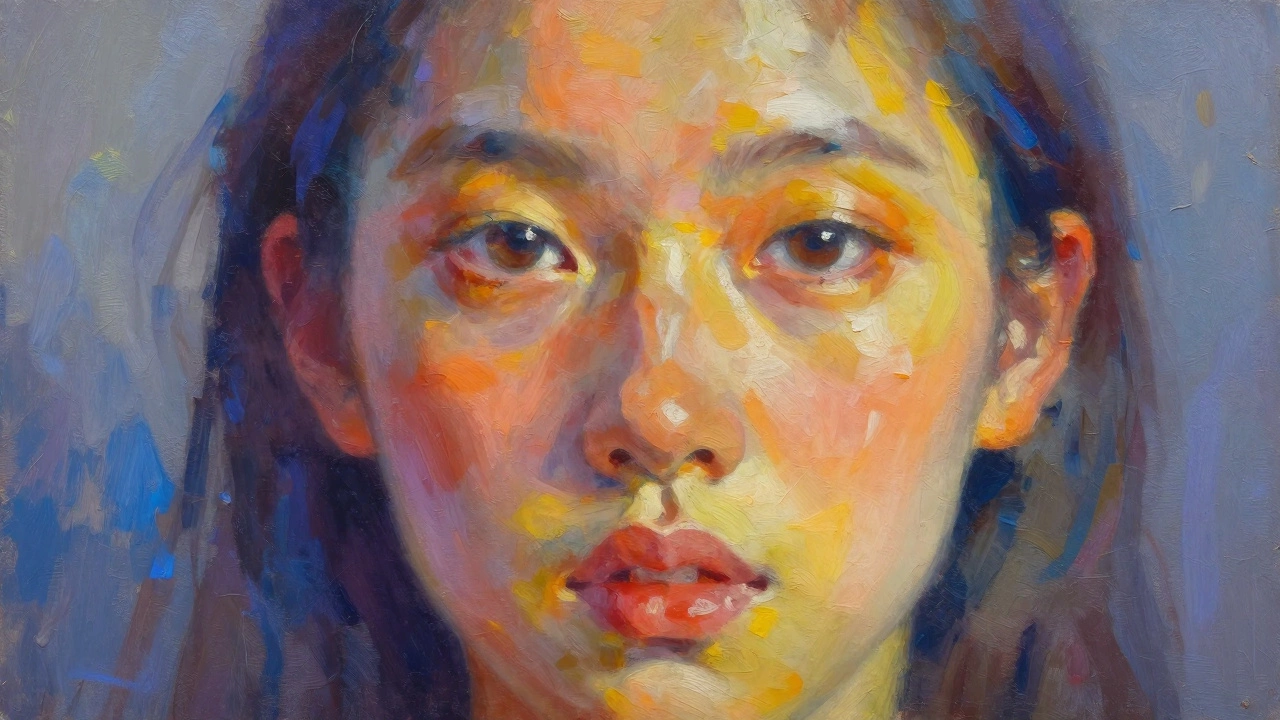
You can spot a portrait that nails the light from miles away. Paintings with natural depth and punch usually have one thing in common—a three-light setup. It’s the same trick pro photographers use, and it gives you way more control over how your subject looks on canvas.
Three lights sound like overkill? Actually, it’s a lifesaver, especially when regular room lighting just flattens everything or hides the details you want to show. With three distinct lights, you bring out the volume of faces, control the mood, and make shadows work for you—not against you.
Don’t worry if you don’t have a fancy studio. Desk lamps, cheap LEDs, or even moving around with your subject can do the trick, as long as you understand why each light matters. Let’s get into how this works and how you can pull it off, no matter your budget or space.
- The Three-Point Lighting Setup Explained
- How Each Light Changes the Mood
- Common Mistakes When Using Multiple Lights
- Tips for Setting Up Your Lights at Home
- Real Artists, Real Results
The Three-Point Lighting Setup Explained
If you want your portrait to really stand out, you’ve got to understand how the three-point lighting setup works. This setup uses three separate lights: the key light, the fill light, and the back light (sometimes called the rim or hair light). It’s straightforward, and it’s been the gold standard for painters, photographers, and even Hollywood directors for decades.
Here’s what each light does:
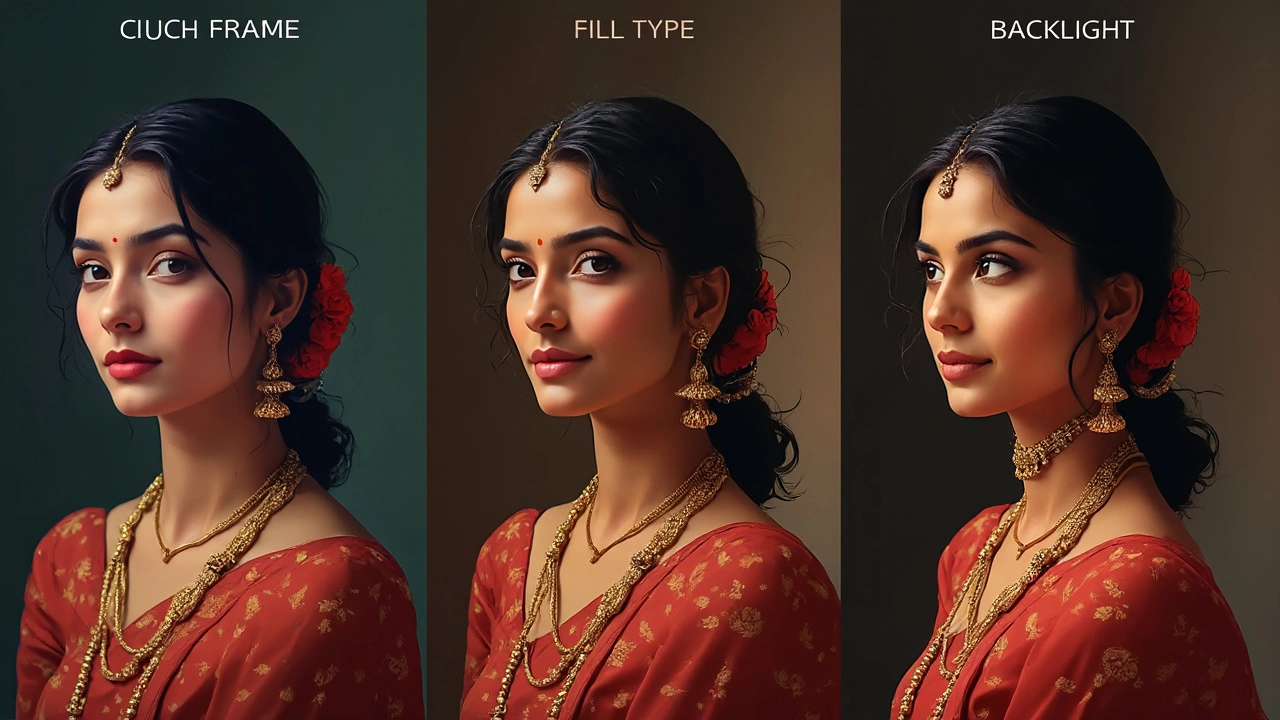
- Key Light: This is your main light. It’s the brightest and does most of the heavy lifting. Place it at a 45-degree angle to your subject’s face. This creates those nice shadows along the cheeks and nose that show off the face’s shape and details—way better than just front-facing room lighting.
- Fill Light: The fill light softens the shadows made by your key light. You don’t want harsh dark patches on one side of the face, right? The fill light should be dimmer than the key, set around the other side at about 45 degrees. This way you keep some drama, but everything looks more natural and inviting.
- Back Light: This one goes behind your subject and points toward their head or shoulders. The back light pops them out from the background. You’ll notice a subtle glow around the head or hair—this stops your portrait from looking flat and blends them nicely into the surrounding space.
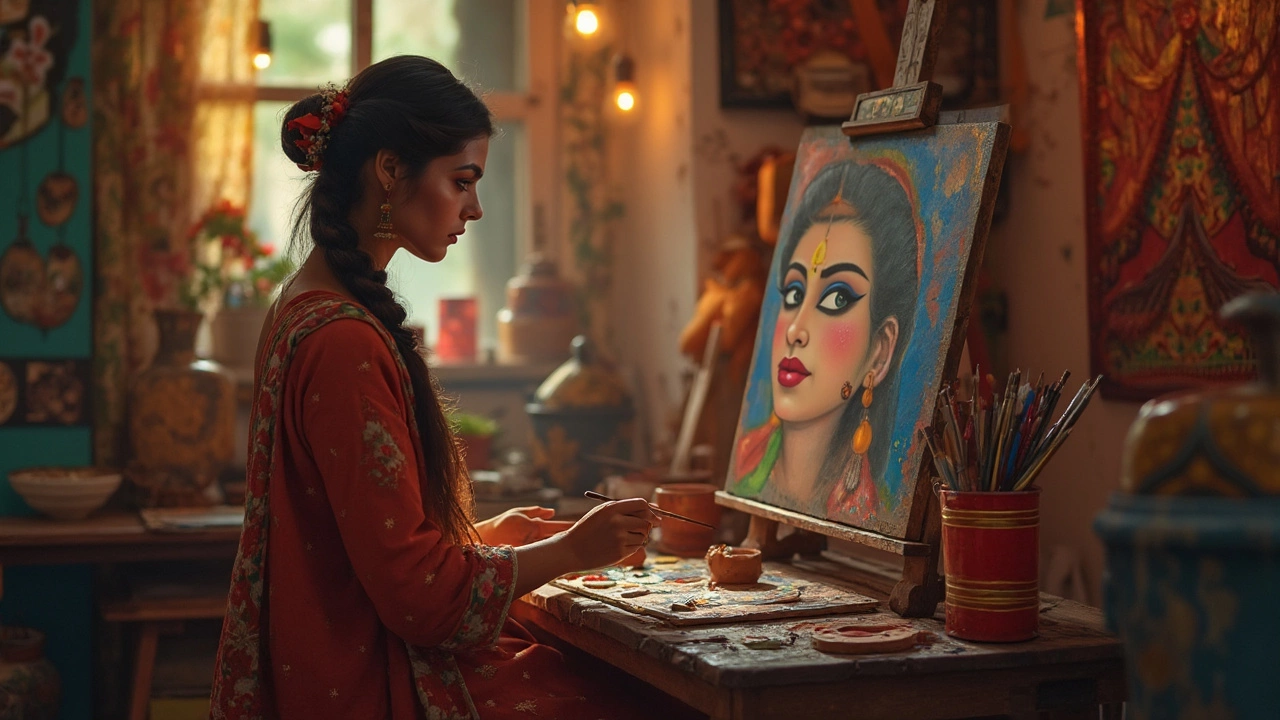
Setting this up doesn’t require pricey gear. I use two desk lamps and a cheap LED strip for Eira’s portraits at home. It’s the angles and the balance that matter. Just tweak the brightness and placement until you get nice, soft edges without harsh shadows or a washed-out look.
Mastering this three-point lighting technique gives you way more control over the mood, depth, and realism in your portrait painting. If you skip any of these three, you’ll either lose the shape, end up with harsh contrasts, or your subject will blend into the background. It’s like the difference between a snapshot and art—it’s that dramatic.
How Each Light Changes the Mood
Each light in the classic three-point lighting setup brings something different to your portrait painting. If you’re wondering why your paintings look flat or your shadows seem too harsh, it probably comes down to how you’re using—or not using—each of these lights.
The three lights are the key light, fill light, and back light (sometimes called rim or hair light). Here’s how each one drives the vibe and character of your subject:
- Key Light: This is your main source. It sets the direction and strength of your shadows. Put it at a 45-degree angle from your subject, and you’ll instantly get more depth than with dead-on lighting. Strong key lights make everything intense—think of dramatic movie posters. A softer key light, on the other hand, gives you a gentler, more approachable look.
- Fill Light: This one lightens the shadowy side of the face. Without it, you get dark shadows and tons of contrast, which can look harsh unless you’re going for total drama. Turn up the fill light for a friendly, open feel. Drop it low for more mystery or edginess.
- Back Light (Rim Light): The back light is sneaky but powerful. It’s placed behind your subject, usually off to the side. It highlights hair or the outline of the head and shoulders, making your subject pop from the background. Even a small back light can turn fuzzy edges into crisp outlines—and suddenly, your painting has life.
For painters, the position, brightness, and temperature of each light changes everything. Warm key light? The face glows. Cool back light? Hair gets this icy edge that stands out.
Check out how changing each light can shift the feeling of a portrait:
| Light | Effect on Mood | When to Use |
|---|---|---|
| Key Light | Strong shadows; defines face shape | Dramatic or classic portraits |
| Fill Light | Softens shadows; evens tone | Flattering, friendly looks |
| Back Light | Makes edges glow; separates from background | Adds energy; stops "flat" look |
Use these lights like ingredients. Blend and balance—sometimes you want bold shadows, sometimes you want softness. Most painters find that playing with fill light changes things the fastest—so if your portrait feels too hard or too bland, tweak that first. Three-point lighting isn’t just for fancy *photoshoots*; it’s your best trick for making portraits look real and packed with personality.
Common Mistakes When Using Multiple Lights
Three-point lighting can totally level up your portraits, but only if you dodge the classic slip-ups. I’ve seen beginners and even some seasoned artists stumble on the same problems again and again. Let’s break down what to look out for, so your lighting helps your painting—not hurts it.
- Too Much Power on Every Light: Bumping up all your lights at once just flattens out your subject. If the key, fill, and back light are the same strength, you lose those natural shadows and highlights that create depth. Keep your three-point lighting balanced with the key as your main source, fill about half as strong, and the back (or rim) even softer, just enough to separate from the background.
- Lights Too Close or Too Far: Get your lamps too close and you’ll blow out facial features or end up with harsh shadow lines. Too far and the effect weakens. Aim for about three to six feet. It’s a Goldilocks thing, and you’ll need to test and tweak, especially with cheap lights.
- Wrong Angles Hiding Features: A super common rookie move is blasting light straight at the face. This erases cheekbones and other structure. Try a 45-degree angle for your key light to bring out the natural shapes. Then adjust fill and back lights so they avoid washing things out or casting weird shadows.
- No Consistent Color Temperature: Mixing bulbs (like cool LED and warm incandescent) messes up skin tones and makes your color choices messy. Either stick to one type, or buy bulbs labeled for the same color temperature, like 5000K for a neutral daylight vibe.
- Ignoring Background Shadows: If you focus only on your subject, sometimes a wild, dark shadow lands on the background. It can distract or make the scene look weirdly fake. Use your back light or bump up ambient light to control this.
To give you an idea of the impact, take a look at this table showing common light setup mistakes and their typical effects:
| Mistake | What Happens |
|---|---|
| Lights too strong | Flat or washed-out face; loss of depth |
| Mixed color temps | Unnatural skin tones; jarring color patches |
| Poor angle | Loss of facial features; strange shadows |
| Uneven distances | Harsh or patchy light on one side |
| Forgot about background | Distracting shadows ruining the portrait |
Remember, the whole point of three lights is control. If something looks off, move around and try different settings. Don’t be shocked if it takes a few tries—messing up is part of the learning! You’ll feel it when you get it right: suddenly, your portrait just clicks, and the character jumps right off the canvas.
Tips for Setting Up Your Lights at Home
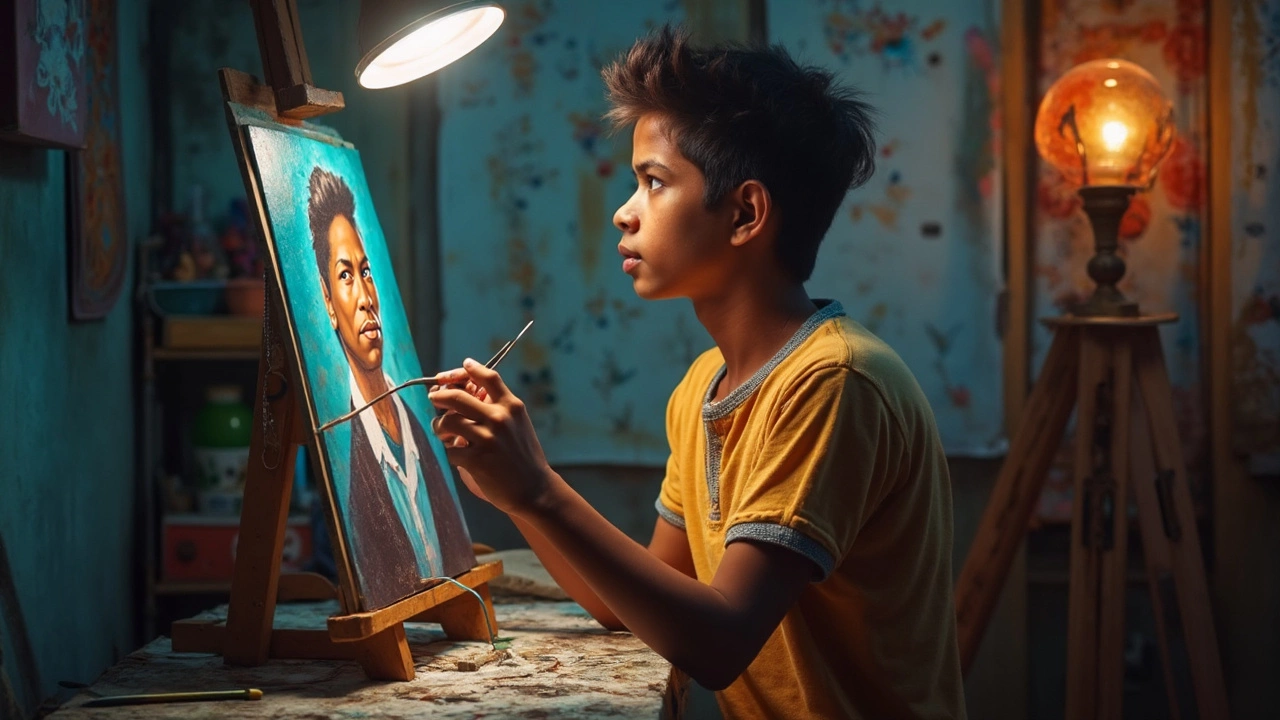
Getting that classic three-point lighting effect at home doesn’t mean buying expensive studio gear. You just need three light sources you can move around—a basic desk lamp, a cheap LED, even a clamp light from the hardware store works fine. The trick is in how and where you place them.
Here's a quick breakdown of what you need and what each light does:
| Light | Main Purpose | Typical Placement |
|---|---|---|
| Key Light | Main source, defines shape | 45° to one side of the subject, slightly above eye level |
| Fill Light | Softens shadows from key | Opposite side of key, level with face, less bright |
| Back Light (Rim/Hair Light) | Separates subject from background | Behind subject, aimed at head or shoulders |
Start by finding the brightest lamp you have and use it as your key light. Move it at about a 45-degree angle from your model’s nose and tilt it slightly down. That’s going to make the face look more 3D and help define features without making them harsh or spooky.
Your fill light can be something as simple as a table lamp on the other side, but dial down the brightness. If it’s too bright, the portrait goes flat and cartoonish. If you want more control and don’t want to buy special bulbs, a white bedsheet or even a big piece of paper taped to the lamp can work to soften the light.
Back lights are the ultimate hack for making the head or shoulders stand out, like they’re popping off the page. If you can’t stretch a lamp behind your model, stick a small battery LED (like a camping light) on a bookshelf behind them. Aim for subtle glow, not a visible source blasting right into the camera or your eyes. You’ll know you got it right when the hair glows a bit and the edges are clearly separated from the background.
- Keep extension cords and power strips handy. You’ll always need them if you move things around.
- Test your setup using your phone’s camera. Anything that looks good in a photo usually looks good for painting too.
- If your room’s too small, angle the lights in from above or below, not just straight on. Play with height—it makes a difference.
- If you can, switch your lamps to daylight LED bulbs (5000K–6500K range)—they make skin tones way easier to read.
Artist and educator Marc Dalessio put it simply:
“The three-light setup isn't about having expensive equipment, it's about control. You can improvise with what you have and still get studio-quality results.”
Spend a few minutes moving your lights in small steps and watch what happens to nose shadows or cheekbones. Those subtle tweaks matter—my kid Eira once turned a teddy bear into a legit moody portrait model with just a reading lamp, nightlight, and an open window as fill. This setup works for pros, beginners, and even your favorite stuffed animal.
Real Artists, Real Results
If you look at how pro portrait painters work, you’ll see they almost always use a three-point lighting setup or something really close. Even people like Kehinde Wiley, famous for painting Barack Obama, rely on carefully arranged lights to make the skin, fabric, and backgrounds come alive. Wiley has talked about controlling highlights and shadows on his subjects to guide your focus, and that’s something you just can’t get with a single lamp bouncing off the ceiling.
Sarah Sedwick, a modern portrait painter known for her bold use of color, sets up her home studio with three lights and shares behind-the-scenes shots on her social accounts. If you check out her time-lapse videos, you’ll see how the lights carve out cheekbones and make the eyes pop without losing the softness you want in a painting. She often explains that the key light sets the foundation, the fill light prevents those scary-deep shadows, and the backlight brings the subject out from the background.
What’s really cool is that you don’t need to blow your budget to get similar results. Tons of beginner artists use low-cost LED panels or even clamp lights you can grab at the hardware store. The trick is paying attention to angles and shadows, not brand names or price tags. The main thing every successful painter agrees on: forget about setup only when you’re painting from imagination. For reference work, lighting makes or breaks your portrait.
- Try setting up three lights next time you paint a portrait from life. Take a photo each time you add a light, then compare. You’ll see why pros don’t skip this step.
- Notice how the volume and detail change. The jawline’s easier to shape, noses look more three-dimensional, and your colors look way more interesting.
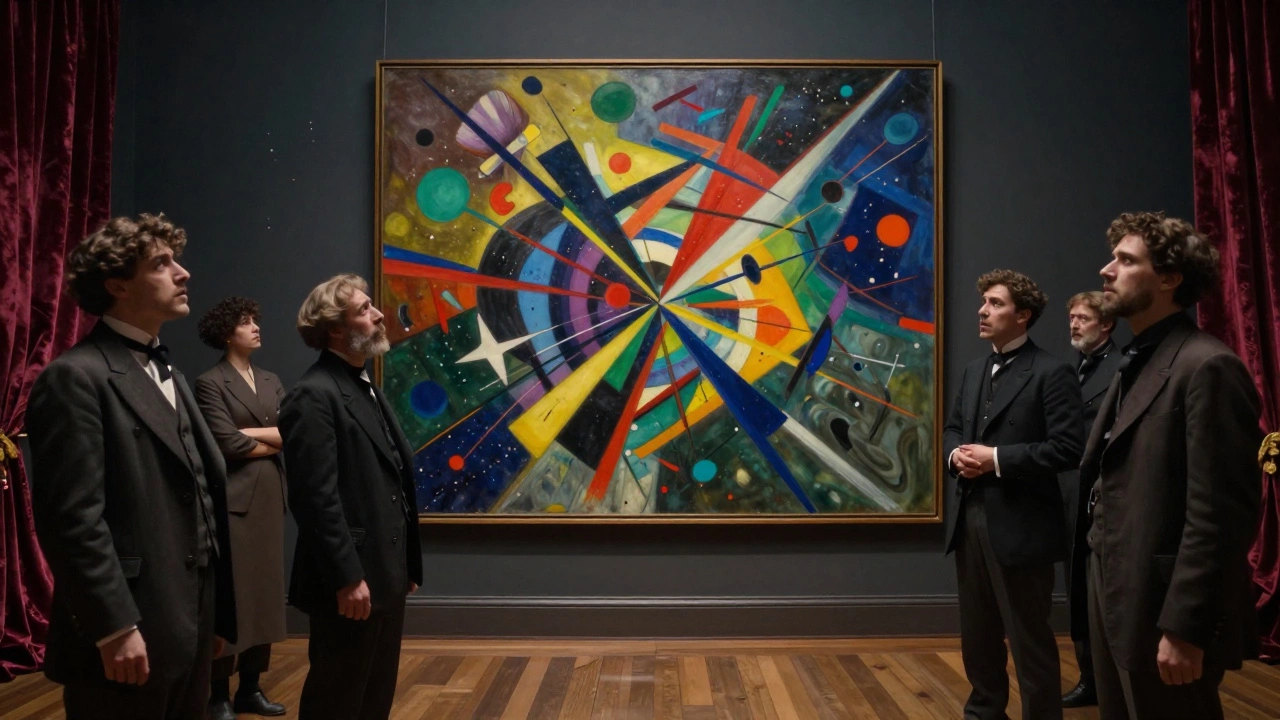
- If you can, check out museum portraits up close. Even when painted before electricity, you’ll often see evidence of artists chasing this look with windows and reflectors.
Once you start using three lights regularly, it’s hard to settle for just one. You’ll notice your portraits have more punch and people will wonder how you made them look so true-to-life—even when you’re still finding your style.