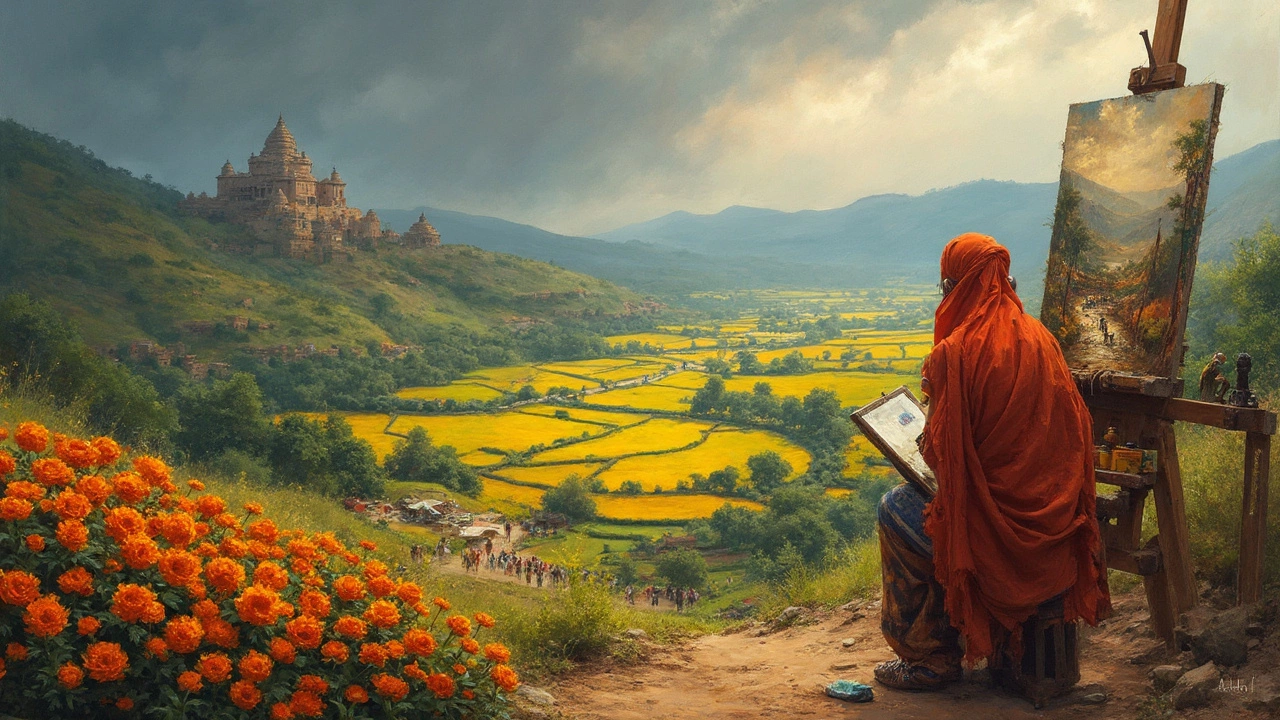
Parts of a Landscape: What Every Artist Should Know
When you look at a good landscape, you’re really seeing a collection of zones that guide the eye. Figuring out these zones helps you create stronger paintings, photos, or sketches without guessing.
The first zone is the foreground. This is what sits closest to the viewer. A rock, a patch of grass, or a fence can anchor the scene and give a sense of depth. Keep details sharp here – texture, color contrast, and clear edges make the whole image feel real.
Next comes the middle ground. It links the foreground to the background and usually contains the main subject – a tree line, a river, a road. Use slightly softer focus than the foreground, but still keep enough detail to keep interest.Then there’s the background. This is where the sky, distant hills, or far-off mountains live. Details fade, colors mute, and shapes become simpler. The background sets the mood – a bright blue sky feels open, while a stormy horizon adds drama.
The sky itself deserves its own mention. A clear sky can make a scene feel calm; clouds add movement and direction. Think about how the light from the sky hits the land – warm orange light in the evening versus cool blues at dawn.
Don’t forget the horizon line. It’s the invisible line where earth meets sky. Placing it higher or lower changes how dominant the land or sky feels. A low horizon emphasizes a dramatic sky, while a high horizon showcases the terrain.
Another useful element is the focal point. This is the part of the landscape you want viewers to notice first – a lone tree, a cabin, or a bright patch of color. Position it using the rule of thirds or by leading lines coming from the foreground.
Breaking Down the Landscape
Start by sketching the basic shape of each part. Use light lines for background, medium pressure for middle ground, and dark, confident strokes for foreground. This layering technique mirrors how our eyes travel from front to back.
Color also shifts from warm in the foreground to cool in the background. Warm reds and yellows pop up close; distant areas take on blues and violets due to atmospheric perspective. Applying this rule adds depth without extra detail.
Lighting is key. Notice where the sun hits the scene. Highlights on foreground objects create a sense of volume, while shadows in the middle ground guide the eye toward the focal point.
Putting It All Together
When you combine these parts, think of a story. What’s happening? A river winding from foreground to background can lead the viewer’s eye naturally. A path that disappears into the horizon invites the mind to wander.
Test your composition by cropping the image. If the main elements still read well, you’ve got a solid layout. If it feels cramped, consider moving the horizon or scaling the foreground objects.
Finally, step back. Look at the whole picture and ask: does each part support the mood? Does the foreground anchor the scene? Does the background set the tone? Adjust until it feels balanced.
Using these simple parts of a landscape, you can build stronger, more engaging works in less time. Whether you paint, photograph, or sketch, the same rules apply – break the scene into zones, give each its own focus, and let them work together for a clear, compelling image.
