Portrait Proportions Calculator
Proportion Calculator
How It Works
Standard portrait proportions place key facial features at precise positions:
- Eyes: Halfway down the head (50%)
- Nose: Halfway between eyes and chin (75%)
- Mouth: One-third below the nose (83%)
Proportional Placement
Head Height: 0 cm
Eyes: 0 cm
Nose: 0 cm
Mouth: 0 cm
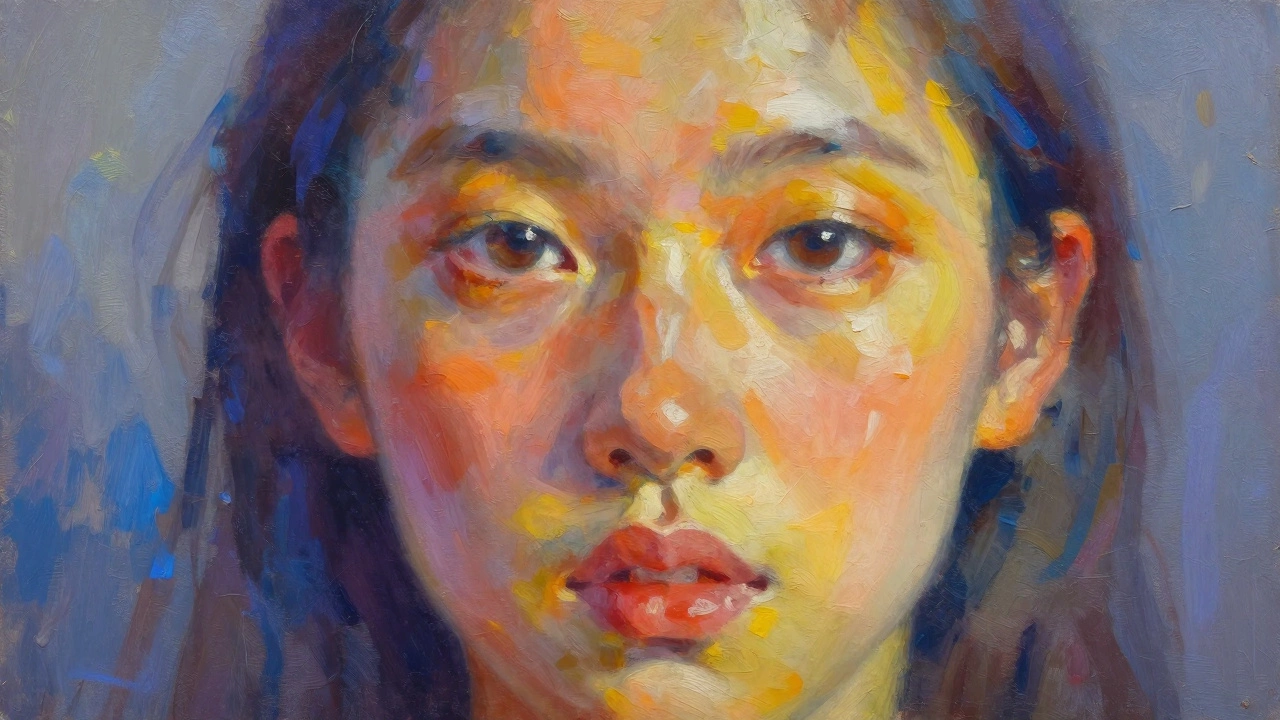
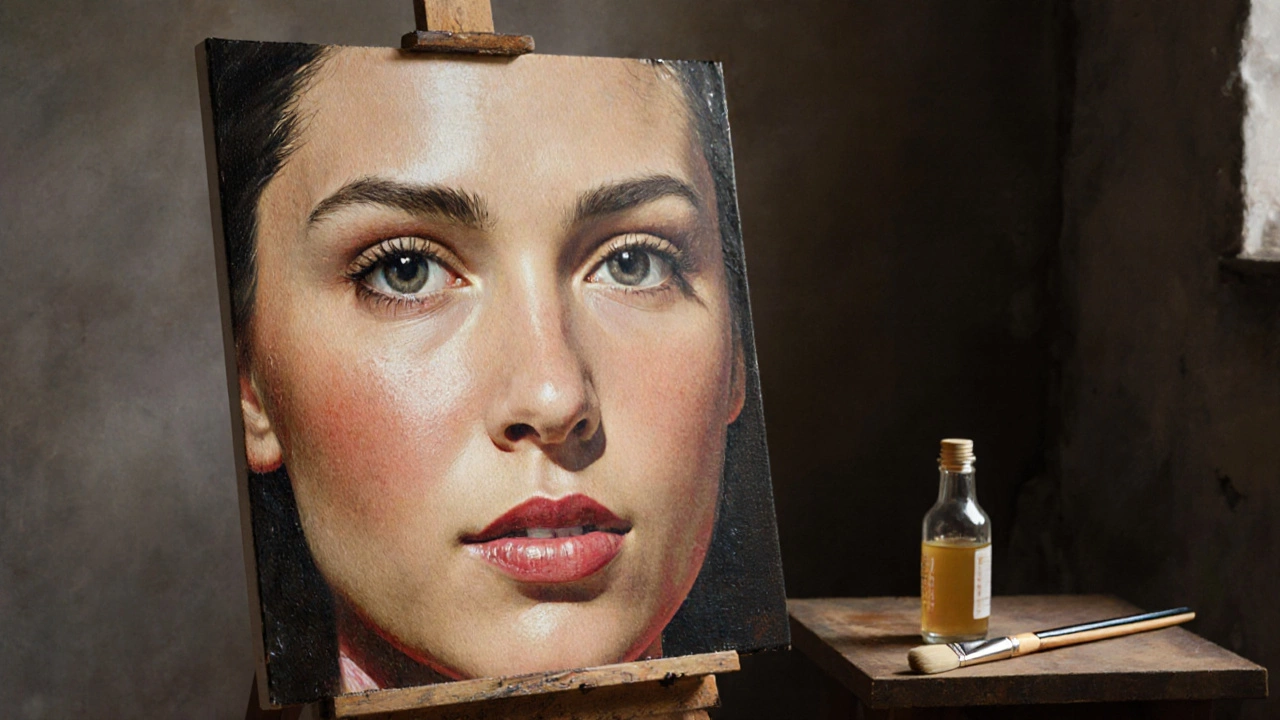
When you first pick up a brush, portrait painting is a form of visual art that captures a person’s likeness, personality, and mood. It can feel intimidating, but with the right process and tools you can start creating convincing portraits quickly. Below is a step‑by‑step roadmap that takes you from a blank canvas to a finished piece you can be proud of.
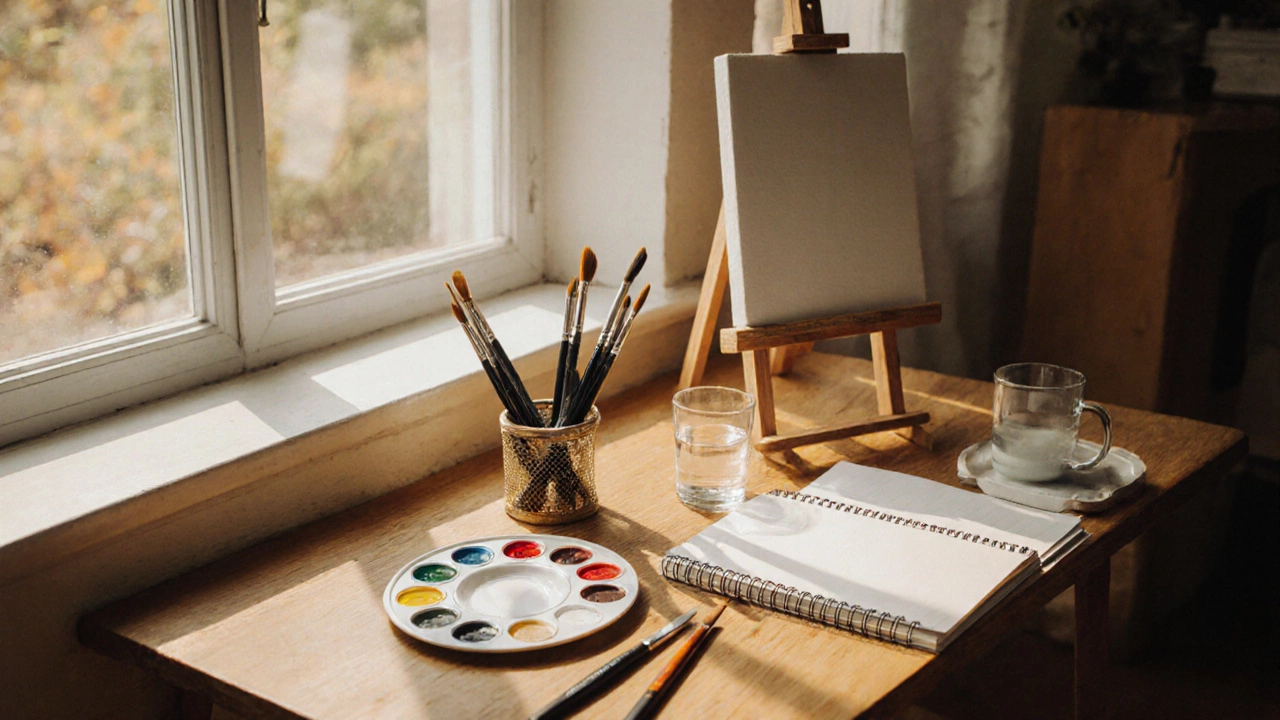
Gather Essential Supplies
Before you sketch, assemble a kit that works for beginners. You don’t need a mountain of gear; a few quality items will serve you well.
- Oil paint offers rich colors and a slow drying time, perfect for blending.
- Acrylic paint dries fast, making it ideal for artists who like to work quickly.
- Watercolor gives a delicate, translucent effect; it’s a good medium for practice studies.
- Canvas (stretched or canvas board) provides a sturdy surface that holds paint well.
- Brushes in a range of sizes - flat, round, and filbert - let you tackle both broad shapes and fine details.
- Palette (wooden or plastic) for mixing colors, and a palette knife for scraping and blending.
- Charcoal sticks or pencils for quick, loose sketches before you commit to paint.
Once you have these basics, you’re ready to move on to the core skills of portrait work.
Understanding Proportions and Anatomy
Getting the head’s shape right is the foundation of any portrait. Proportions refers to the relative size relationships between facial features - eyes, nose, mouth, and ears - and the overall head. A classic rule of thumb: the eyes sit halfway down the head, the bottom of the nose is halfway between the eyes and chin, and the mouth sits about one‑third below the nose.
Studying basic human anatomy (especially the skull) helps you understand why these ratios work. Keep a quick‑reference diagram nearby and pause frequently to compare your drawing against it.
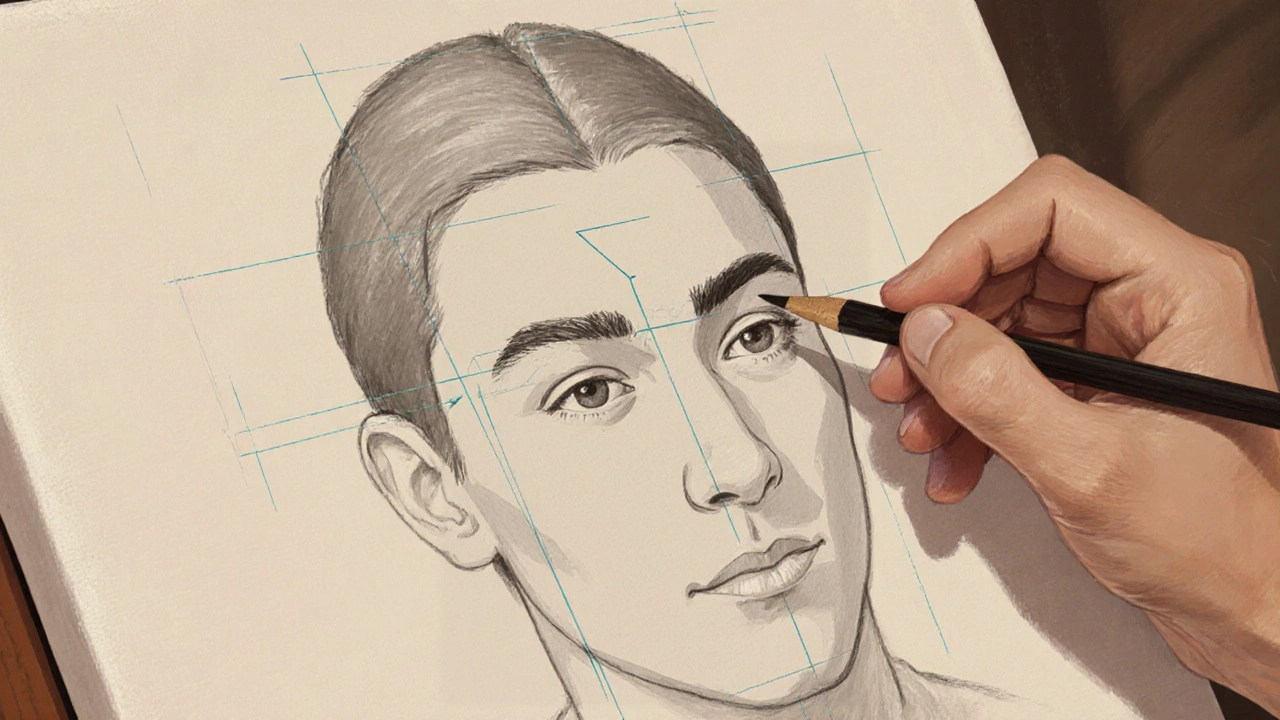
Sketching the Basic Outline
Start with a light charcoal sketch. Use broad strokes to block in the shape of the head and place the main guideline axes (vertical for symmetry, horizontal for eye level). Resist the urge to add details too early - the goal is to capture the overall layout.
After you’re satisfied with the anatomy, refine edges and mark key landmarks: brow ridge, inner corners of the eyes, tip of the nose, and corners of the mouth. A clean sketch gives your paint layers something solid to adhere to.
Blocking in Colors and Values
Before you dive into color mixing, establish a value map - the light‑to‑dark scale that defines form. Color theory teaches that shadows aren’t just gray; they contain subtle blues, purples, or warm reds depending on the lighting. Mix a limited palette of skin tones using the “fat over lean” principle (oil) or the “layering” principle (acrylic).
Apply the first thin layer (often called the “underpainting”) to cover the entire face. Use a large flat brush to block in the major light and shadow zones. This stage sets the stage for the more detailed work later.
Building Layers and Details
Once the underpainting dries, start adding middle‑tone layers. Switch to smaller round brushes for areas like eyes and lips. Remember the glazing technique, which involves applying thin, transparent layers of color over a dry base to create depth and luminous skin.
Work gradually: paint the eyes first, because they usually draw the viewer’s attention. Capture the catch‑light, then develop the iris color and subtle veins. Move on to the nose, shaping the bridge and nostrils with soft edges. Finally, render the mouth, paying attention to the curvature of the lips and the subtle color variations caused by blood flow.
Finishing Touches and Preservation
When the portrait feels complete, step back and examine it from a distance. Look for areas that need softening or extra contrast. Small highlights on the cheekbones or a gentle scrub of the hair can add realism.
Protect your work with a final coat of varnish. A matte varnish preserves the colors without adding shine; a gloss varnish can deepen the richness of oil paints. Allow the varnish to cure according to the manufacturer’s instructions before displaying or framing.
Common Pitfalls and Pro Tips
- Portrait painting is not about perfection; it’s about capturing character. Don’t get stuck on tiny flaws.
- Avoid mixing too many skin tones. Stick to a core palette and adjust with small amounts of warm or cool colors.
- Keep your brush cleaning routine strict. Dirty brushes blend colors unintentionally.
- Use a mirror or a reference photo with good lighting. Soft, diffused light reduces harsh shadows and makes skin tones easier to read.
- Take regular breaks. Fresh eyes help you spot proportion errors early.
Medium Comparison: Oil vs Acrylic vs Watercolor
| Aspect | Oil Paint | Acrylic Paint | Watercolor |
|---|---|---|---|
| Drying Time | Slow - days to weeks, great for blending | Fast - minutes to hours, good for quick work | Very fast, layers must be planned |
| Color Richness | Highly saturated, buttery texture | Vibrant but can darken when dry | Transparent, delicate washes |
| Surface Needed | Primed canvas or linen | Canvas, board, or heavy paper | Heavy cold‑press watercolor paper |
| Learning Curve | Steeper - requires solvent handling | Moderate - water cleanup, quick fixes | Gentle - but unforgiving once dry |
Next Steps: Practice Projects
Start simple: paint a single‑eye study, then a half‑face, and finally a full portrait. Each project reinforces the skills you just learned. Join online art groups or local sketch circles to get feedback and stay motivated.
Frequently Asked Questions
Do I need expensive materials to start portrait painting?
No. A basic set of quality brushes, a small range of paints (oil or acrylic), and a primed canvas are enough. You can upgrade as you improve.
How long should a beginner spend on a single portrait?
Expect 10-15 hours for a modest size portrait. Break it into stages - sketch, underpainting, layers, details - to avoid fatigue.
What lighting is best for reference photos?
Soft, diffuse natural light from a window works well. Avoid harsh shadows; a single light source helps you see clear value transitions.
Can I use mixed media in a portrait?
Absolutely. Many artists start with a charcoal sketch, add acrylic underpainting, then finish with oil glazes. Just let each layer dry fully before applying the next.
How do I keep my portrait proportions accurate?
Use the “grid” or “viewfinder” method: draw a light grid over your reference and replicate the same grid on the canvas. Then transfer key points square by square.