Sculpture Material Selector
Tools You'll Need
Starting a sculpture doesn’t require a degree in fine arts or a fancy studio. It starts with a simple question: what do you want to make? Not what you think you should make. Not what looks impressive on Instagram. But what feels real to you - a hand, a bird, a twisted knot of emotion. Sculpture is physical thinking. You shape the world with your hands, and in doing so, you shape your own understanding of it.
Choose Your Material - It Changes Everything
The first real decision isn’t about design. It’s about material. Each one talks back differently. You need to listen.
- Clay - soft, forgiving, and responsive. It’s the most common starting point. Air-dry clay is cheap and doesn’t need a kiln. Polymer clay can be baked in a home oven. If you’ve ever played with Play-Doh as a kid, you already know how clay feels.
- Wax - used for casting, but also great for direct carving. It holds fine detail and can be smoothed with a warm tool. Ideal if you want to make a mold later.
- Wood - requires tools like chisels and rasps. Hardwoods like basswood are beginner-friendly. You’ll feel resistance, and that’s good. Wood teaches patience. A mistake here can’t be undone with water.
- Stone - limestone or soapstone are soft enough to start with. You’ll need a mallet and point chisel. It’s slow. It’s loud. But when you chip away a layer and reveal a curve you didn’t know was inside, it’s magic.
- Wire and found objects - if you’re not sure about carving, try assembling. Bend wire into a form. Glue on bottle caps, rusted metal, driftwood. This isn’t "less than" - it’s called assemblage, and it’s how many modern sculptors began.
Most beginners start with clay. It’s the most forgiving. You can squish it, reshape it, and try again tomorrow. No one expects perfection on day one.
Start Small - Really Small
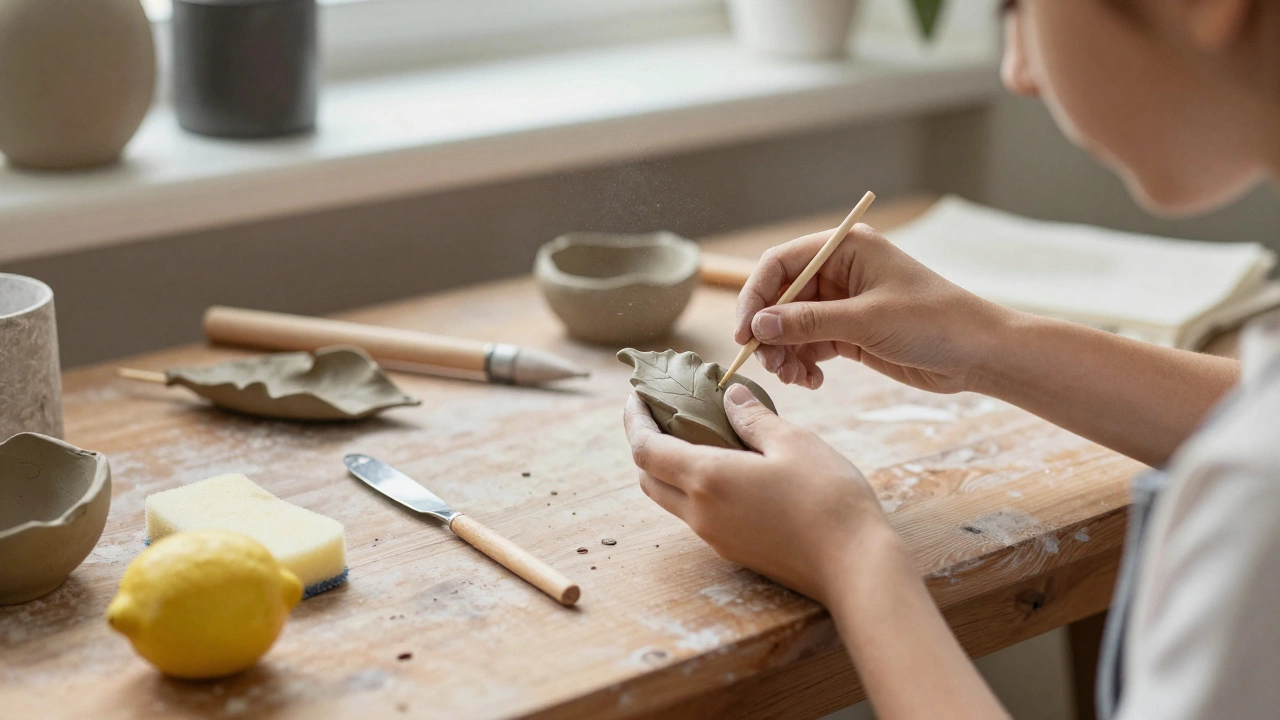
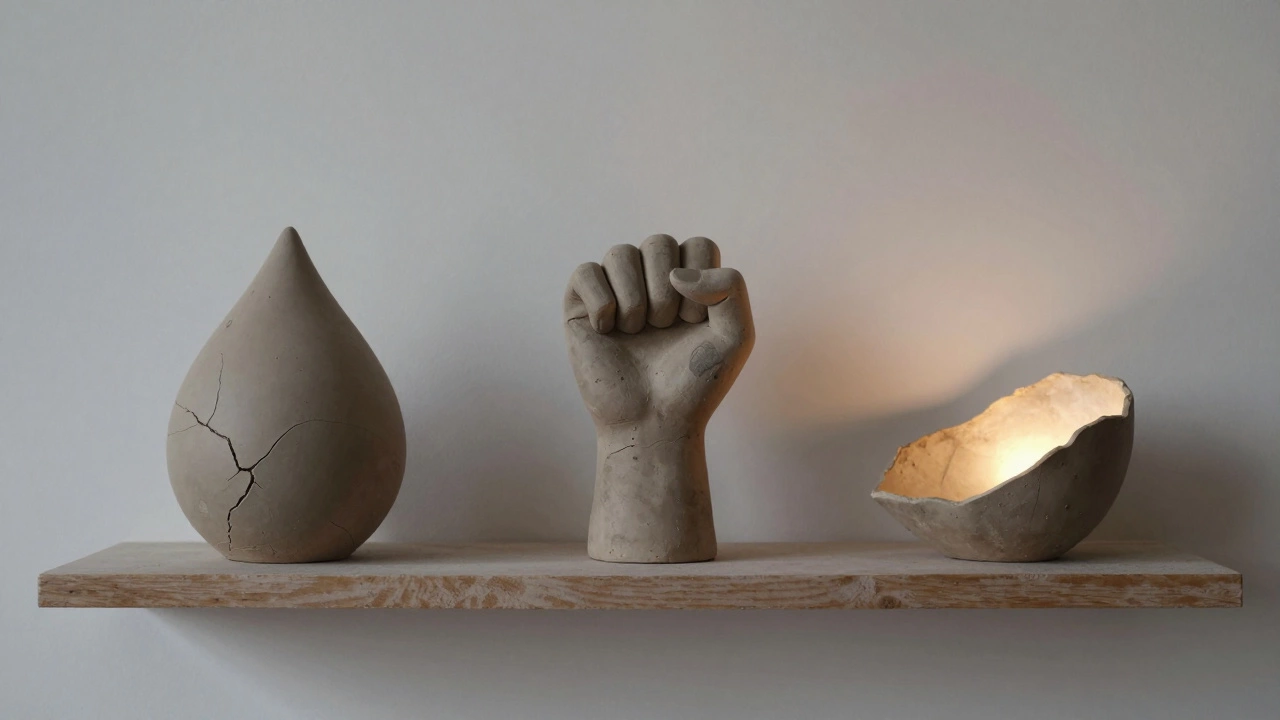
Don’t try to carve a horse. Don’t even try a dog. Start with a fist. Or a teardrop. Or a single curled leaf.
Why? Because small things are manageable. You can finish them in an afternoon. And finishing something - even if it’s imperfect - builds confidence. A 5-centimeter clay form you complete in two hours teaches you more than a week spent staring at a 30-centimeter block of stone you’re too afraid to touch.
Here’s a simple exercise: Grab a lump of clay the size of a lemon. Without looking at photos, sculpt something you can hold in one hand - a bird, a face, a seed pod. Don’t aim for realism. Aim for feeling. Does it feel like it’s breathing? Does it look like it’s about to move? That’s the goal.
Tools Don’t Need to Be Expensive
You don’t need a $300 sculpting tool set. Start with what you have.
- A wooden skewer - for fine lines and poking holes.
- A butter knife - for smoothing and shaping curves.
- A metal spoon - the rounded edge is perfect for hollowing out forms.
- A damp sponge - to keep clay moist and blend edges.
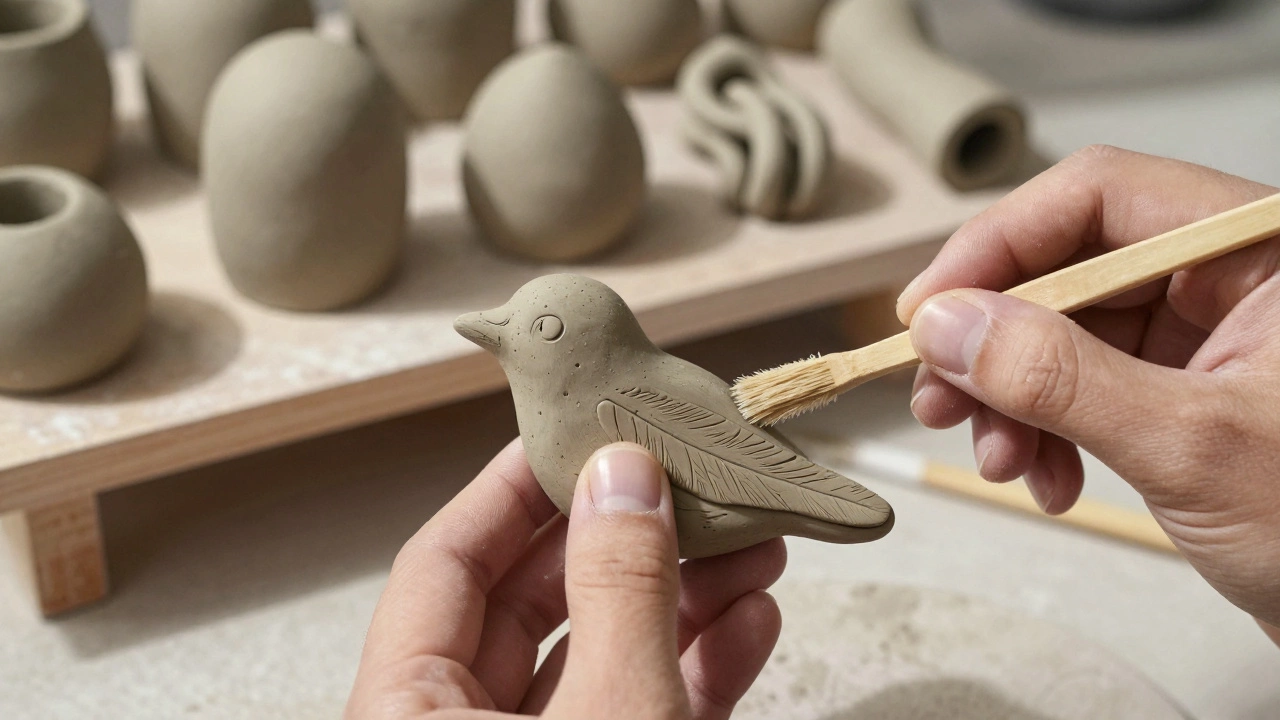
- A toothbrush - for texture. Brush it across wet clay to create skin, fur, or moss.
Once you’re hooked, you can buy proper tools. But most professionals still use kitchen utensils. The tool isn’t the artist - your hands are.
Work From the Outside In - Then the Inside Out
Most beginners make the same mistake: they focus on details too early. Eyes. Fingers. Hair. But sculpture isn’t about decoration. It’s about volume.
Think of it like this: You’re not carving a face. You’re carving a head - a rounded mass with weight and balance. Then you carve the eyes into it. Not the other way around.
Start with the basic shape. A sphere for a head. A cylinder for a leg. A wedge for a shoulder. Use your fingers to rough it out. Then use tools to refine. Only after you’ve got the form do you add details. Otherwise, you’ll end up with a lumpy mess that doesn’t hold together.
Look at Real Life - Not Just Photos
Photos flatten space. Sculpture lives in 3D. So get out of your chair.
Go to a park. Sit on a bench. Watch how light falls on someone’s shoulder as they lean forward. Notice how the curve of a wrist changes when the hand is clenched. Look at your own hand. Turn it. Study the knuckles, the tendons, the way skin stretches.
Take a piece of clay and try to copy what you see. Don’t copy a photo. Copy a real person. Even if you only have five minutes. That’s how you train your eye.
Many famous sculptors, like Auguste Rodin, worked from live models. You don’t need a studio. Just a person willing to sit still for ten minutes.
Embrace Mistakes - They’re Your Best Teacher
Every sculpture you destroy teaches you more than the ones you keep.
That lopsided head? Smash it. Reuse the clay. That twisted arm that looks like a pretzel? Cut it off. Try again. You’re not wasting material. You’re building muscle memory.
One artist I know in Sydney started by making 47 clay hands. None of them looked right. The 48th? It was the first one she didn’t overthink. She didn’t try to make it beautiful. She just made it feel like a hand. That’s the one she still has on her shelf.
Let It Dry - Then Decide What Comes Next
Clay dries. Wax hardens. Wood gets dusty. Your piece will change.
After a few days, step back. Is it still alive? Does it still speak to you? Or does it feel flat? If it’s alive, you can leave it raw. If it’s not, you can paint it, coat it with resin, or even cast it in plaster.
There’s no rule that says sculpture has to be shiny or smooth. Rough edges can be powerful. Cracks can tell a story. A piece doesn’t need to be finished to be finished.
Share It - Even If You’re Afraid
Put it on a windowsill. Show a friend. Post it online. Don’t wait until it’s "good enough."
Art isn’t about perfection. It’s about connection. Someone else might see something in your sculpture you didn’t know was there. Maybe they’ll say, "That looks like my grandmother’s hand." Or, "I feel that tension in my shoulders." That’s when sculpture becomes more than a shape. It becomes a bridge.
There’s no secret. No magic formula. Just your hands, your material, and the courage to make something that didn’t exist before.
