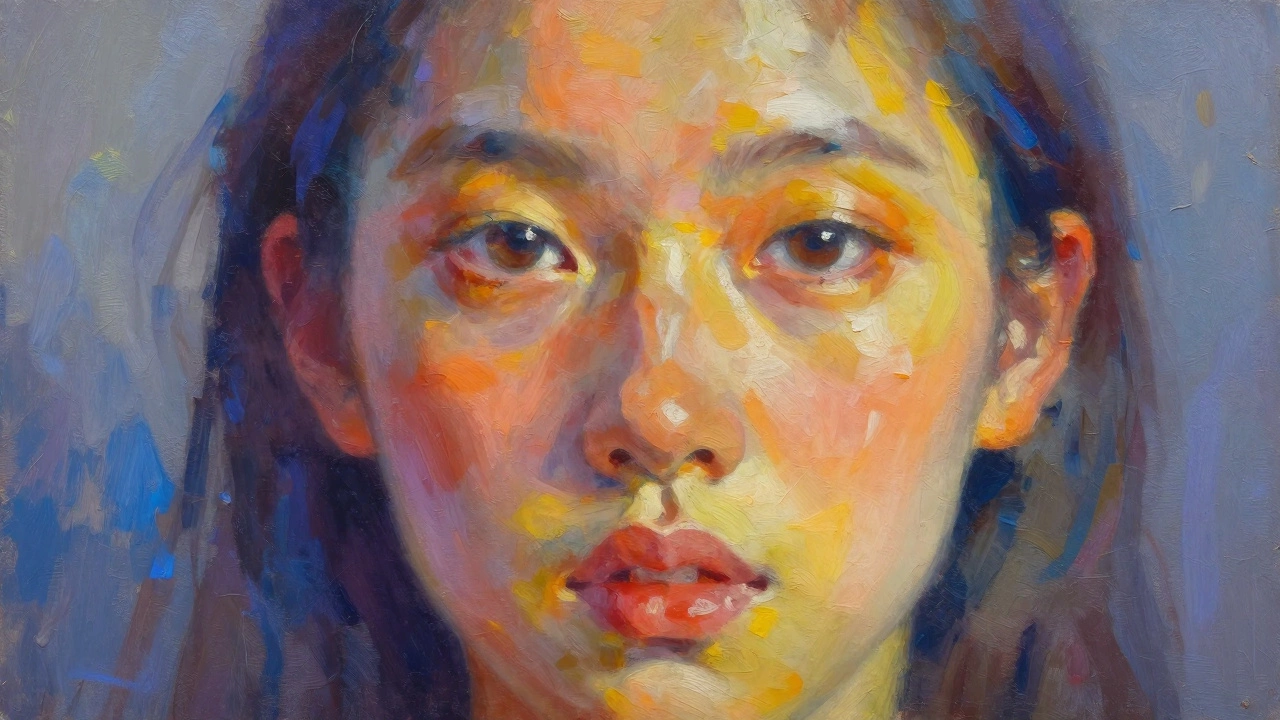
Ever stared at an oil painting that looks flat, lifeless, or just plain dull and wondered why it’s not popping the way you imagined? A painting can lose its sparkle for a handful of reasons-muddy pigments, flat values, or a lack of contrast. The good news is that you can revive it without starting from scratch. Below you’ll find a step‑by‑step guide that covers the science and the craft, so you can bring brightness back to any piece.
Why Does an Oil Painting Look Dull?
First, diagnose the problem. Most dullness stems from one or more of the following:
- Low value contrast: Dark shadows and bland mid‑tones dominate, leaving little room for light.
- Muddy color mixing: Over‑mixing on the palette creates desaturated hues.
- Thick, opaque layers: Heavy impasto blocks light from reflecting off lower layers.
- Inadequate glazing: Without translucent washes, colors lack depth.
- Improper drying medium: Too much oil or a lack of “fat over lean” can cause uneven gloss.
Identifying the cause tells you which technique will work best.
Assessing Value and Color
Grab a neutral gray card or press a piece of charcoal against your canvas. If the painting looks the same as the card, the values are flat. Next, look for those “dead” colors - often browns, oranges, or greens that feel muted. A quick test: apply a dab of pure Cadmium Yellow or Ultramarine Blue on a corner. If it instantly lifts the visual weight, you know a little hue boost goes a long way.
Glazing: Adding Luminous Color
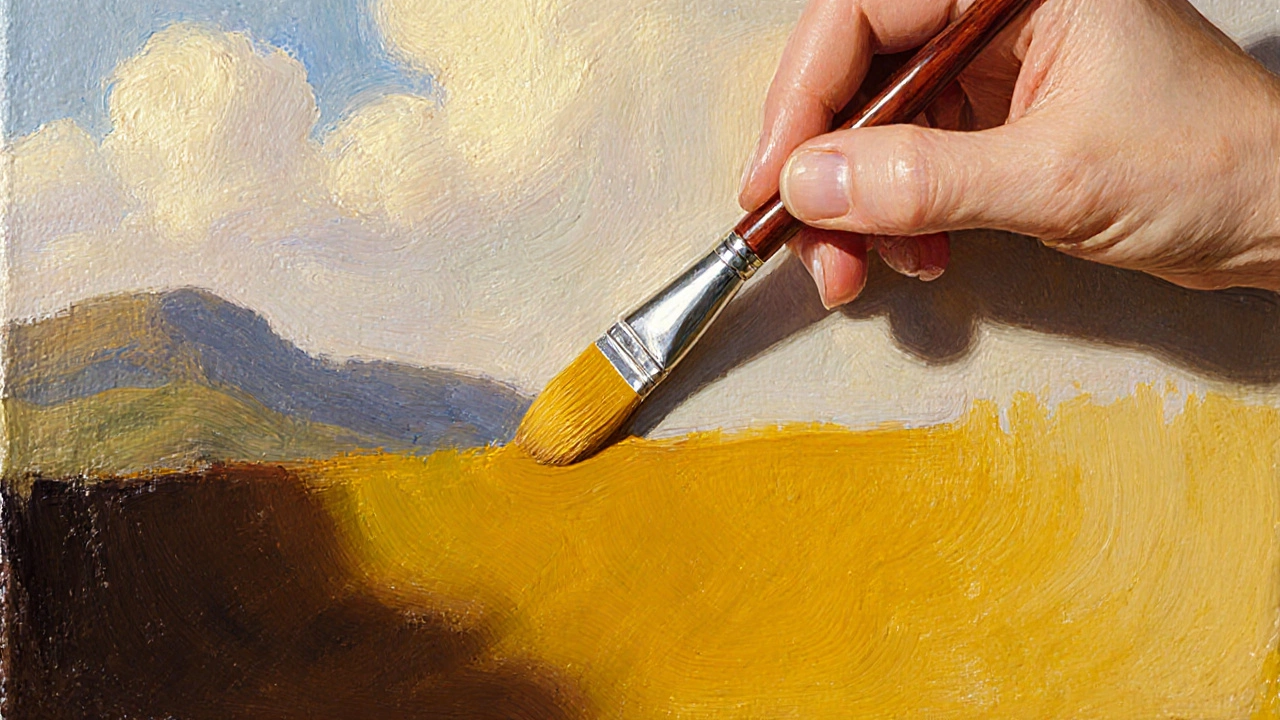
When you want to brighten oil painting without covering existing brushwork, glazing is your go‑to. Glazing is a technique that uses thin, transparent layers of pigment mixed with a medium (typically linseed oil and a solvent) to modify underlying colors. The key is keeping the mixture fluid enough to let light pass through, then bounce off the paint underneath.
- Mix a small amount of color (e.g., Naples Yellow or a warm earth) with a glazing medium - one part oil to two parts solvent.
- Apply with a soft flat brush in thin, even strokes, focusing on shadow areas that need lift.
- Let each glaze dry (usually 24‑48hours) before adding the next. Multiple glazes build depth.
Glazes are especially effective for warming cool shadows or adding a subtle glow to background skies.
Scumbling: Lightening with Opaque Texture
Scumbling is the application of a thin, opaque layer of paint over a dried area, allowing portions of the underpainting to show through. Unlike glazing, scumbling uses a more viscous mix, often with added filler like chalk or dry white.
- Prepare a mixture of titanium white (or a light earth) with a little linseed oil to keep it workable.
- Using a dry, stiff brush, drag the paint across the surface in quick, broken strokes. The goal is to let the darker layer peek through.
- Target areas that need a quick lift-cloud tops, reflective water, or highlights on fabric.
Scumbling instantly boosts brightness while preserving texture, making it perfect for atmospheric effects.
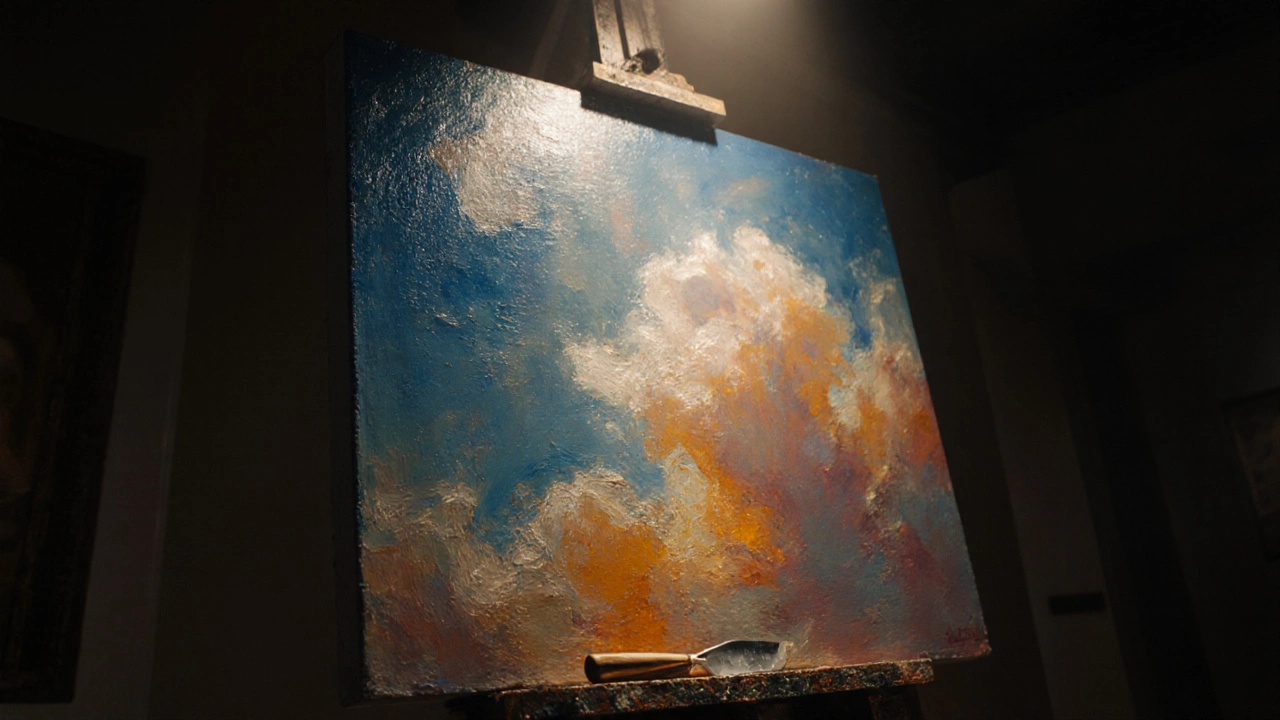
Impasto Adjustment: Controlling Light Reflection
Impasto is a technique where paint is laid on the canvas thickly enough to stand out from the surface, creating a three‑dimensional texture. While impasto adds drama, too much in shadowed zones can trap light and mute the surrounding colors.
To counteract this, gently flatten the excess with a clean palette knife or a soft brush dampened with a little medium. This reduces the light‑blocking mass and lets adjacent glazes or scumbles shine through.
Mediums and Varnish: The Final Polish
Choosing the right medium influences how bright a painting can become. Linseed oil is a drying oil that increases gloss and enriches color saturation. Mix a few drops into your glazes for extra brilliance.
After the painting is completely dry (usually 6‑12months for thick oils), apply a final varnish. A gloss varnish amplifies contrast, whereas a matte varnish tames harsh highlights. Test a small corner first to see which finish matches your intent.
Step‑by‑Step Brightening Workflow
- Evaluate: Use a gray card to spot flat values; note muddy areas.
- Underpaint Corrections: If the base color is wrong, gently lift with a solvent‑dampened brush and repaint the underlayer.
- Apply Glazes: Build warm or cool transparent layers over shadows.
- Scumble Highlights: Lightly drag opaque whites or light earths over luminous spots.
- Refine Impasto: Flatten any overly thick sections that block light.
- Medium Boost: Add a few drops of linseed oil to the last glaze for extra sheen.
- Varnish: Finish with a protective varnish that matches the desired gloss level.
Follow this order to avoid re‑working wet layers and to maintain the “fat over lean” principle.
Quick Comparison: Glazing vs. Scumbling vs. Impasto
| Technique | Transparency | Texture effect | Typical use | Drying time |
|---|---|---|---|---|
| Glazing | High (transparent) | Smooth, depth | Adjust hue/value in shadows | 24‑48h per layer |
| Scumbling | Low (opaque) | Broken, grainy | Lift highlights, create atmosphere | 12‑24h |
| Impasto | None (thick) | Very pronounced, 3‑D | Add drama, catch light | Varies, often weeks |
Common Pitfalls and How to Avoid Them
- Over‑glazing: Too many layers can cause a yellowed film. Keep each glaze thin and allow full drying.
- Mixing incompatible mediums: Oil and acrylic don’t bond well. Stick to oil‑based glazes for oil paintings.
- Neglecting color theory: Adding only yellows can make a piece look jaundiced. Use complementary hues (e.g., a hint of ultramarine on warm browns) to maintain balance.
- Skipping varnish: Without a final protective coat, dust and UV can dull the restored brightness over time.
Checklist for a Brighter Painting
- Identify flat values with a gray card.
- Choose a suitable transparent glaze color.
- Apply at least two thin glaze layers, letting each dry fully.
- Use scumbling on highlights where a quick lift is needed.
- Flatten any heavy impasto that blocks light.
- Mix a few drops of linseed oil into the final glaze.
- Protect with a varnish that matches your desired finish.
Frequently Asked Questions
Can I brighten a painting that’s already varnished?
Yes, but first remove the old varnish with a gentle solvent (like mineral spirits) and a soft cloth. Work in a well‑ventilated area and test on a hidden corner. Once the surface is clean, you can apply fresh glazes or scumbles before re‑varnishing.
How many glaze layers are safe before the paint becomes too dark?
Typically two to three thin layers are enough. If you need more depth, increase the transparency of each layer rather than adding a fourth coating, which can yellow over time.
What medium works best for brightening glazes?
A mix of linseed oil and a small amount of turpentine (or odorless mineral spirits) creates a fluid but stable glaze. For extra gloss, add a touch of stand‑oil.
Is scumbling appropriate for detailed work?
Scumbling works best for broader areas like clouds, water surfaces, or soft highlights. For fine details, use a thin glaze or traditional wet‑on‑wet painting instead.
How long should I wait before varnishing after brightening?
Ensure the painting is completely dry-this can be 6‑12months for thick oils. A quick test is to press a finger lightly on a hidden spot; if no tackiness is felt, it’s safe to varnish.
With these tools in your toolbox, a dull oil painting is no longer a dead end. Whether you’re tweaking a landscape’s sky or reviving a portrait’s skin tones, the combination of glazes, scumbles, and smart medium use will give your work the luminous quality it deserves.