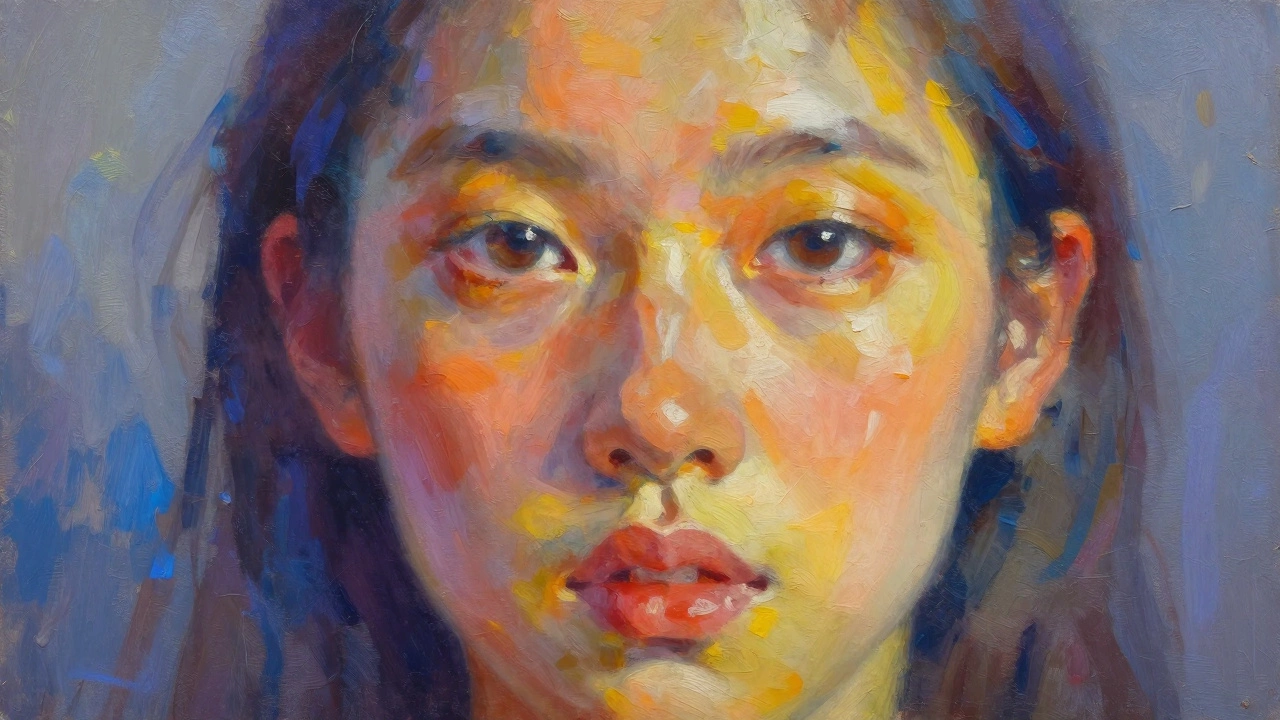
If you’ve ever wanted to see your art hanging on more than just your own walls, you’re not alone. Turning your work into prints is a great way to reach new fans and—yep—actually make some money from what you love doing.
First things first: you need a solid, high-quality digital version of your art. For flat pieces like drawings or paintings, a basic home scanner might cut it if your art fits on the bed. But for bigger or textured work, a camera (even your phone with good lighting!) can work in a pinch, though investing in a decent DSLR will make things look sharper.
What’s the big deal with resolution? Prints look best when your scan or photo is at least 300 dpi (dots per inch). If you go lower, you get those blurry, pixelated edges that just scream ‘cheap copy.’ Set your scanner or camera to capture all the detail—later you can resize, but it’s tough to get that sharpness back once you’ve lost it.
- Getting Your Art Ready for Prints
- Choosing the Best Way to Digitize
- Making Your Art Print-Ready
- Printing Options and Paper Types
- Selling and Sharing Your Prints
Getting Your Art Ready for Prints
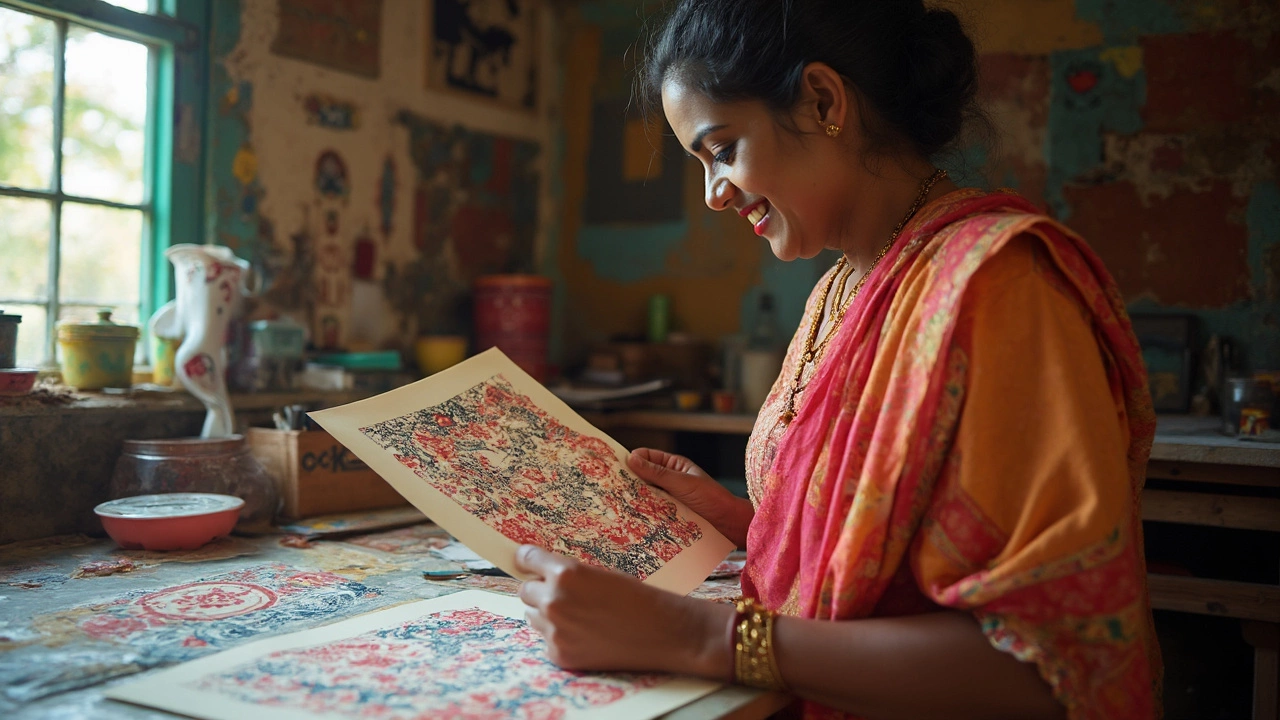
Before you go hunting for print shops or flashy online services, slow down and make sure your original piece is actually ready for art prints. Cleaning up your work and prepping it right will save you a bunch of headaches later.
Check your artwork for dust, smudges, or even tiny specks. Even a single stray cat hair can show up in a scan and ruin a print. If your piece is a painting, make sure it’s totally dry—oil paints especially can still feel tacky weeks after they 'look' dry.
Lighting matters too. Snap a quick pic with your phone: are the colors off or does your drawing look lopsided? Your print will only be as good as the original in front of the camera or on the scanner bed. Double-check the edges—trim any uneven paper or fix torn corners. It might seem minor, but print shops will scan everything as-is.
Here are a few tips to get the best out of your piece before making it into prints:
- Use a soft brush or clean cloth to gently sweep away dust. Don’t use your hands—oily fingers can leave marks.
- If you work in pencil or charcoal, consider spray-fixing the surface with a fixative to keep loose bits from smearing.
- Lay flat artwork between clean sheets of paper when transporting it, so nothing scratches the surface.
- Label the back of your art with the title, date, and your name in pencil—this helps when sorting digital files later, especially if you make art prints regularly.
If you plan to frame the original before scanning or photographing, do it after digitizing. Glass and glare are a nightmare to edit out, and you’ll get sharper shots without reflections blocking details.
Taking time now to check corners, clean up smudges, or make little touch-ups can be the difference between selling a print that looks pro and dealing with returns from disappointed buyers. Prep it right—your future self (and your customers) will thank you.
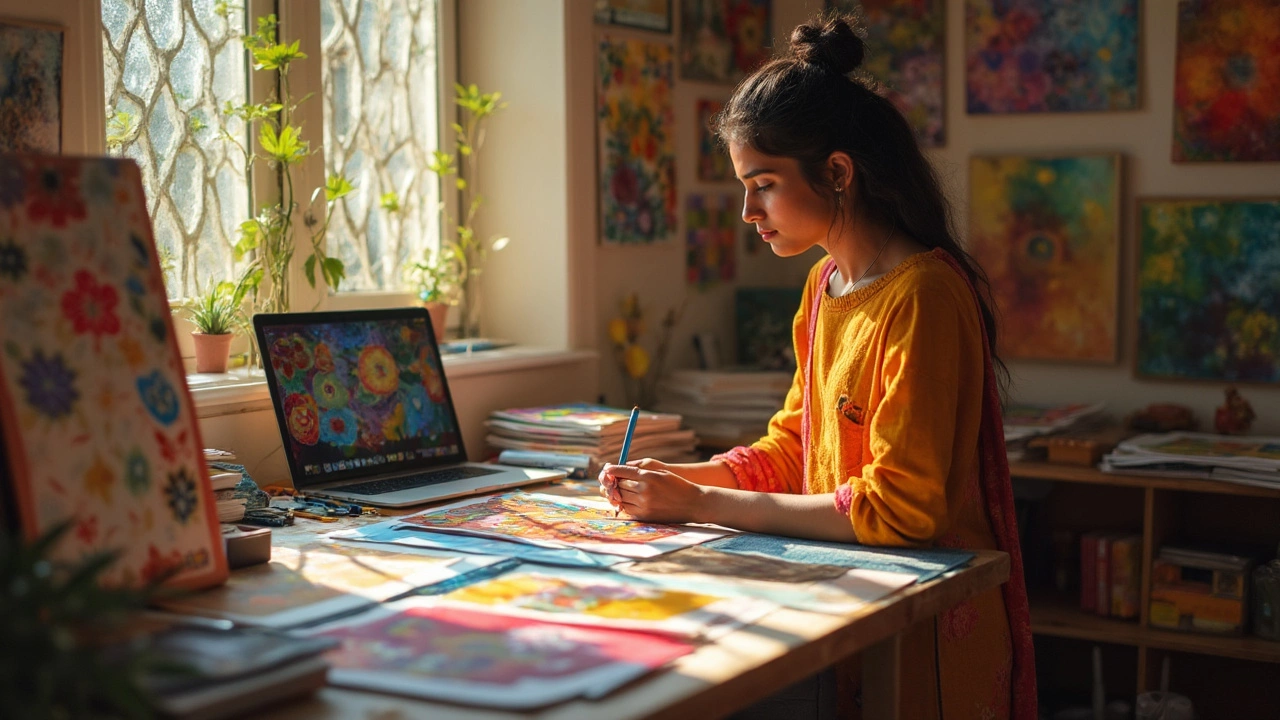
Choosing the Best Way to Digitize
Before you start making art prints, you need a crystal-clear digital version of your work. The method you pick depends a lot on your medium, the size, and your budget. Here’s a breakdown so you can skip the confusion.
- Flatbed Scanner: If your art fits on a regular scanner (usually under 8.5x11 inches), this is the easiest and cheapest way to get sharp scans. Scanners are best for things like ink drawings, watercolor, and small acrylic pieces. Look for a scanner that can do at least 300 dpi, but 600 dpi is even better for detailed work.
- Camera or Smartphone: Big canvases, textured pieces, or anything that’s not flat probably won’t fit in a scanner. A DSLR camera gives you more control and better sharpness, but a modern smartphone also works in a pinch. Set your work near a window or use soft daylight bulbs to prevent ugly shadows. Always align the camera so it’s parallel to the art—wonky angles are a nightmare to fix later.
- Professional Scanning Services: Sometimes you just want the best possible quality, especially if you plan to sell lots of prints. Scan shops or art stores often have large flatbed scanners or drum scanners that catch every detail, but costs can range from $10 to $60 or more per scan, depending on the size. It hurts the wallet, but the detail is next-level.
If you’re not sure how much resolution you need for your art prints, check this cheat sheet below:
| Print Size | Minimum Image Size (pixels) |
|---|---|
| 8" x 10" | 2400 x 3000 |
| 11" x 14" | 3300 x 4200 |
| 16" x 20" | 4800 x 6000 |
If you’re ever stuck between scanning and photographing, go with whatever captures the most detail. No one wants a print that looks fuzzier than the original. And save your files in a lossless format like TIFF or PNG—JPEG crushes details and adds ugly noise.
Double-check before you invest time or money: does your digitized art show every brushstroke and color shift? If the answer is no, try a different method or lighting. Your printmaking journey is so much smoother when you nail this step from the beginning.
Making Your Art Print-Ready
This is the step where a lot of artists get tripped up. You’ve got your artwork scanned or photographed—now what? Getting your file print-ready means adjusting a few things on your computer. Missing these steps can kill your art prints before they even get to paper.
First up: color correction. Your digital version almost never matches the original right out of the camera or scanner. Open your image in Photoshop, Procreate, or GIMP (the latter is free if you’re on a budget). Check your highlights, shadows, and contrast. It helps to have your original close by for comparison, or hold up your phone’s screen in good light right next to your art. Tweak the brightness and contrast until it feels right—don’t overdo it!
If your artwork has empty backgrounds or crooked edges, crop it tightly so the art prints look pro. Straighten, rotate, or flip as needed. Use the healing tool or clone stamp to remove dust or unwanted marks, especially around the edges.
- Set your file size and resolution: Make sure it’s set to 300 dpi/ppi for sharp results. Standard print sizes like 8x10, 11x14, or A4 are easiest to frame, so resize your file to fit one of those without stretching.
- Color profile matters: Print shops usually want files in CMYK, not RGB. RGB looks brighter on screens, but CMYK is for real-world printing. If you’re printing at home, keep an eye on your own printer’s settings—they might expect RGB.
- Save as the right file type: Use TIFF or high-quality JPEG for most art prints. Avoid saving over and over as JPEG (it loses data every time). Keep an original backup in PSD or layered format if you do more tweaking later.
Pro tip: Add a small white border to your image before printing. It makes signing the print way easier (your future customers will expect this).
You want your print to look as close to the real thing as possible—nobody likes washed out or blurry versions. Double-check everything before you send your file off for professional printing or upload to your online store.
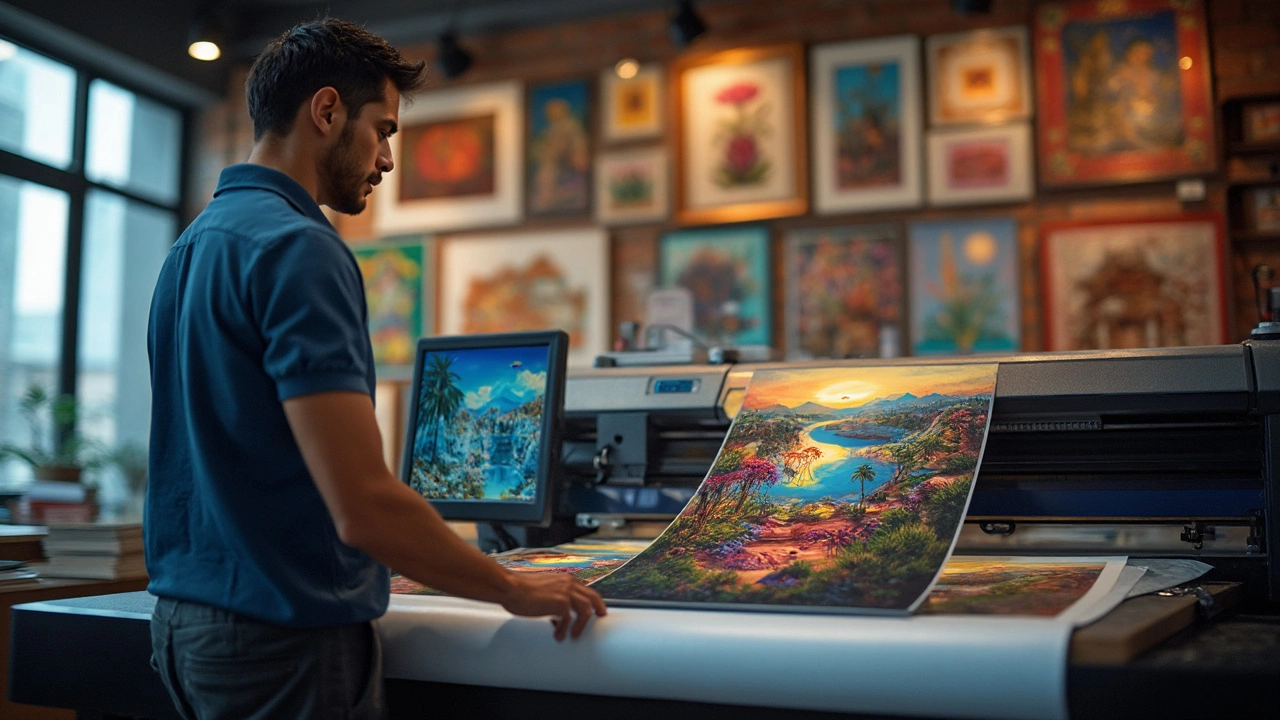
Printing Options and Paper Types
This part can feel overwhelming, but picking the right printing option and paper can make or break your art prints. Let’s keep it simple. Most artists go with either inkjet (often called giclée) or digital laser printing. For art with fine details or rich, bold colors, inkjet giclée is the go-to. The inks are pigment-based, so they last decades and don’t fade easy. Laser works for quick runs and costs less, but colors might not pop as much—great for stickers or zines, but less ideal for true art prints.
If you’re printing at home, just keep in mind that cheap printers use dye-based inks, which can fade fast. That’s fine for casual stuff or testing, but for anything you plan on selling, look into local print shops or online services like Printful, INPRNT, or Giclée Today. They use better tech and offer tons of choices.
Now, onto paper. Not all paper is created equal. If you choose the wrong one, your print could end up looking flat or even start curling with time. Here’s the real scoop:
- Matte paper: No shine, non-reflective. It’s perfect if you want your print to have a soft, velvety look and avoid glare. Popular for drawings and muted color palettes.
- Glossy paper: Shinier, makes colors pop and blacks deeper, but fingerprints show up quick and can cause glare in bright lights.
- Heavy, archival paper: Think watercolor or textured fine art papers. They have a natural feel and last longer. If customers are into collector stuff, this is the way to go.
- Photo paper: Good for bold colors and smooth finishes—okay for digital art or bright graphics.
Let’s look at a quick snapshot of paper weights. Most art prints land between 200 to 320 gsm (grams per square meter). Anything under 200 gsm feels flimsy. Above 320 gsm, it’s more like card stock or a board, which could get pricey.
| Paper Weight (gsm) | Feel/Use |
|---|---|
| 150-200 | Light, best for posters and zines |
| 200-300 | Standard for art prints, sturdy, hangs well |
| 300+ | Premium, gallery-quality, super thick |
According to artist and printmaker Lorraine Loots,
"The right paper can completely transform the way an artwork feels—don’t rush the decision, and ask for samples if you can."It’s worth taking this advice—test small batches or request sample packs from print shops before you commit. You’ll notice how colors and textures change, even with the exact same artwork.
One more thing: If you’re selling art prints, always add a little white border (about 1/4 inch or so) for easier framing. Most buyers will thank you for it. At the end of the day, your choices for printing and paper are part of your art’s final look—don’t treat them like an afterthought.
Selling and Sharing Your Prints
Alright, you’ve got fresh art prints in hand—now what? It’s time to let the world see (and buy) them. There are two main ways people usually sell prints: online and in-person. Each has its perks, so let’s break them down.
For online sales, sites like Etsy, Shopify, and Society6 make it simple to set up shop. Etsy lets you control everything, from pricing to shipping. Shopify is your thing if you want a dedicated website for your printmaking hustle. Society6 and Redbubble take printing and shipping off your hands—you upload your art files, and they handle the rest, but your earnings per sale can be lower.
- Etsy: Best if you want to control your store and talk straight with buyers.
- Society6/Redbubble: Great for folks who don’t want to pack and ship anything themselves.
- Shopify: Ideal for building your own brand and store as you grow.
Did you know that in 2024, over 80 million people bought something from Etsy? That’s a massive crowd looking for unique stuff—like your art prints. But don’t skip your local scene. Art fairs, coffee shops, and independent bookstores are solid spots for selling prints in person. People love meeting the artist and seeing the work up close.
When you’re ready to market your prints, don’t just post a photo and hope for the best. Good lighting matters. Flat-lay photos of your prints, or pictures showing them framed on a wall, make a difference on social media. And speaking of socials—Instagram, TikTok, and even Pinterest can get you a ton of eyeballs. Tag your posts right, use hashtags like #artprints or #supportlocalart, and always reply to comments—people love when artists engage with them directly.
Managing orders can get messy fast if you’re not organized. Keep a simple spreadsheet (or use online tools like Google Sheets) to track sales, inventory, and shipping. Some artists even use order management apps linked to their online stores.
If you’re unsure about pricing, here are some quick tips:
- Factor in the cost of printing, packaging, and shipping supplies.
- Check what other artists with similar styles and sizes are charging.
- Don’t undervalue your work—pricing too low can make your prints seem less special.
Sometimes artists offer limited runs—say, only 50 hand-signed copies of a print. It ups the value and gives buyers a sense of owning something rare. If you do this, number each print (like 1/50, 2/50, etc.), and maybe sign them for that extra personal touch.
Here’s a useful table showing how selling platforms compare, just to make life easier:
| Platform | Setup Fee | Commission | Shipping | Control |
|---|---|---|---|---|
| Etsy | $0.20 per listing | ~6.5% | User handles it | High |
| Society6 | None | Artist gets 10% | Handled by site | Low |
| Shopify | $29+/month | Varies | User handles it | Very high |
At the end of the day, selling and sharing your art prints is about getting your work into the right hands—those who really appreciate it. Try out a few platforms, be consistent with your promo, and see what clicks with your audience. Don’t be afraid to tweak things as you go. Your art deserves a big stage.