Portrait Proportion Calculator
Master the most common challenge in portrait painting: accurate proportions. This tool calculates standard facial feature relationships based on established artistic principles.
Reference Measurement Input
Enter key measurements from your reference photo or live model. Standard portrait proportions are based on a head that's approximately 7-8 eye-widths wide.
Key Takeaways
- Difficulty in portrait painting usually comes from mastering proportions, value, and anatomy.
- Choosing the right medium (oil, acrylic, watercolor) can reduce technical friction.
- Break the process into four steps: observation, sketch, value mapping, and color refinement.
- Use reference photos, grid systems, and a limited palette to speed up learning.
- Regular short‑duration studies are more effective than occasional long sessions.
When you hear the question portrait painting, the first image that pops up is often a perfect likeness hanging in a gallery. That picture can make the whole endeavor feel out of reach, especially for beginners. Yet, like any skill, portrait painting becomes manageable once you understand why it feels tough and how to dismantle each obstacle.
Portrait painting is a genre of fine art that focuses on representing a person’s face and expression, capturing both physical features and personality. The practice dates back to the Renaissance, but the core challenges have stayed the same: accurate proportions, convincing values, and realistic color.
What Makes Portrait Painting Feel Hard?
Every artist, from hobbyists to seasoned professionals, runs into a handful of recurring hurdles. Knowing them helps you target your practice.
Proportions are the backbone of a believable likeness. If the distance between the eyes, the width of the nose, or the angle of the jaw is off even by a little, the face looks wrong immediately. Our brains are hardwired to spot those mis‑alignments.
Value - the light‑dark scale - is another common stumbling block. Many beginners focus on color first, only to discover later that the portrait looks flat. Mastering value creates depth before hue even enters the picture.
Then there’s Anatomy. Understanding the underlying bone structure and muscle groups helps you place features correctly, especially when the subject is in profile or at an angle.
Finally, the choice of Canvas and Brush can either smooth the learning curve or add extra friction. A slick, non‑absorbent surface can make dry‑brush techniques difficult, while a rough, loosely woven canvas may absorb too much paint, muddying values.
Common Mistakes Beginners Make
- Relying on memory alone - skipping reference photos leads to inaccurate proportions.
- Mixing too many colors at once - a chaotic palette hides value relationships.
- Skipping the underdrawing - going straight to color often results in misplaced features.
- Neglecting a single light source - inconsistent lighting creates confusing shadows.
- Over‑working the painting - endless blending erodes edges and flattens the image.
Step‑by‑Step Approach to Tackle Those Challenges
- Choose a clear reference. Pick a high‑resolution photo with good lighting. Aim for a simple background so the focus stays on the face.
- Set up a grid. Divide both your canvas and reference photo into equal squares (e.g., 10×10). This forces you to copy measurements rather than guess.
- Sketch the basic shape. Using a light Pencil or charcoal, block in the major landmarks - hairline, eye line, nose tip, mouth corners - within the grid.
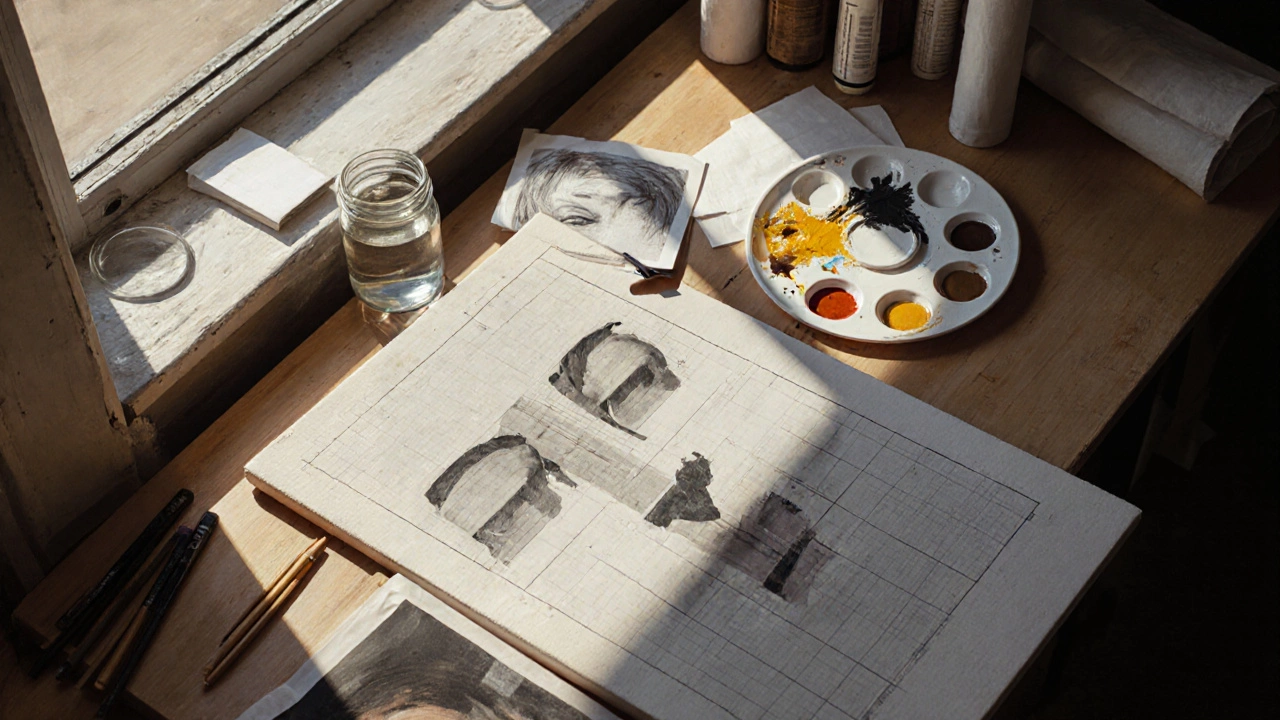
- Map values. With a charcoal or diluted paint, create a grayscale underpainting (often called a “grisaille”). Focus on where the darkest shadows and brightest highlights sit. This stage is where Value training pays off.
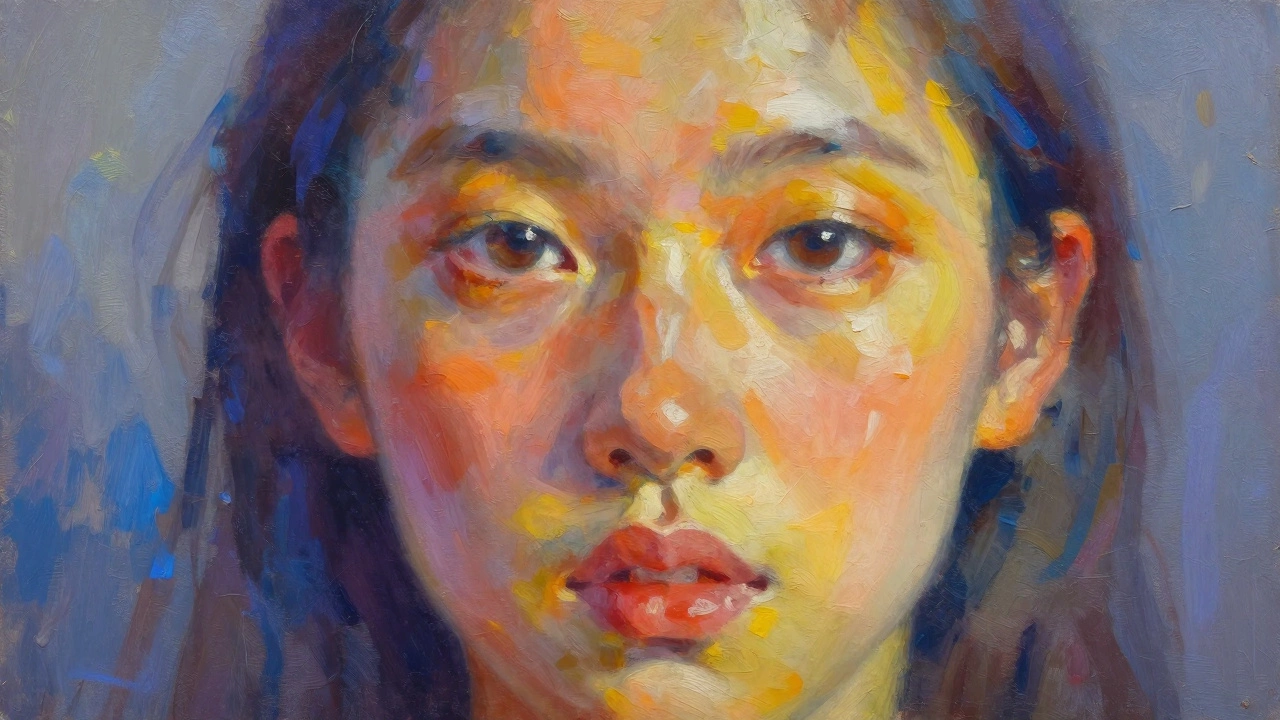
- Introduce color gradually. Use a limited palette (see table below). Mix skin tones from a base of white, yellow ochre, burnt sienna, and a touch of red. Apply thin layers (wet‑on‑wet for oils, glaze for acrylics) to preserve the value structure.
- Refine details. After the first color layer dries, add finer features - eyelashes, pores, subtle crease lines - using smaller brushes.
- Step back frequently. Every 5-10 minutes, view your work from a distance. This resets your perception and helps you spot proportion or value errors early.
Tools and Materials That Can Ease the Process
| Medium | Drying Time | Blendability | Typical Mistakes |
|---|---|---|---|
| Oil paint | Days-weeks | Very high - stays wet, easy for smooth transitions | Too much glazing, muddy colors if over‑mixed |
| Acrylic paint | Minutes-hours | Medium - can be slowed with retarders | Rapid drying can lock in errors |
| Watercolor | Instant to minutes | Low - relies on washes, harder for deep shadows | Over‑working creates muddy layers |
For absolute beginners, acrylics offer a happy medium: they dry fast enough to keep momentum, but you can add a small amount of water or medium to extend work time. If you already own oil supplies, the slow drying time is a blessing for refining subtle skin tones.

Pro Tips from Experienced Artists
- Work on a Limited palette. Fewer pigments force you to think about value first.
- Use a Palette knife to scrape away unwanted paint - it’s faster than waiting for it to dry.
- Employ the “mirror test”: flip your canvas upside down; errors in shape become obvious.
- Study the work of masters like Rembrandt or John Singer Sargent to see how they built form with light.
- Keep a sketchbook of quick head studies (1-2 minutes each). This builds muscle memory for proportion.
Practice Routine Checklist
- Set a timer for 30‑minute focused sessions.
- Start each session with a 5‑minute warm‑up: draw basic shapes and value scales.
- Pick one challenge per week (e.g., eye anatomy, cheek bone structure).
- Document progress with photos; compare weekly to spot improvement.
- End with a brief review: note what felt smooth and what stalled.
Frequently Asked Questions
Do I need formal training to start portrait painting?
No formal degree is required. Consistent practice, studying anatomy, and using reference photos can get you to a competent level. Many successful portraitists are self‑taught.
Which medium is best for beginners?
Acrylic paint is often recommended because it dries quickly, is easy to clean, and can be thinned or thickened to suit different techniques.
How important is lighting in a reference photo?
Crucial. A single, clear light source creates defined shadows and highlights, making it easier to map values on the canvas.
Can I use a digital tablet instead of traditional media?
Absolutely. Digital portrait painting mirrors the same principles-proportions, value, anatomy-and offers undo features that speed up learning.
How long does it take to finish a realistic portrait?
It varies widely. A seasoned artist might complete a medium‑size oil portrait in 15‑20 hours spread over several days. Beginners should expect 30‑50 hours, broken into short sessions.