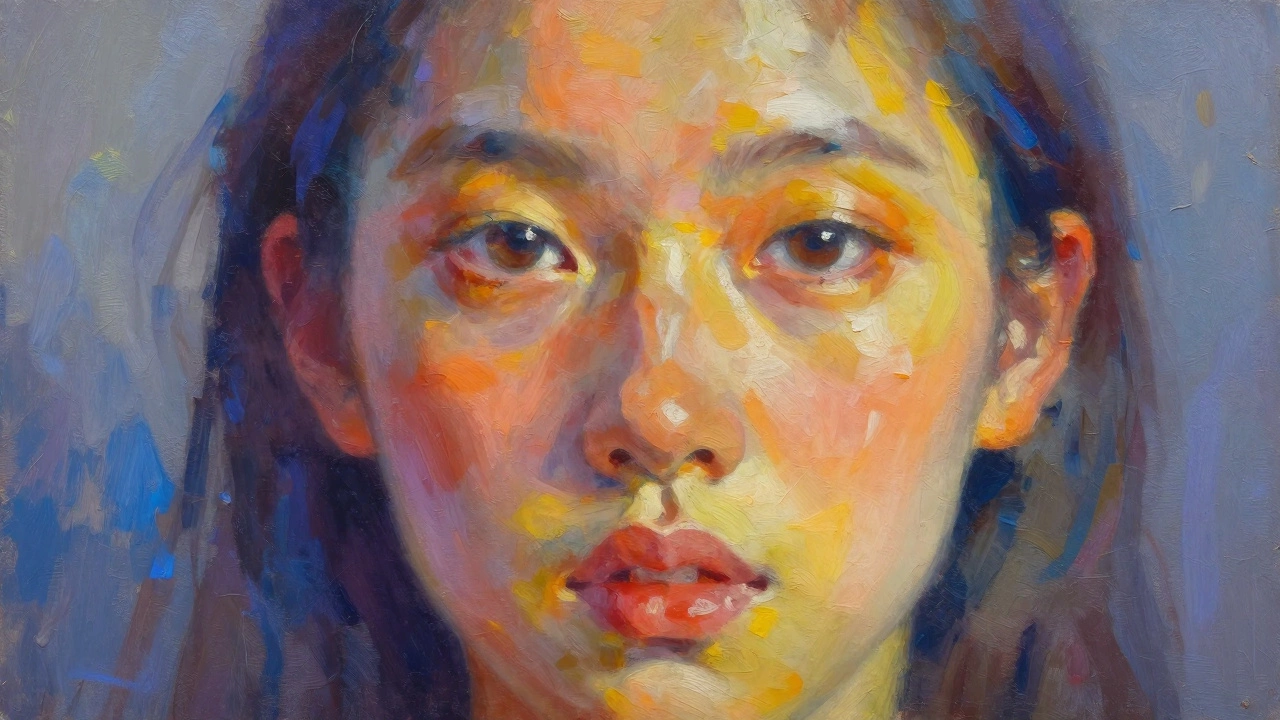
Getting a portrait to look just right can feel like a balancing act, especially if you're aiming to make a subject appear a bit slimmer. It might sound tricky, but with a few smart techniques, you can create portraits that flatter effortlessly. Let's start with colors. Choosing the right shades and tones can help create the illusion of a slimmer figure. Dark colors tend to recede, creating depth, while lighter shades bring features forward. By contrast, experimenting with these can work wonders on canvas.
Next up, shading. It's all about where you place those darker areas. Under the jawline, along the sides of the body—these subtle touches define shape without overemphasizing any single feature. Smart shading can give your subject a more defined silhouette, so don't shy away from using shadows creatively.
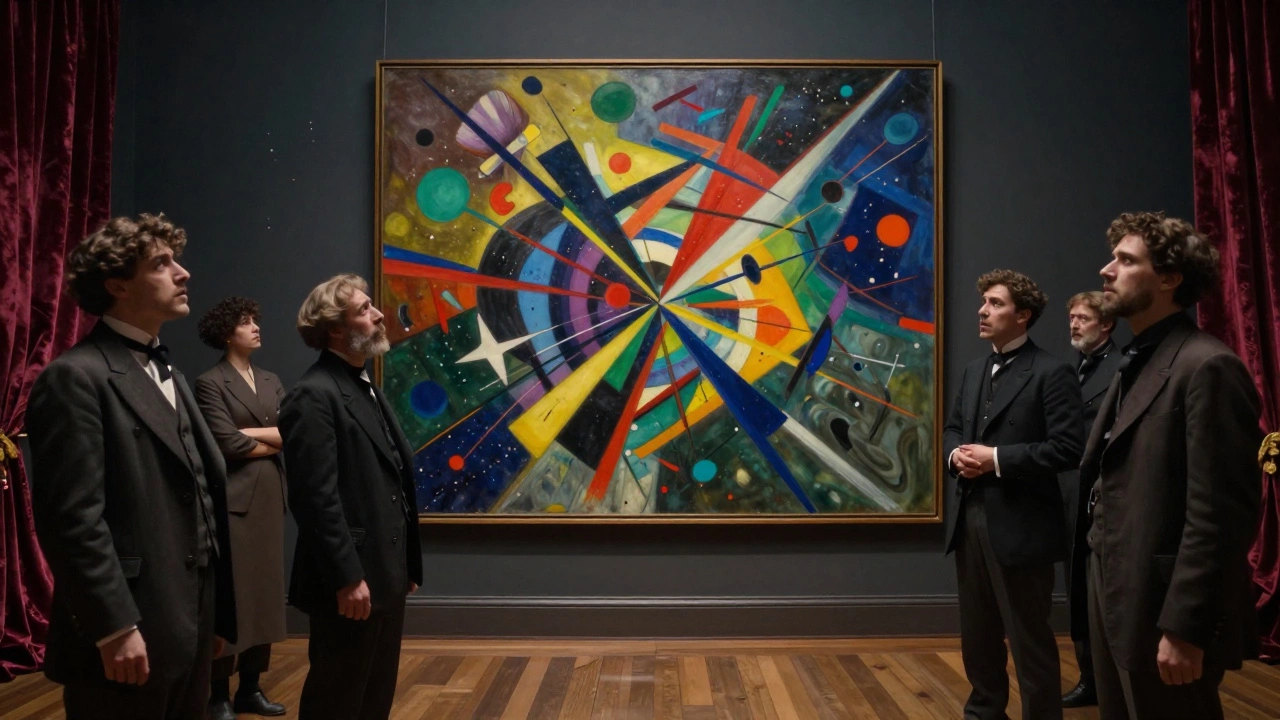
Strategic Use of Colors
Colors do more than catch the eye; they can shape how we see forms and spaces in portrait painting. Want to know a secret to making those lines seem sleeker? It's all about color choice. Let's break it down.
Understanding Color Impact
Dark colors have this amazing ability to make areas look smaller. When used around the outer edges or on clothing, darker tones can create a slimming effect. Think of it like wearing black jeans—they just seem to do the trick. But it's not just about darkness. Contrast is key. Juxtaposing darker shades with lighter or medium tones, especially toward the center of the figure, can bring that middle area forward in a favorable way.
Choosing the Right Palette
When choosing a color palette for a portrait, cool colors like blues and greens can be especially effective. They tend to recede, pulling attention away from areas you might want to downplay. This doesn't mean every part of the portrait should be muted. Feel free to add pops of warm colors, like reds or yellows, in small, focal areas to guide where you want viewers to look.
Applying Color with Purpose
You don't need to go color-crazy. Even subtle introductions of color can have a powerful impact. Consider this simple approach to guide you:
- Start with a neutral base: Whites, greys, or light beige work well.
- Add depth with darks: Use these in the outer areas to create that slimming effect.
- Introduce mid-tones strategically: These bring out the central shapes and add a little intrigue.
- Finish with pops of warm color: To draw attention where you want it most.
Mastering Shading Techniques
Shading is a game-changer when it comes to making portraits look more dynamic and flattering. The right shadow placement can really give your subjects that slimmer look you might be aiming for in portrait paintings.
Understand the Light Source
First things first, before grabbing your brush, identify where your light source is coming from. Light direction affects shadow placement and can dramatically change how the subject appears. Whether it's a soft natural light or a focused spotlight, knowing your light's origin helps you place shadows accurately.
Avoid Over-Shading
Remember, less can be more. You don't want to plunge your subject into darkness. Instead, use shading subtly. One neat trick is to softly shade the sides of the torso, which can help define the body's shape, naturally making it appear slimmer.
Highlight High Points
While shadows help define, highlights help lift. After shading, adding some light on raised areas like the bridge of the nose or cheekbones can create contrast, further enhancing the slimming effect.
Practice Feathering Techniques
Feathering is a way to blend shading seamlessly. The idea is to avoid harsh lines that might look unnatural. By gently blending the shadow's edges, you achieve a more lifelike and polished look. Try using a fan brush or a dry brush technique for feathering to create smooth transitions.
Here's a quick tip—when adding shadows under the chin, don't overdo it. A gentle shade can create a natural shadow, giving the appearance of a defined jawline without making it look artificial.
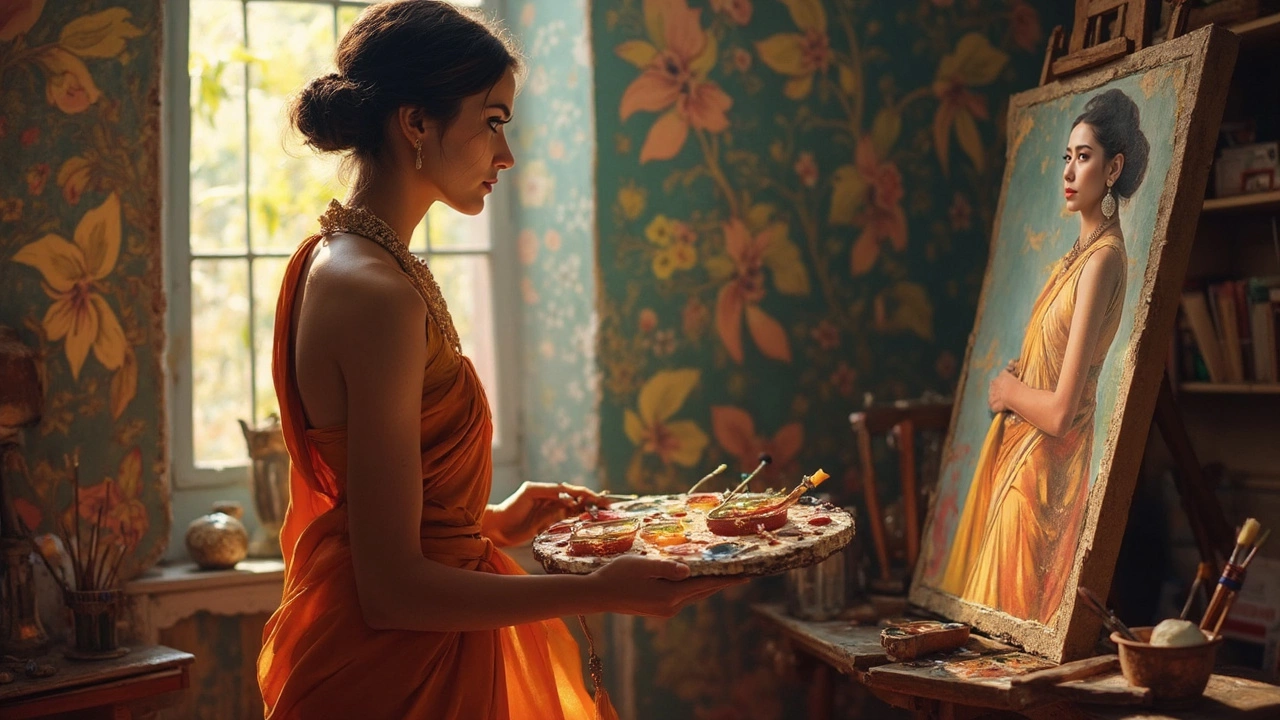
The Art of Posing
Posing can truly change the game when it comes to how your subject looks in a portrait painting. It's not just about standing or sitting; it's about adding those subtle tweaks that make a lasting impact. A few adjustments can be the difference between average and picture-perfect.
Mindful Angling
One of the easiest tricks in the book is knowing the best angles. Asking your subject to slightly turn their body at a three-quarter angle to the canvas creates a natural slimming effect. It shows the best side of the face while reducing the look of width. This small shift can have a surprisingly big impact.
Posture Matters
Another tip is to focus on posture. Encourage your subject to stand up a bit straighter. Proper posture, with shoulders back, not only projects confidence but also elongates the body's lines. This subtle trick helps your subject appear taller and sleeker.
Creating Depth
To add a bit more complexity, think about adding layers. For instance, if your subject is wearing a jacket, positioning it open can create vertical lines that guide the eye up and down, rather than across. These lines naturally elongate the look of the body.
Light Touches
Finally, pay attention to hand placement. Hands on the hips can create helpful lines that visually cinch the body. But watch out; hands should be placed lightly. A gentle touch can emphasize natural curves without drawing attention away from the face.
Incorporating these posing techniques into your art techniques can enhance your portrayal, making each character look stunningly confident and thinner. It's all about making your subject comfortable and adjusting ever so slightly to capture their best self on the canvas.
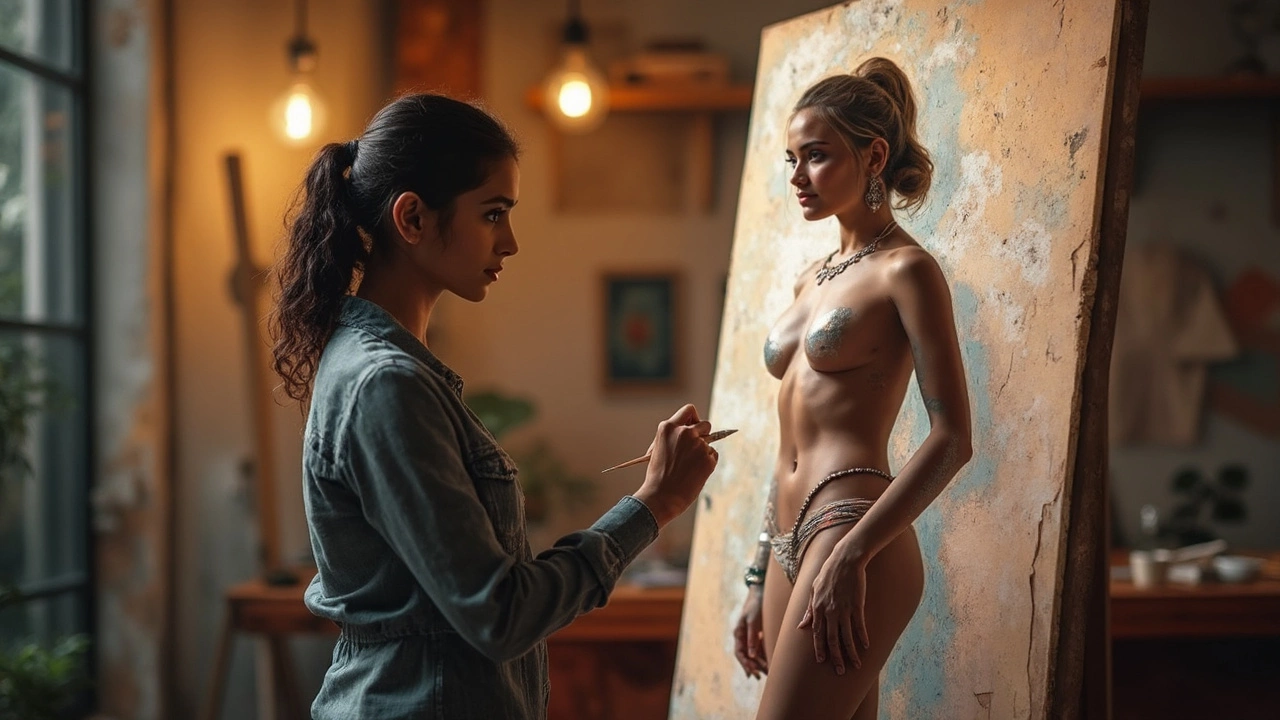
Lighting and Composition
When it comes to portrait painting, how you play with lighting can dramatically change the way your subject appears. Think about it like this: light and shadows are your partners in crime, helping you emphasize and downplay as needed. If you want to make someone appear slimmer, a key tip is to use side lighting. This type of lighting casts shadows across the face and body, adding depth and creating the illusion of a thinner frame.
Strategic lighting can be your best friend. Consider placing the light source slightly above and to the side of your subject. This not only carves out their features but also subtly highlights their natural contours, creating that flattering look we all desire in a portrait.
Composition as a Tool
Composition is more than just arranging elements in a painting—it's about guiding the viewer's eye. A classic trick is the 'triangle composition,' where you use the subject's face as one point of a triangle, helping draw attention upwards and creating a balanced appearance. You can also play with the positioning of the subject within the canvas. Placing the subject slightly off-center can bring a dynamic feel to the piece while maintaining comfort for the viewer's gaze.
Incorporating these concepts can elevate the entire feel of your work. To make things clearer, here’s a breakdown of the basic techniques:
- Use side lighting to create flattering shadows.
- Position your subject slightly off-center for dynamic composition.
- Employ triangle composition to direct the viewer’s focus.
Remember, every adjustment, no matter how small, contributes to the overall impact. Feel free to experiment and see what magic you can create with light and composition in your next masterpiece.