Spatula Technique Paint Consistency Calculator
Create the Perfect Consistency for Your Paint
This tool helps you determine the ideal linseed oil ratio for the spatula technique. Ideal consistency should hold peaks without sagging—like peanut butter.
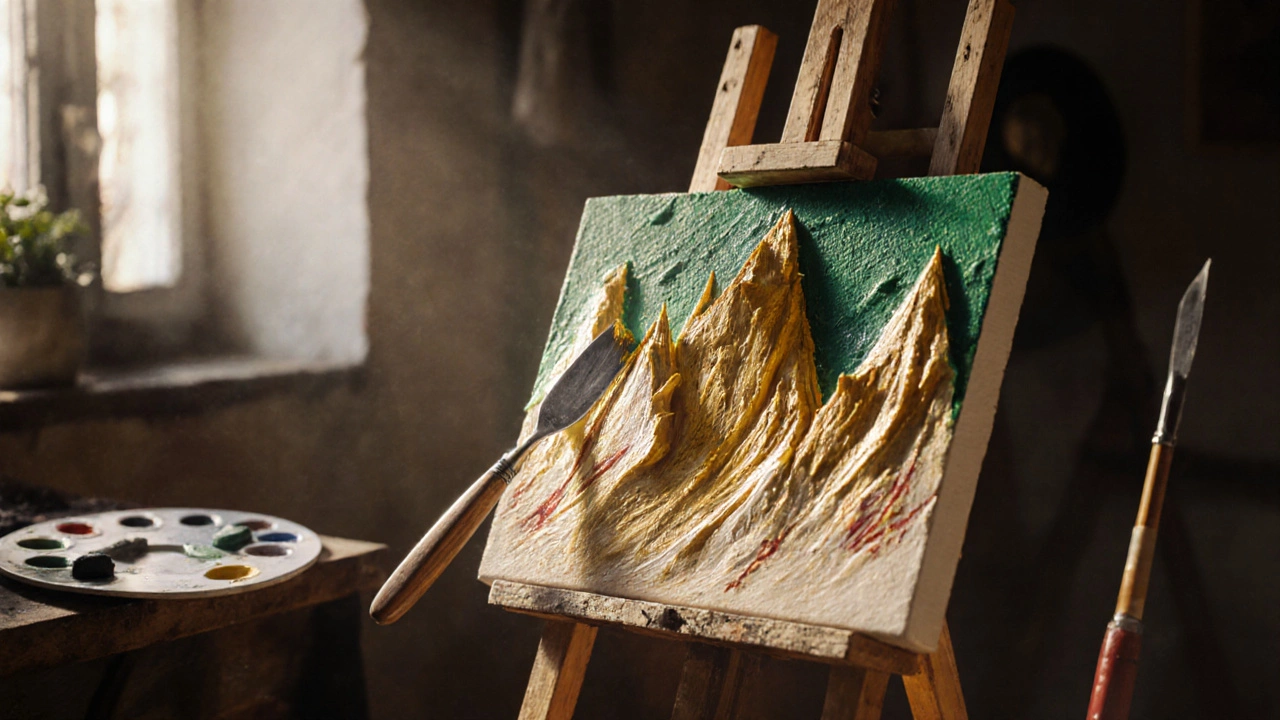
Ever wondered how some oil paintings look like they were built layer by layer, with bold peaks of paint that catch the light? That texture is often the result of the spatula technique, a method that swaps the brush for a flat tool to shape, spread, and sculpt pigment directly on the canvas.
What is the spatula technique?
In the world of Spatula technique is a painting method that uses a flat, flexible tool-commonly called a palette knife-to apply and manipulate oil paint. Unlike traditional brush strokes, the spatula pushes paint across the surface, creating thick, tactile layers that can be scraped, molded, or blended in a single motion.
Historical roots of the technique
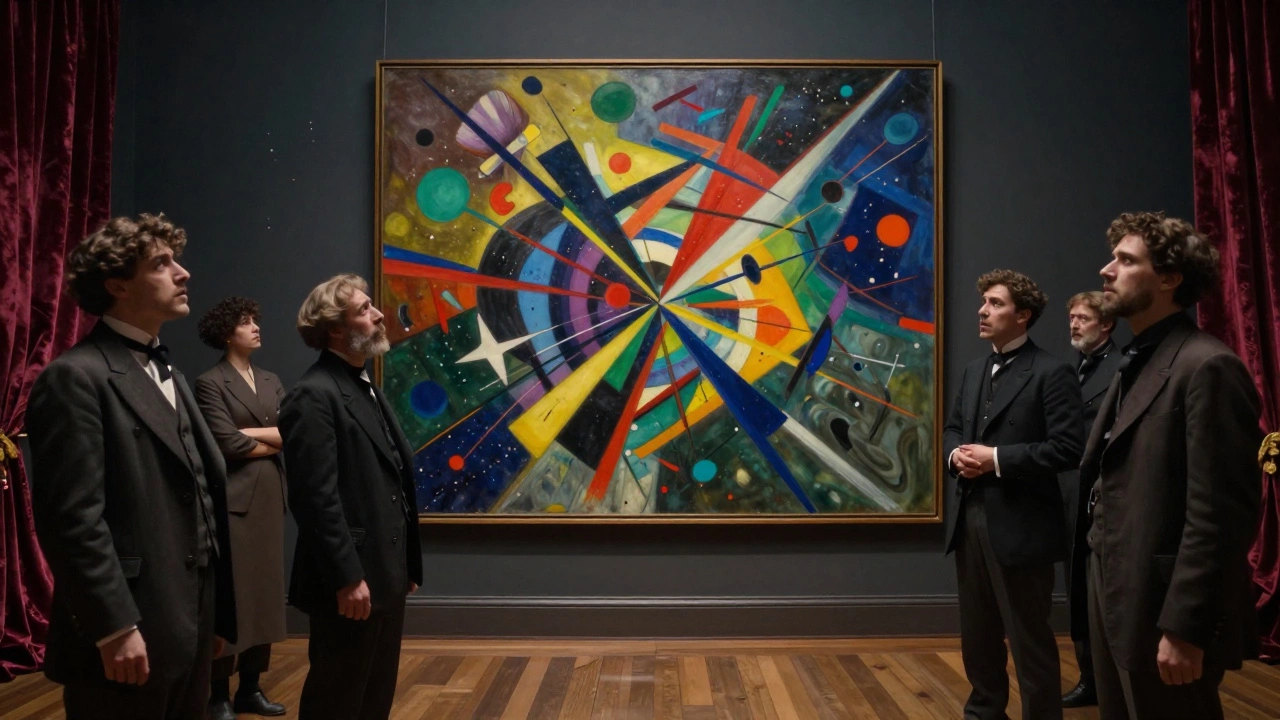
The technique first appeared in the late 19th‑century Impressionist circles, where artists like Vincent van Gogh experimented with thick paint to convey emotion. It gained momentum in the early 20th century with the rise of Expressionism and the Impasto a style of applying paint so thick that brush or knife marks remain visible. By the 1950s, abstract painters such as Franz Kline and Helen Frankenthaler made the spatula a primary tool, turning it into a means of sculpting on canvas.
How it differs from brushwork
While a brush distributes pigment in thin, fluid lines, a spatula (or palette knife) works more like a sculptor’s chisel. The contrast can be summed up in a quick table:
| Aspect | Spatula (Palette knife) | Brush |
|---|---|---|
| Tool shape | Flat, flexible metal or plastic blade | Hollow bristles of various stiffness |
| Typical texture | Thick, three‑dimensional ridges (impasto) | Smooth or subtle strokes |
| Control | Broad, sweeping gestures; can scrape paint | Fine detail, gradual blending |
| Common effects | Sharp edges, sharp‑cut lines, sculpted surfaces | Soft gradients, feathered edges |
Essential tools and materials
Before you start, gather these core items. Each has its own role in shaping the final image.
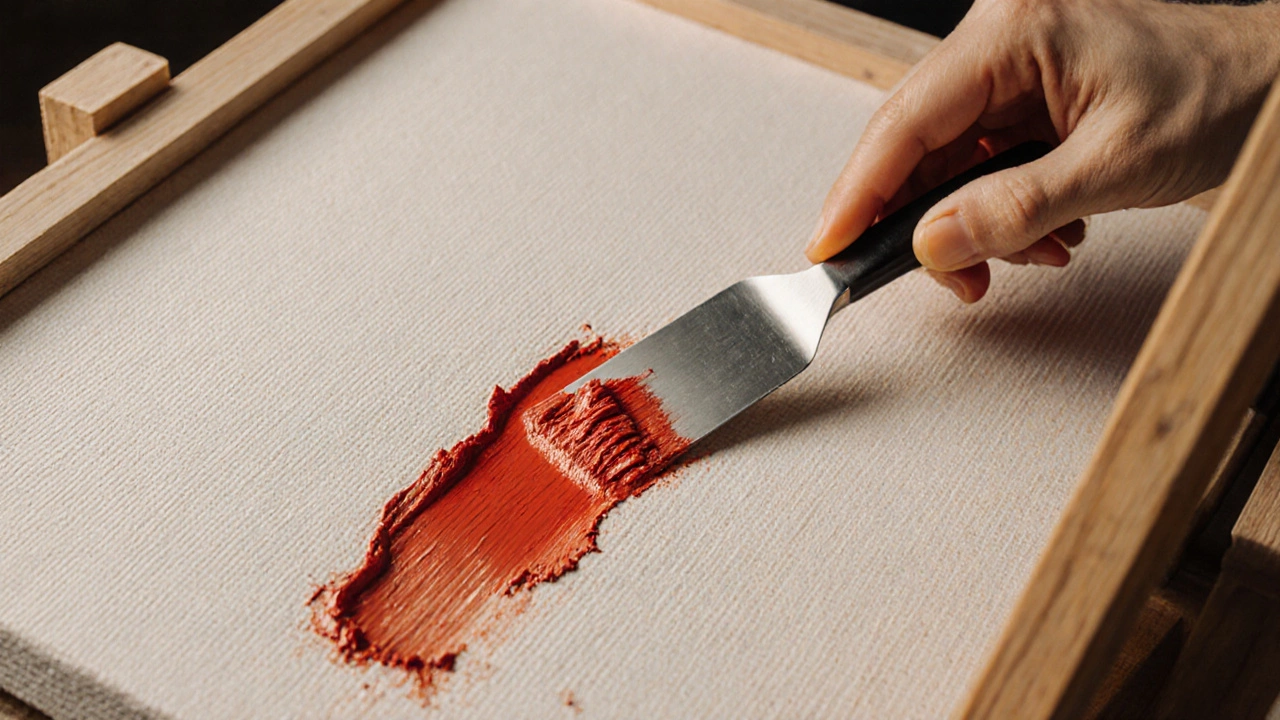
- Palette knife a flat, rigid metal or plastic implement with a flexible edge, used to spread and sculpt oil paint. Size ranges from 2 inches for fine work to 6 inches for large gestures.
- Canvas a tightly stretched linen or cotton surface, primed with gesso to accept oil paint. Choose a medium‑to‑coarse grain for better tooth.
- Linseed oil a traditional drying oil that thins paint and enhances flow, while also increasing gloss. Mix sparingly; too much can cause sagging.
- Pigment the colored particles that give paint its hue; high‑quality pigments retain saturation under thick layers. Consider oil paints with high pigment load for better impasto.
- Mediums additives such as stand oil or damar varnish that modify drying time and flexibility. They can make the paint more buttery for smooth knife work.
Key visual effects produced
The spatula technique shines when you need bold, tactile expression. Here are the most common outcomes.
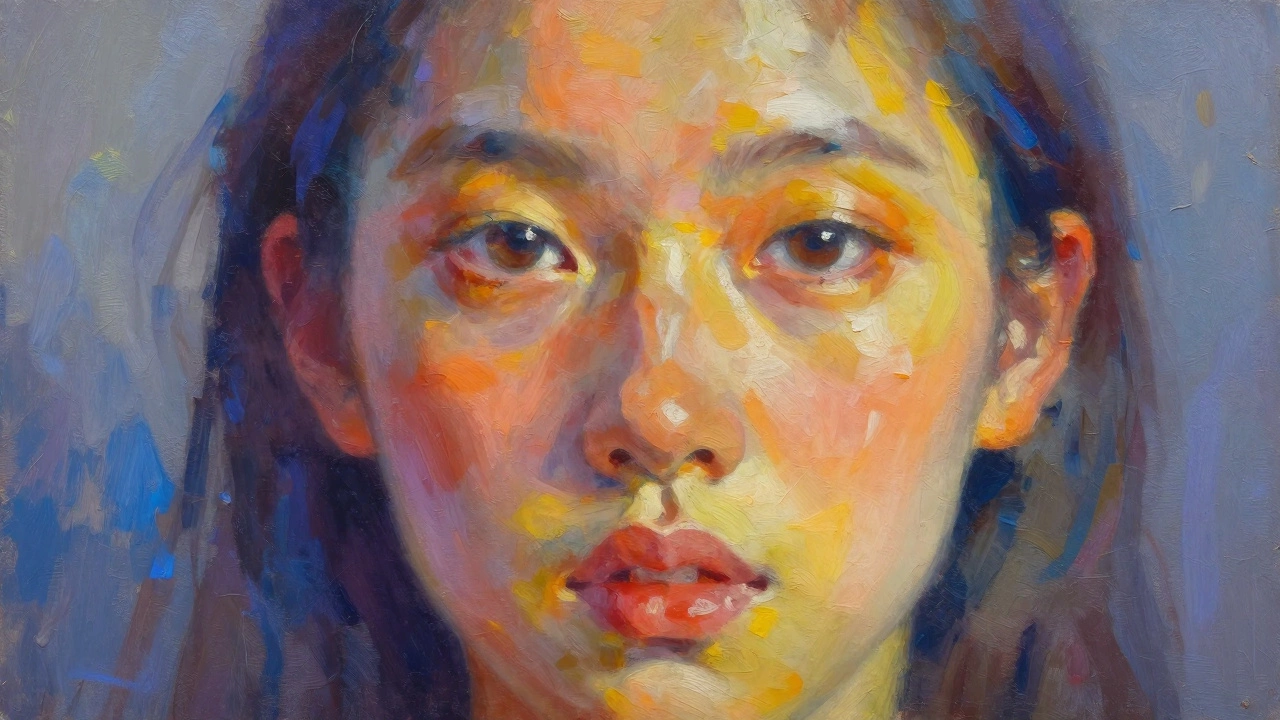
- Impasto painting with paint so thick that brush or knife marks remain visible, creating a three‑dimensional surface. Light bounces off the peaks, adding depth.
- Sgraffito scratching through a wet layer to reveal underlying color, producing fine lines or texture. Use the edge of the knife for controlled marks.
- Alla prima a "wet‑on‑wet" approach where layers are applied without waiting for previous ones to dry, perfect for spontaneous knife work. It allows you to blend colors directly on the canvas.
Step‑by‑step guide to mastering the spatula technique
- Prep the surface. Stretch your canvas, apply two coats of gesso, and let it dry completely. A primed surface gives the paint something to grip.
- Mix a generous amount of paint. Load a palette knife with pigment, adding a touch of linseed oil or medium until the mixture is pliable but not runny.
- Apply the first layer. Drag the knife across the canvas in a single, confident motion. Overlap strokes to build a base texture.
- Shape the peaks. Tilt the knife and press down to lift edges, creating ridges. For sharper lines, use the tip of the knife.
- Introduce contrast. Add a darker or lighter hue on top of the wet layer. Use the knife’s edge to scrape or blend, producing subtle transitions.
- Employ sgraffito. While the paint is still wet, drag the knife’s edge or a pointed tool through the surface to expose underlying colors and add fine detail.
- Finish with highlights. Load a small amount of white or a bright pigment on the knife’s tip and gently dab the highest peaks for a pop of light.
- Let it dry. Allow the painting to cure for at least a week before varnishing; thick impasto can take longer to fully oxidize.
Tips, tricks, and common pitfalls
- Don’t over‑thin. Too much solvent makes the paint run off the knife and lose texture.
- Work quickly. Oil paint thickens fast; keep a small reserve of medium nearby to re‑soften stiffened paint.
- Use the right knife. A flexible, thin‑edge knife is better for fine lines, while a broader, stiffer knife suits large, sculptural areas.
- Mind the canvas grain. A very smooth canvas can cause the paint to slide; a slightly textured surface helps the knife grip.
- Layer carefully. Heavy impasto on top of a thin underpainting may cause cracking; keep the order from heavy to light.
Artists who championed the spatula technique
Seeing real‑world examples helps you understand the range of possibilities.
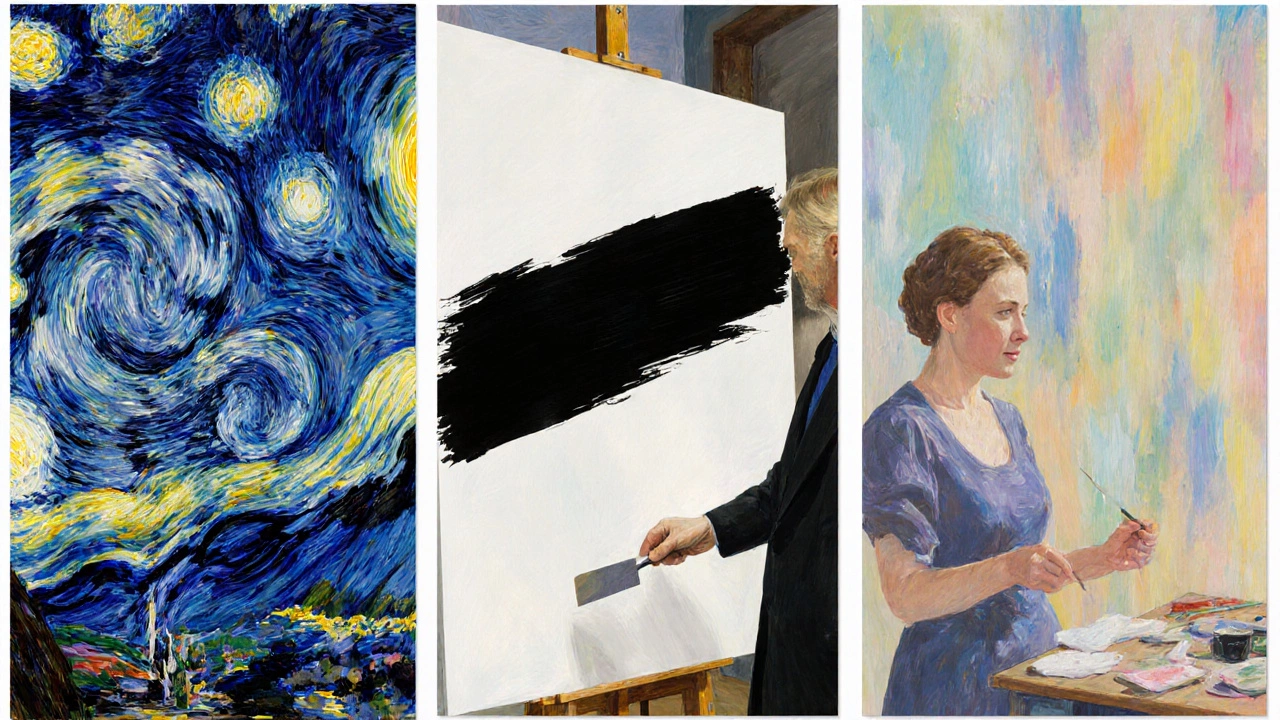
- Vincent van Gogh - used a palette knife to add thick, swirling strokes in "Starry Night."
- Franz Kline - emphasized bold, gestural knife marks in his abstract works.
- Helen Frankenthaler - combined wet‑on‑wet with knife‑applied washes for luminous color fields.
- Leon Kossoff - built massive impasto layers on urban scenes using a large knife.
- John Bratby - British “Kitchen Sink” painter who applied thick paint with a spatula for a gritty texture.
When to choose the spatula technique
Deciding whether to reach for the knife depends on the visual goal.
- Landscape textures. Rocks, foliage, and water can benefit from thick, sculpted strokes.
- Portrait highlights. Add dramatic light on cheeks or hair by dabbing bright pigment on raised peaks.
- Abstract expression. The spontaneity of alla prima combined with knife work fuels energetic compositions.
- Mixed‑media pieces. The knife’s ability to scrape away layers works well when layering collage or charcoal.
Quick reference checklist
- Canvas primed and taut
- Palette knives of varying sizes on hand
- High‑pigment oil paints, linseed oil, and optional medium
- Space with good ventilation (oil fumes)
- Timer for drying phases (7‑10 days for thick impasto)
Frequently Asked Questions
Can I use a spatula technique with acrylic paint?
Yes, but acrylic dries much faster, so you’ll need a retarder or a slower‑drying medium to keep the paint workable long enough for knife manipulation.
Do I need a special canvas for knife work?
A medium‑to‑coarse grain canvas works best because it gives the paint something to cling to. Smooth canvas can cause the knife to slip.
How thick should the paint be?
Ideally, the paint should be thick enough to hold a knife ridge without sagging-roughly the consistency of peanut butter. Adjust with a small amount of oil or medium.
Can I combine brush and knife in the same painting?
Absolutely. Many artists start with a loose brush underpainting, then build texture with the knife on top. This layered approach adds depth.
How do I prevent cracking in heavy impasto?
Use flexible oil mediums like stand oil, keep the paint layers thinner than 1 cm, and avoid painting over a very dry underlayer. Proper drying time is crucial.