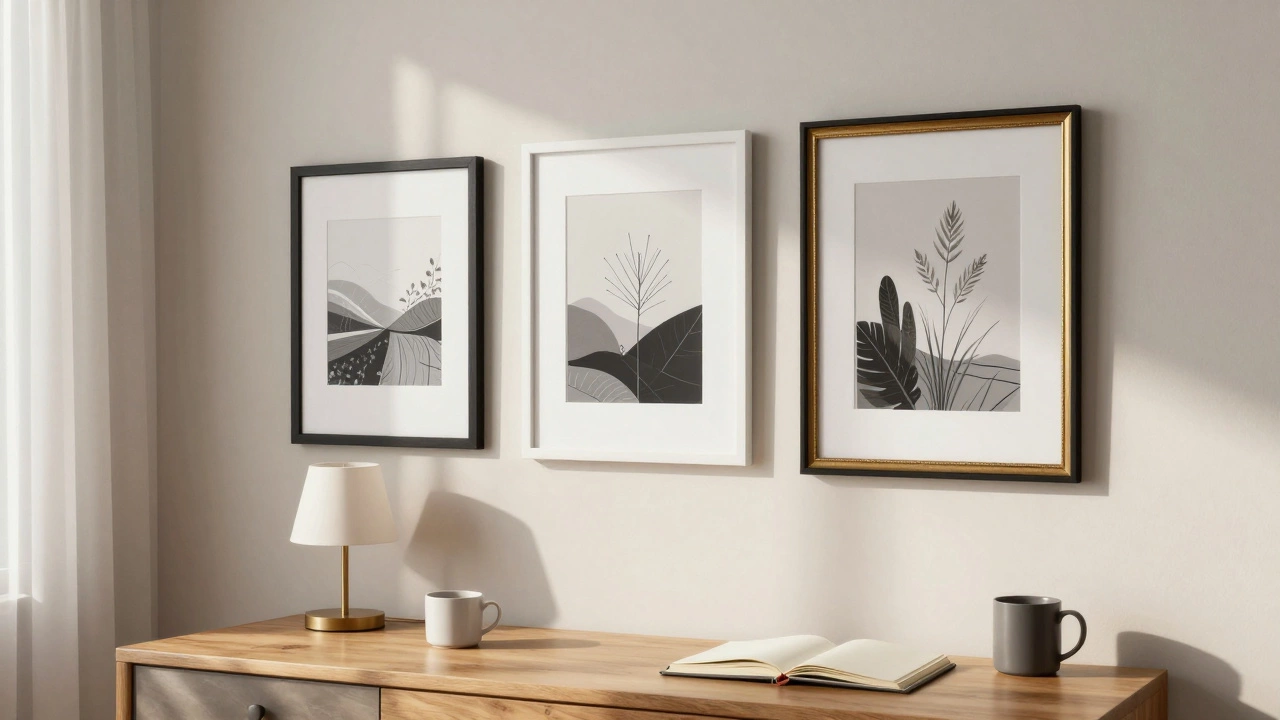
Dipping your brush into the world of oil painting? It might seem like a big deal, but don’t sweat it—everyone starts somewhere. First thing's first: gather your materials. Getting the right supplies can make or break your first painting experience. A basic set of artist-grade oil paints, a few brushes, and a canvas will get you started. Brands like Winsor & Newton are reliable if you're looking for quality.
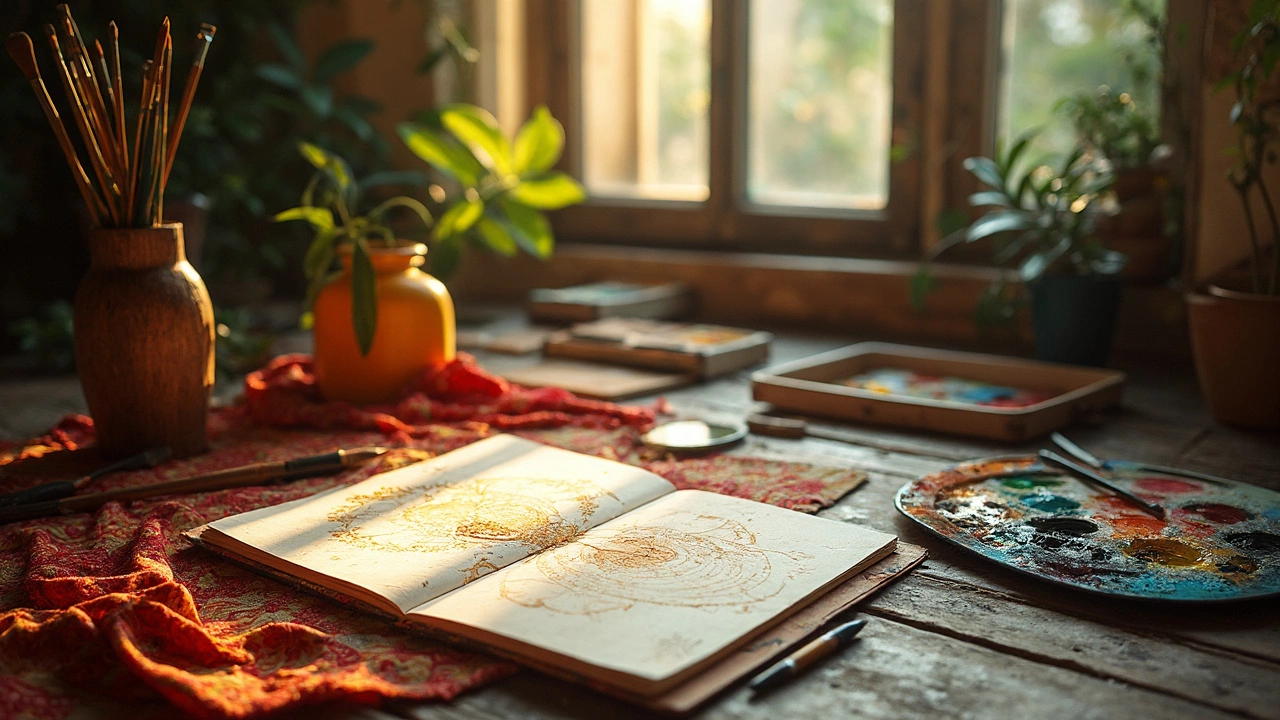
Once you’ve got your gear, think about your workspace. You don’t need a fancy studio—a corner of your room with good lighting works just fine. Lay down some newspapers or an old sheet to catch any spills, and keep your brushes and paints organized. This way, you’re ready to focus purely on creating without worrying about the mess.
So, what techniques should you dive into first? Start with underpainting. It’s like laying down the bones of your masterpiece. Use a monochrome base, often in browns or blues, to sketch out your composition. It helps establish values and form before the colorful layers come in. Oh, and don’t rush! Let each layer dry to avoid muddying colors—a rookie mistake we’ve all made.
- Choosing the Right Supplies
- Setting Up Your Workspace
- Basic Techniques for Beginners
- Common Mistakes to Avoid
- Building Confidence Through Practice
Choosing the Right Supplies
When you're getting into oil painting, the supplies you pick can make a world of difference—not only to ease, but also to the final look of your masterpiece. So, let’s break down what you’ll need.
Paints
First up, you need high-quality paints. With oil paints, brand matters because they affect consistency and color vibrancy. For beginners, brands like Winsor & Newton or Holbein offer a good balance between quality and price. They’re known for rich pigments that mix well.
Brushes
Next, let's talk about brushes. You’ll want a mix of flat, round, and filbert brushes in various sizes. Natural bristle brushes are great for texture, while synthetic ones offer a smoother finish. It’s like having a toolkit for different strokes—super handy.
Canvas
As far as canvases go, you can start with pre-stretched and gessoed ones. They’re convenient and ready to use. If you feel adventurous, try raw canvas with your own gesso primer. It’s a bit more work but can be custom-tailored to your preferences.
Other Essentials
- Palette: A wood or glass palette gives you plenty of space to mix colors.
- Palette Knives: Useful for mixing and can also apply paint more boldly.
- Turpentine or Odorless Mineral Spirits: These are vital for cleaning brushes and thinning paint.
- Linseed Oil: It’s the classic medium to give your paint a nice glossy finish.
Pro Tip: Save money by starting with a limited palette of primary colors plus white and black. You can mix them to create most colors, and it's a great way to understand color theory.
Starting off on the right foot with your supplies will make a huge difference in your painting techniques journey. Remember, it's not about having the most expensive gear—it’s about choosing the right tools that work for you.
Setting Up Your Workspace
Creating the perfect workspace for your oil painting adventures is crucial. It doesn’t have to be extravagant, but it should be functional and inspiring. A well-organized workspace makes the painting process smoother and more enjoyable.
Lighting Matters
First things first, make sure you have good lighting. Natural light is best, so if you can, set up near a window. If that's not an option, go for daylight bulbs. They give a consistent light that won't mess with how your paint colors look.
Organize Your Supplies
Keep your brushes, oils, palette, and other art supplies within reach. Use jars or tins to hold brushes upright. A small shelf or cart can keep everything neat and organized. The less time you spend searching for supplies, the more time you can spend painting.
The Right Surface
Make sure you’ve got a sturdy surface. Whether it’s an easel or a table, it should be stable. This helps maintain control over your brush strokes. If your surface is wobbly, your painting might turn into an unintended abstract piece.
Keep It Clean
Many forget this, but having a clean workspace helps you focus. Cover your table or floor with an old sheet or newspapers to catch drips. Some folks even recommend using a splash mat. Keep a roll of paper towels and some soap nearby for quick cleanups, especially if you knock over a jar of turpentine—trust me, it happens!
Ventilation is Key
Oil paints and some solvents can release fumes, so make sure your space is well-ventilated. If you can't open a window, a fan can help circulate the air, making it safer and more comfortable to work.
Once your workspace is set, you’re ready to let your creativity flow. Remember, a well-prepared space leads to a more enjoyable painting experience. Get it right, and you'll be that much closer to creating your next masterpiece.
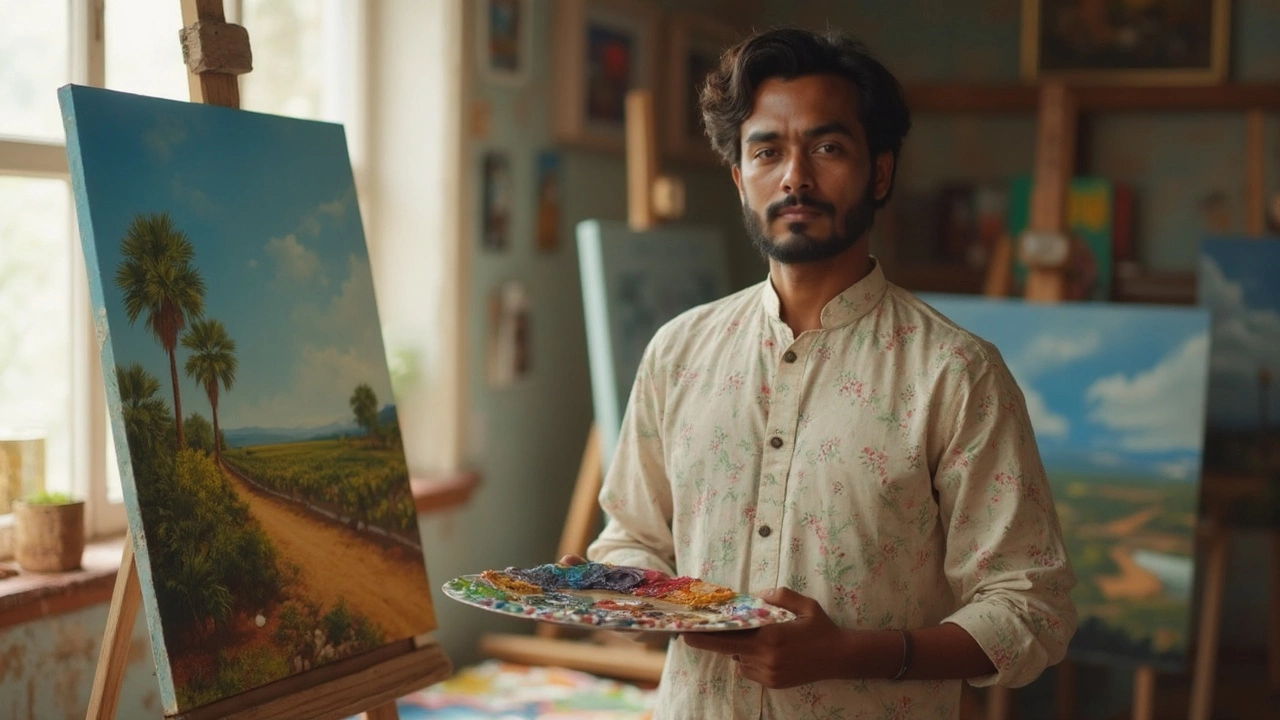
Basic Techniques for Beginners
Starting with oil painting means getting the hang of some basic techniques. Don’t worry if you feel a bit lost at first. Like most skills, all it takes is a little practice. Let’s dive into the essentials that’ll set you on the right path.
Color Mixing
One of the coolest things about oil paints is how well they mix, creating a huge range of colors. Start with primary colors—red, blue, yellow—and see how many shades you can make. A good tip is to use a palette knife instead of a brush for mixing. It keeps your brushes clean and gives you consistent colors.
Layering
The classic rule in oil painting is “fat over lean.” This means thicker, oil-rich paints go on top of thinner layers. Why? It helps the paint dry evenly and avoids cracking. Start with thin washes and build up to thicker brushstrokes as you gain confidence.
Brush Techniques
Experiment with different strokes and see how they affect your painting. Here are a few to try:
- Scumbling: Dragging a dry brush with light color over a darker one for a hazy look.
- Glazing: Thin translucent layers of color that can change or deepen what's beneath.
- Impasto: Thick, textured application creating an expressive, 3D effect.
Remember, it’s not about perfection but about figuring out what each stroke can do.
Understanding Dry Times
Unlike acrylics, oil paints take their sweet time to dry. This is a blessing and a curse. It allows for blending and reworking, but patience is key. Drying can take days, even weeks, depending on the paint's thickness. Plan your painting sessions around these drying times so you’re not caught off guard.
Practice Makes Perfect
Don’t expect masterpiece right away. Regular practice helps in building skills and confidence. Try still life or simple landscapes to work on your techniques. Over time, you’ll notice improvement and start developing your unique style.
Common Mistakes to Avoid
When you're just starting with oil painting, it’s easy to stumble into a few common pitfalls. Let's go over them to make your art journey smoother.
Using Cheap Supplies
It's tempting to save a buck here and there, but starting with low-quality paints and brushes can be a serious setback. Poor materials can affect color mixing and blending, making your painting experience frustrating rather than rewarding. Investing in decent art supplies from the start will give you better results.
Skipping the Primer
Some folks dive right into painting on a bare canvas, but that's a no-no! Using a primer like gesso prepares your canvas by creating a smooth surface, helping paint stick and preventing the textured canvas weave from showing through your art.
Overloading the Brush
Applying too much paint at once can make your canvas look like a disastrous, gloopy mess. Practice using just enough paint to cover the area you’re working on. It’s all about layering—less is more!
Ignoring Brush Maintenance
Your brushes are your main tools, and keeping them in good shape is key. Not cleaning them properly can lead to stiff, unusable bristles. Make a habit of cleaning brushes with turpentine or soap after each session.
Not Letting Layers Dry
Patience is crucial in painting techniques. Rushing through layers without giving them time to dry can result in muddy colors, which is hardly the look you're going for. Take your time, your masterpiece isn’t going anywhere.
Over-Mixing Colors
Color mixing is fun, but overdoing it can turn your colors dull. Aim for vibrant colors by practicing restraint with mixing. Sometimes, you need to step back and let the paint work its magic.
By avoiding these common mistakes, you're already on your way to creating beautiful art. Like all skills, painting takes time to learn, but each brushstroke gets you closer to mastering this timeless medium.
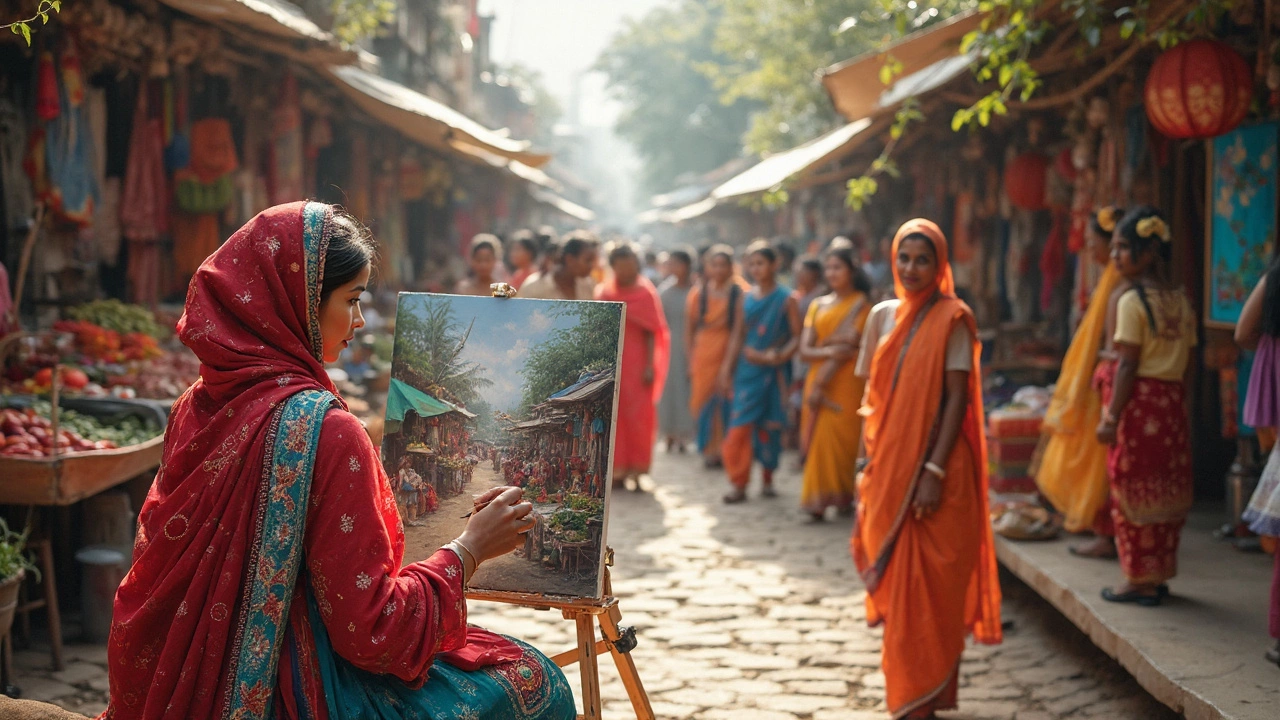
Building Confidence Through Practice
So, you’ve got your supplies, a makeshift studio, and some basic techniques under your belt. Now what? It’s time to build your confidence by rolling up your sleeves and practicing. Here's the thing: oil painting isn’t about having a natural gift. It’s about dedication and the willingness to keep at it, even when things go sideways.
One good way to get comfortable is by doing daily drills. Yep, just like athletes do. Set aside a little time each day, even if it’s just 30 minutes, to paint something small. Doesn’t matter what, as long as you’re moving that brush. With every stroke, your techniques sharpen, and your style starts to form.
Try New Techniques
Don't trap yourself in a corner with familiar techniques. Branch out! Experiment with impasto, where you lay paints thickly on the canvas to create texture, or explore glazing, which involves thin layers of translucent paint. These techniques add depth to your work and open up new creative possibilities. Remember, each new method learned is a step towards becoming more versatile.
Look Back to Move Forward
Keep your old paintings. They're your own personal art history they've got lots to teach you. Lay them all out and notice patterns. Do your colors blend better over time? How has your brushwork improved? Seeing your growth laid out in front can do wonders for your confidence.
Join an Online Art Community
There’s a whole world of oil painters out there ready to share tips, give feedback, and offer encouragement. Check out forums or social media groups where you can ask questions and pick up advice. It’s like having a worldwide team cheering you on!
And hey, celebrate each small victory. Finished a piece you’re proud of? Share it! With each artwork, you’re making progress, and that’s what counts.
