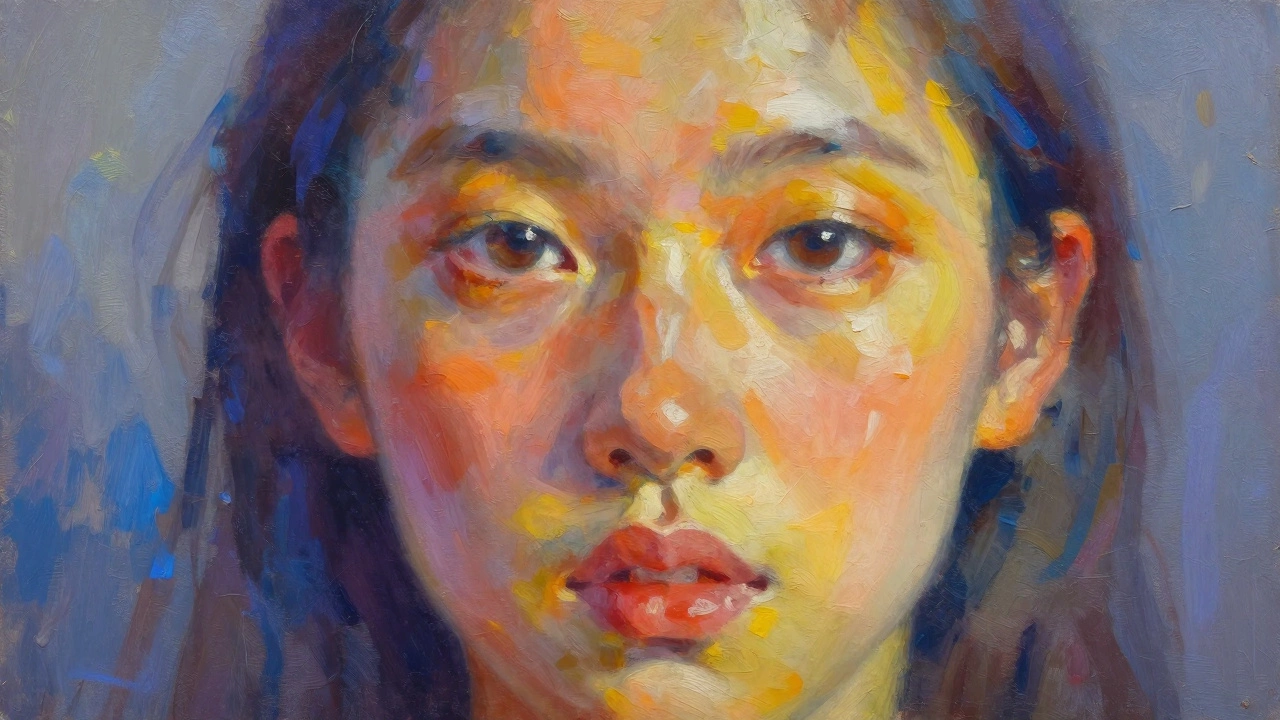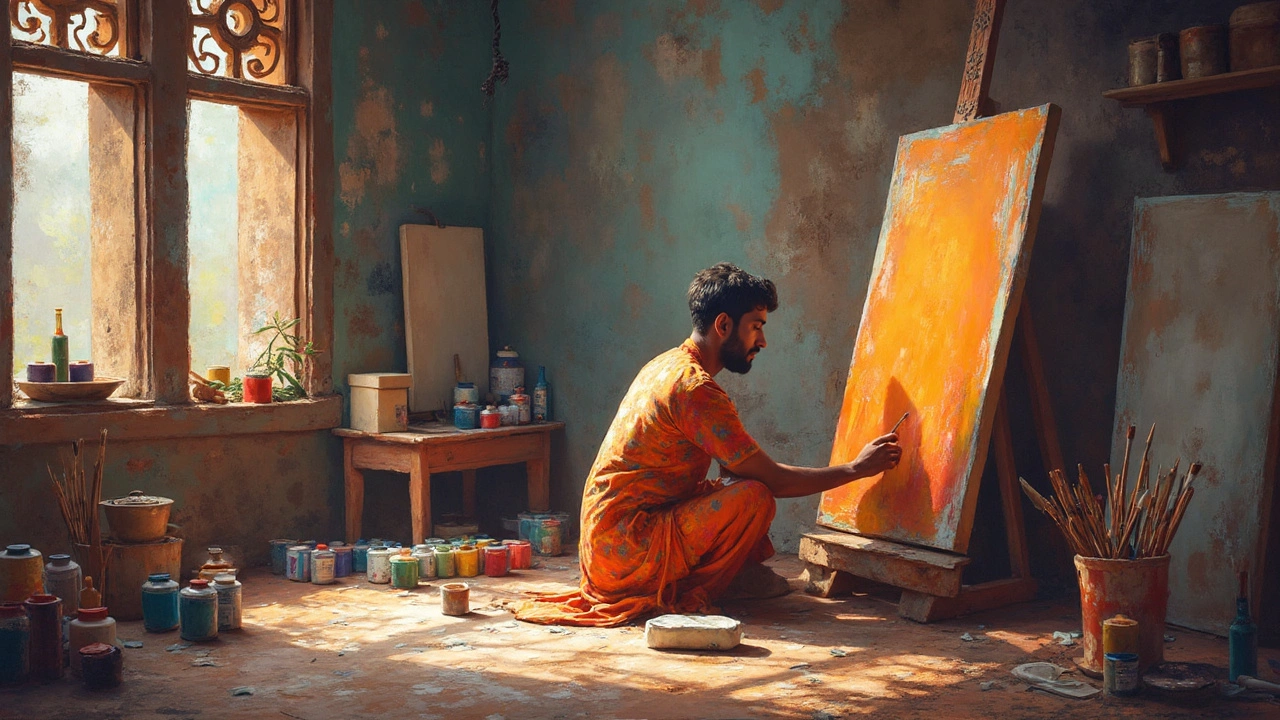
Wanna know the secret to a long-lasting oil painting? It's all about what you do to that blank canvas before you even think about picking up a brush. Prepping your canvas isn’t just a fancy step artists talk about; it’s the foundation for your entire painting. Skipping it would be like trying to build a house on quicksand—might hold for a bit, but it's bound to go wrong.
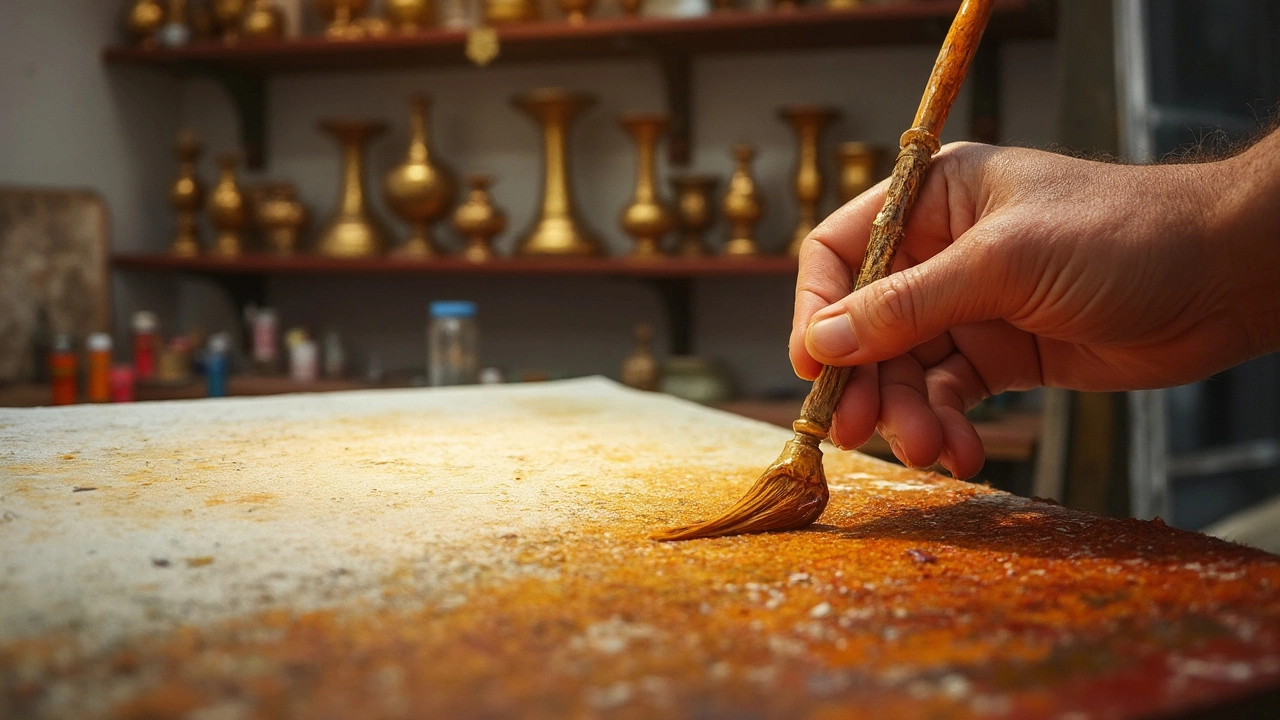
The good news? It's not rocket science. You just need a solid layer of primer like gesso. This magical stuff gives your paint something to latch onto, preventing cracking and peeling down the line. Think of it like putting on your favorite pair of jeans—you need just the right fit to make anything look good! So grab that primer and start laying the groundwork for your masterpiece. Trust me, your future self will thank you.
- Why Canvas Preparation is Important
- Choosing the Right Primer
- Tips for Applying Gesso
- Common Mistakes to Avoid
Why Canvas Preparation is Important
Ever wonder why some oil paintings stand the test of time while others fade into oblivion? It often boils down to how well the canvas preparation was done. Prepping your canvas isn't just a boring chore—it's the backbone of a successful artwork. So let's dive into why this step is absolutely crucial.
Better Paint Adhesion
First up, if you want your oil painting to look vibrant and fresh, proper canvas preparation is non-negotiable. Skipping it could mean your paint ends up cracking or peeling. That's because oil paint needs something to grip onto, and that's where priming comes in handy.
Preventing Canvas Deterioration
A well-prepared canvas shields its surface from the corrosive nature of oil paints. Imagine going through the effort of a masterpiece only for it to eat away at the canvas—yikes! Using a quality primer like gesso acts as a barrier, protecting your work for the long haul.
Improved Surface Texture
Let's talk texture. A properly prepped canvas gives you an even and smooth surface to work your magic. Uneven surface? That can lead to blotchy paint layers and an unwanted 'rough' look. A couple of right coats of gesso can feel like you've upgraded your canvas to luxury status.
Preventing Color Bleed and Staining
Unprimed canvases are like sponges—they soak up paint, causing color inconsistencies. Imagine pouring a lot of detail into your art, only to have your colors bleed into each other. No fun at all. Prepping ensures these issues are history.
In essence, canvas preparation isn't some extra step artists take—it’s the foundation of quality artwork. So, slap on that primer and get your canvas ready to shine!
Choosing the Right Primer
Alright, so you've got your canvas, and you're ready to make sure it's all set for your oil painting adventure. The first order of business is picking the right primer. A primer’s job is to provide a surface that your paint can grip, and it can really make or break your final piece. But here's the big question: which one should you go for?
Understanding Gesso
When we're talking about primers, gesso is the superstar. It's a combination of binder (usually an acrylic polymer) and chalk or plaster. Why gesso? It's versatile and perfect for creating a smooth, white surface that makes your colors pop. Plus, it helps prevent any paint from soaking into the canvas fibers, which can seriously dull your masterpiece.
Types of Primers
Not all primers are created equal. Here's what you need to know:
- Acrylic Gesso: The popular choice. It's quick-drying, flexible when dry, and works well with both oil and acrylic paints. Most folks start with this one.
- Oil-Based Primer: If you're a purist or working on a high-end project, this might be for you. It's more traditional and can provide a different texture, but it takes longer to dry and requires a bit more patience.
- Clear Primer: Want some of your canvas texture to show through? This keeps it visible while prepping it for paint. Great for when you’re looking for a more natural look.
Applying Your Primer
Once you've picked the right primer, the fun part begins: applying it! Here’s a quick rundown:
- Lay your canvas flat on a sturdy surface.
- Use a large, flat brush or roller—this helps spread the gesso smoothly.
- Apply thin, even coats. It's better to do a couple of layers than to slather it on thick.
- Let each layer dry completely before adding the next. Patience pays off in this step.
A solid primer choice is key to the success of your canvas preparation. The right one sets the stage for a stunning oil painting. So take your time, pick wisely, and watch your art shine!
Tips for Applying Gesso
Alright, so you've got your canvas and a tub of gesso. What's next? Applying gesso might sound like an artsy chore, but it’s actually pretty straightforward. It’s one of those things where a little effort upfront can save you tons of headaches later on.
1. Gather Your Gear
First things first, get your hands on the right tools. You’ll need a wide brush or a roller, some sandpaper, and of course, your gesso. The brush or roller needs to be big enough to cover the canvas efficiently but small enough to get into those corners.
2. Start with a Clean Slate
Make sure your canvas is dust-free. Any little particles can mess up the smoothness, and nobody wants their brush snagged by an errant piece of fuzz while they're in the painting zone. A simple wipe down with a damp cloth does the trick.
3. The Gesso Game Plan
- Stir your gesso well. Settlement happens, and no one wants a chalky mess.
- Pour a little gesso onto a disposable plate or tray. A little goes a long way!
- Use your brush or roller to apply a thin, even layer across the entire canvas. Be consistent with your strokes; a crisscross pattern works wonders for even coverage.
4. Let It Dry
Patience alert! Let the first layer dry completely before adding more. Drying can take anywhere from 30 minutes to a couple of hours, depending on your environment. If you're in a rush, a fan or a hairdryer on a cool setting can speed things up.
5. Sand Between Layers
Once dry, give the canvas a light sanding with fine-grit sandpaper. You're aiming for a smooth, non-gritty surface. Repeat the process with 2-3 layers for an off-the-charts smooth finish. Trust me, your oil painting will thank you later.
| Layer | Drying Time | Sanding Level |
|---|---|---|
| First | 1 hour | Light |
| Second | 1-2 hours | Medium |
| Third | 2 hours | Light to None |
Oil painting on a well-prepped surface makes all the difference. It can elevate your art from 'nice' to 'amazing.' So go ahead, slap on that gesso and let your creativity fly!
Common Mistakes to Avoid
Getting the canvas prep spot-on is crucial, but even seasoned painters sometimes trip up. Let’s spill the beans about the most common pitfalls.
Slapdash Priming
First off, canvas preparation requires patience. Slapping on a thin coat of primer or gesso and calling it a day is just asking for trouble. The paint might soak right through the fabric, leading to uneven textures that mess with your vision.
Instead, apply at least two to three even coats. It might seem tedious, but trust me, it’ll make your oils glide like a dream.
Ignoring Drying Times
We’re all guilty of excitement getting the best of us, but painting on a wet or even tacky primer is a rookie mistake. Giving each coat ample time to dry ensures a solid, smooth surface where your oil painting can shine.
Pro tip: A hairdryer can speed things up, but not too close! We want it dry, not crispy.
Overlooking the Support
“What’s support?” you might ask. It’s the backing for your canvas, and sometimes we forget it even matters. A sturdy, rigid support, like a solid wood frame, keeps the canvas taut and prevents sagging. Sagging is public enemy number one for nice, even brush strokes.
| Mistake | Consequences |
|---|---|
| Thin Priming | Paint bleeds through |
| Wet Primer Application | Uneven paint adhesion |
| Weak Support | Sagging canvas |
Skipping the Sanding Step
Yes, sanding might sound like overkill, but it's essential for a smooth finish. It gives your primer layer a silky surface so your brush kind of dances across it instead of getting stuck in pesky bumps.
With these tips, you’re well on your way to avoiding the common canvas crimes in the oil painting universe. Prep right, and your art will thank you.