Skin Tone Mixing Calculator
Create realistic skin tones for your portraits using the fundamental colors mentioned in the guide. Adjust lightness and warmth to match your subject.
Your Skin Tone Mix
- Burnt Sienna: 60%
- Titanium White: 40%
Remember: Skin tones are never just one color. Add small amounts of other colors like cadmium red or ultramarine blue for natural variations. Mix on your palette first, then apply to canvas.
Painting a portrait feels intimidating at first. You look at a photo of someone you love-or even yourself-and think, How do I even begin? It’s not just about drawing shapes. It’s about capturing a person’s presence, their mood, the way light catches their cheekbone. But you don’t need years of training to start. You just need to begin the right way.
Start with what you can see, not what you think you know
Most beginners try to paint what they believe a face looks like: big eyes, a perfect nose, full lips. That’s where things go wrong. Real faces aren’t idealized. They’re uneven. One eye is slightly higher. The jawline slopes differently on each side. The light doesn’t hit the forehead evenly. Instead of drawing from memory, train yourself to see what’s actually there. Hold your brush at arm’s length. Squint. What do you notice? The darkest shadow isn’t under the nose-it’s along the side of the neck. The highlight on the cheek isn’t white-it’s a pale peach mixed with a touch of yellow. Your job isn’t to make it beautiful. It’s to make it true.Use simple tools to avoid overwhelm
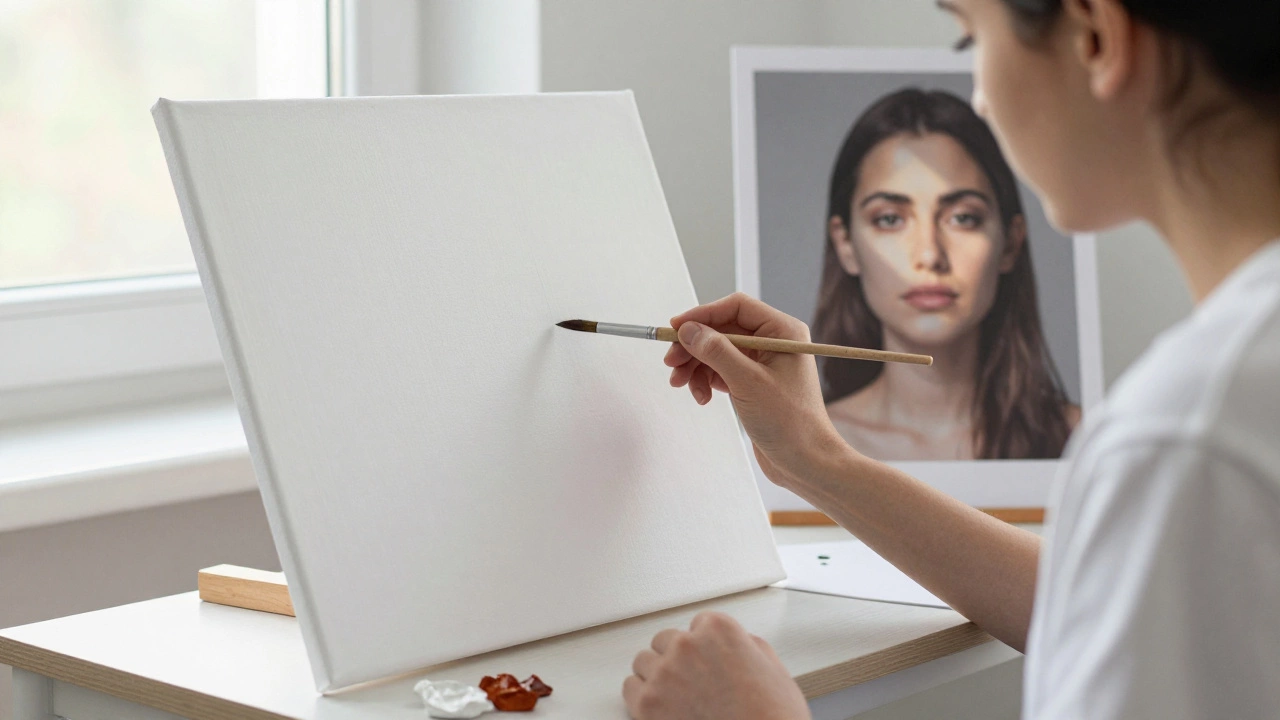
You don’t need a full studio. Start with three things: a single brush, one tube of titanium white, and one tube of burnt sienna. That’s it. These two colors can mix into every tone you’ll need for a skin tone-light, shadow, warmth, coolness. Use a small canvas, no bigger than 8x10 inches. A larger surface makes it harder to control details. Choose a smooth surface-canvas board or illustration board-so the paint doesn’t sink into texture and muddy your tones. Skip the palette knife, the 20-brush set, the fancy linseed oil. You’ll just get distracted. Focus on learning how one brush, one color, and one light source can build a face.Work from a photo, but don’t copy it
Use a photo as a reference, not a template. Pick one with clear lighting-natural daylight from a window works best. Avoid flash photos. They flatten everything. Draw the basic shapes first. Not outlines. Just blocks. The head is an oval. The eyes sit halfway down. The bottom of the nose is about one-third from the chin. These aren’t rules-they’re starting points. Every face breaks them slightly. That’s what makes it real. Block in the darkest shadows first. Use a mix of burnt sienna and a touch of ultramarine blue (if you add it later). Don’t worry about blending yet. Just lay down the darks. Then the midtones. Then the lights. Paint from dark to light. It’s easier to add brightness than to remove it.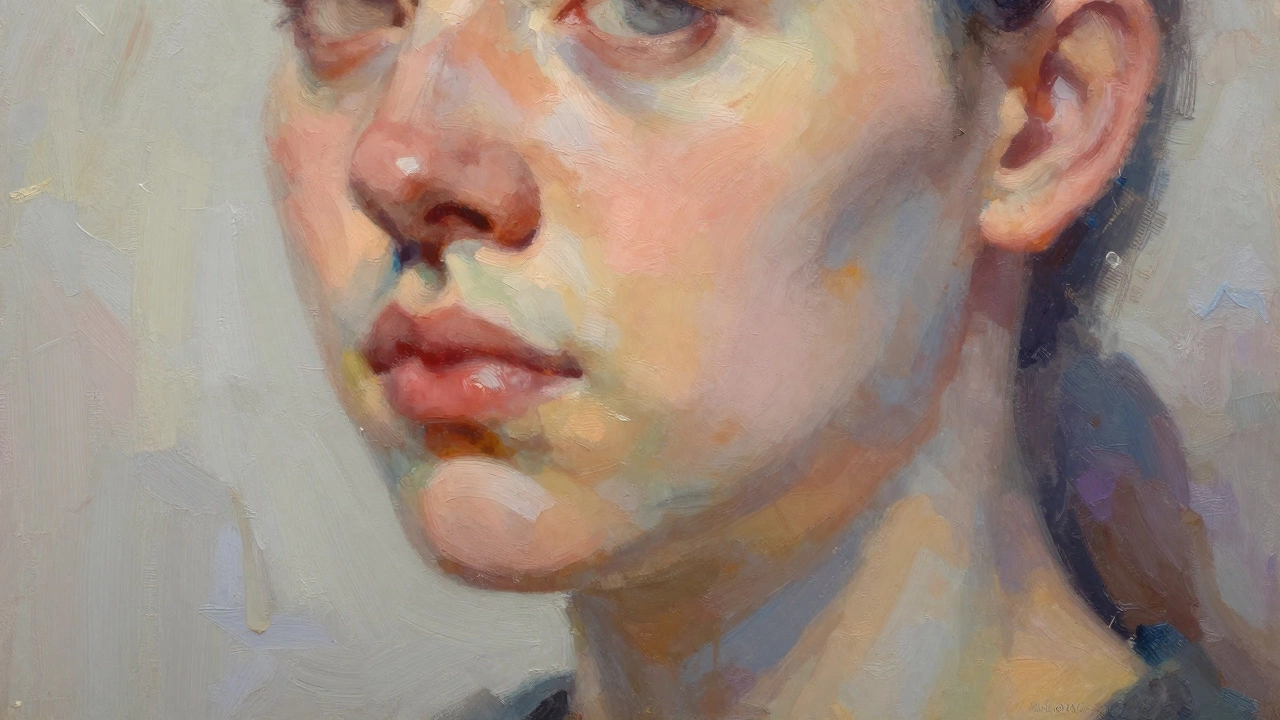
Paint the eyes last
Eyes are the most tempting-and most dangerous-part of a portrait. Beginners often obsess over them, painting them too early, too detailed. But eyes don’t exist in isolation. They’re shaped by the surrounding shadows, the brow ridge, the cheekbone. If you paint them too soon, you’ll force them into a position they don’t belong. Wait until the rest of the face is built. Then, with a fine brush, add the pupil as a tiny dot of dark brown. Add a small highlight-a dot of white or pale yellow-on the wet surface of the eye. That’s all. The rest is suggestion. The brain fills in the rest.Learn to mix skin tones, not use beige
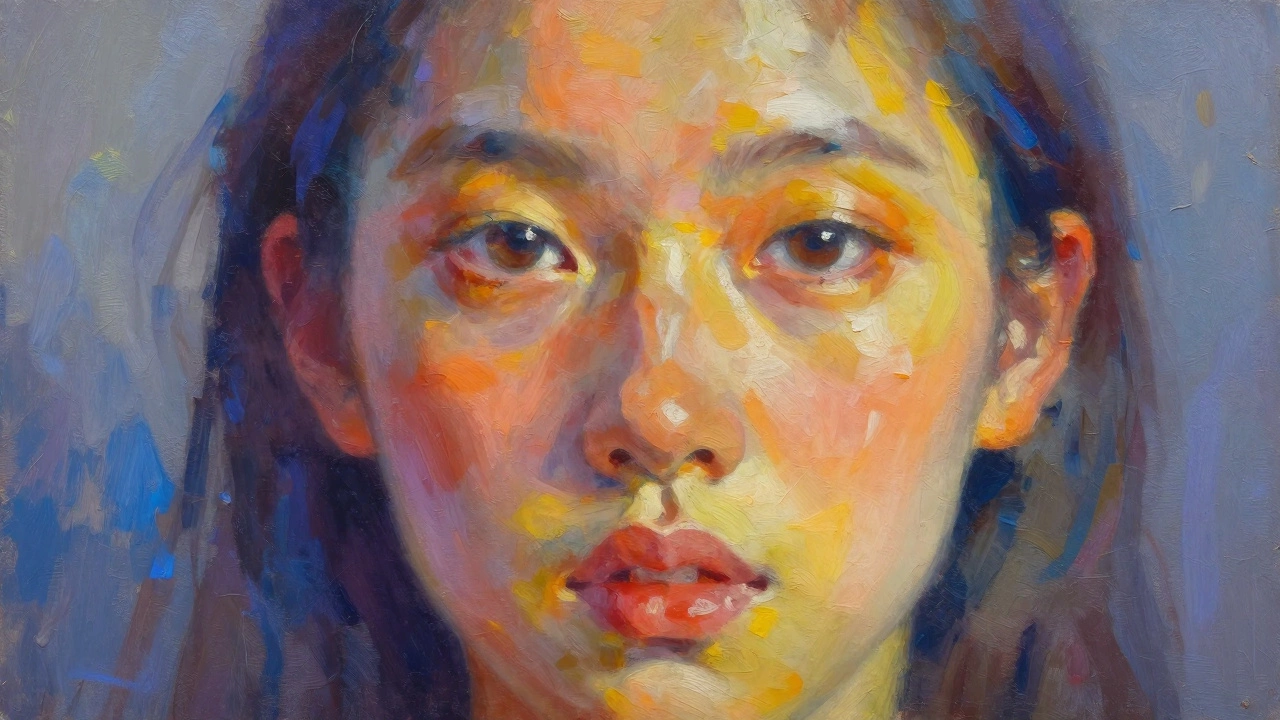
Skin isn’t beige. It’s never just one color. Even in the same light, skin shifts. The forehead might be warm with red. The cheekbone might be cool with blue. The shadow under the jaw might be purple. Start with burnt sienna as your base. Add white for light. Add a drop of cadmium red for warmth. Add a touch of ultramarine blue for shadow. Mix on the palette, not on the canvas. Test each mix on a scrap of paper before applying it. Don’t be afraid of color. A shadow on a fair skin tone might be a mix of burnt umber and violet. A highlight on olive skin might be yellow ochre with a hint of lemon yellow. There’s no single formula. You learn by doing.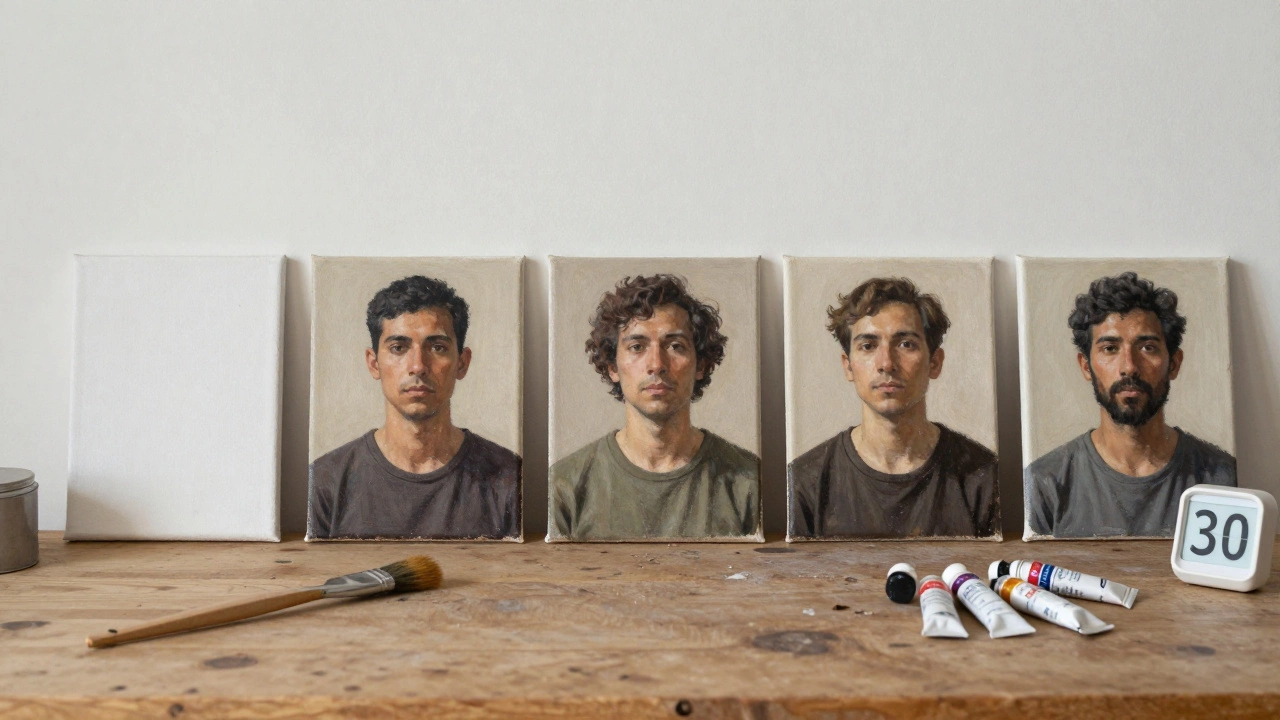
Paint the same face five times
One portrait won’t teach you how to paint portraits. Five will. Pick one person-a friend, a family member, even a photo of yourself-and paint them five times. Each time, focus on one thing: the shape of the jaw. The curve of the lips. The way light falls on the forehead. The texture of the hairline. The fifth painting won’t be perfect. But it will be better. And you’ll start to see patterns. You’ll notice that the shadow under the nose always leans toward the side where the light comes from. You’ll realize the eyes don’t line up perfectly with the ears. These are the details that make a portrait feel alive.Don’t wait for inspiration
You don’t need to feel like an artist to start. You don’t need to wait for the perfect moment. You just need to show up. Set a timer for 30 minutes. Paint. Don’t delete it. Don’t trash it. Don’t call it bad. Just finish it. That’s how you build skill. Not by waiting for genius, but by showing up, again and again.What comes next
After you’ve painted five portraits, you’ll start to notice things you didn’t before. How the neck connects to the shoulder. How the ear sits between the eye and the jaw. How the light changes when the person smiles. Then you can add more colors. Try a touch of cadmium yellow for warmth. Add a hint of viridian for shadows on darker skin tones. Experiment with different brushes. Try painting on a larger canvas. But don’t rush. The magic isn’t in the tools. It’s in the looking. The patience. The willingness to get it wrong-again and again-until you finally get it right.Do I need to know how to draw before painting portraits?
No. Drawing skills help, but they’re not required. Many painters start by blocking in shapes with paint, not pencil. Focus on seeing values-light and dark-and matching them with your brush. You’ll develop hand-eye coordination as you paint, not before.
What’s the best paint for beginners in portrait painting?
Oil paint is traditional, but it takes days to dry. Acrylics dry fast, which makes them easier for beginners. Start with student-grade acrylics-they’re affordable and still blend well. Brands like Liquitex Basics or Golden Open Acrylics work fine. Avoid cheap craft paints; they lack pigment and don’t mix well.
Can I paint portraits from imagination?
Not yet. Portraits require accuracy in proportion and lighting. Painting from imagination without reference leads to generic, lifeless faces. Use photos or live models until you can reliably capture how light shapes a face. Once you’ve painted 20+ portraits, you can start combining elements from memory.
How long should each portrait take?
Start with 2 to 4 hours per portrait. Don’t rush. If you’re working in acrylics, you can finish in one sitting. Oil paints take longer to dry, so you might work over several days. The goal isn’t speed-it’s observation. Take as long as you need to notice the subtle shifts in tone.
Why do my portraits look flat?
Flat portraits usually mean you’re not using enough contrast. Check your darkest darks. Are they really dark? And your lightest lights-do they have enough white or yellow? Most beginners stay in the middle tones. Push the extremes. A strong shadow next to a bright highlight creates depth. That’s what makes a face feel three-dimensional.