Art Techniques: Essential Tips for Oil, Watercolor & Landscape Painting
Want to level up your art without buying a pricey course? You’re in the right spot. This page pulls together the most useful tricks for three popular mediums – oil, watercolor, and landscape painting. Whether you’re just opening a new set of brushes or looking for quick fixes on a piece that’s acting up, you’ll find straightforward advice you can try right away.
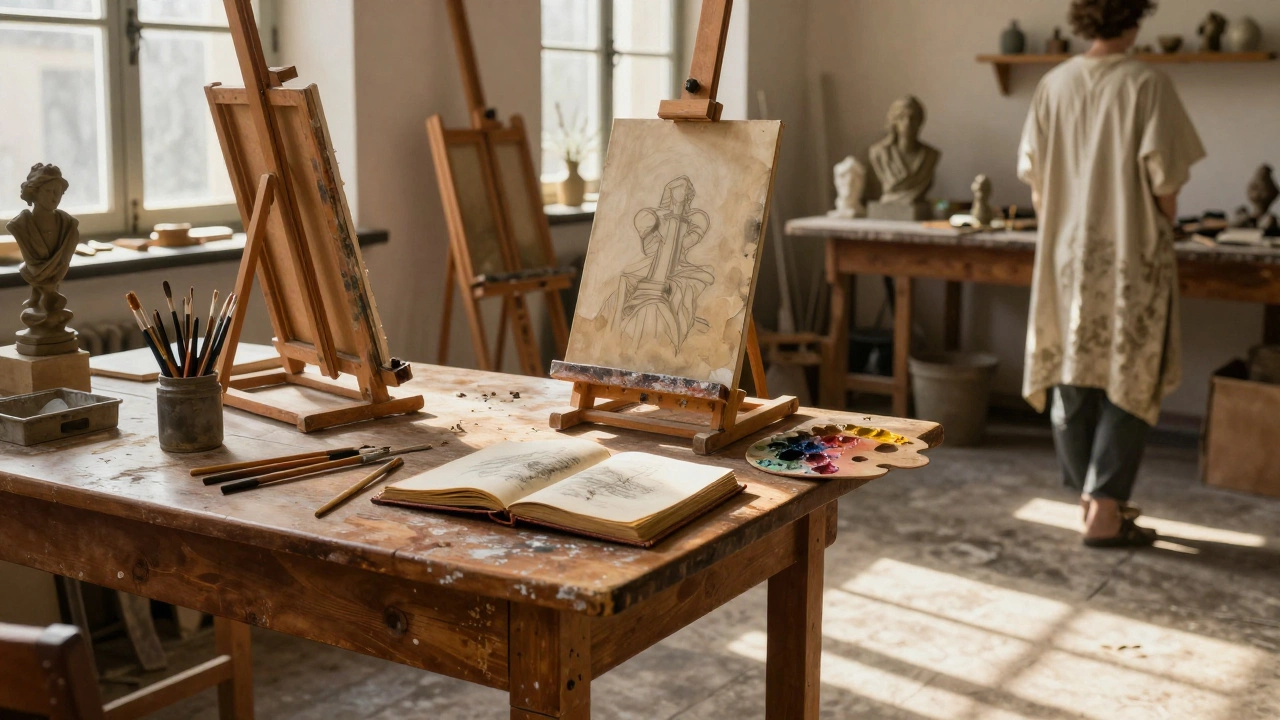
Oil Painting Basics
Starting with oil can feel intimidating, but the biggest hurdle is usually choosing the right canvas and paints. Pick a medium‑weight canvas and a limited palette of a few colors; you’ll get a better feel for how the paint moves. Before you even dip your brush, spend a minute rubbing a thin layer of linseed oil on the surface – it helps the paint glide and reduces the “sticking” feeling. When you’re ready to paint, begin with a thin underpainting in a neutral tone. This layer acts like a map and makes it easier to judge values later.
A common mistake is loading too much paint on the brush. Try the “fat over lean” rule: start with thinner mixes (more solvent) and gradually add more oil as you build layers. This prevents cracking as the painting dries. Clean brushes with mineral spirits between colors and finish with a soothing wash of soap and water. You’ll notice smoother strokes and less bruising on your canvas.
Watercolor & Landscape Tips
Watercolor ripples are a nuisance, but they’re usually caused by too much water on the paper or uneven drying. To avoid them, work on a sheet that’s firmly attached to a board – tape it down if needed. Use a dry brush to lift excess water before the pigment sets, and keep a clean, damp cloth handy to blot any unwanted runs.
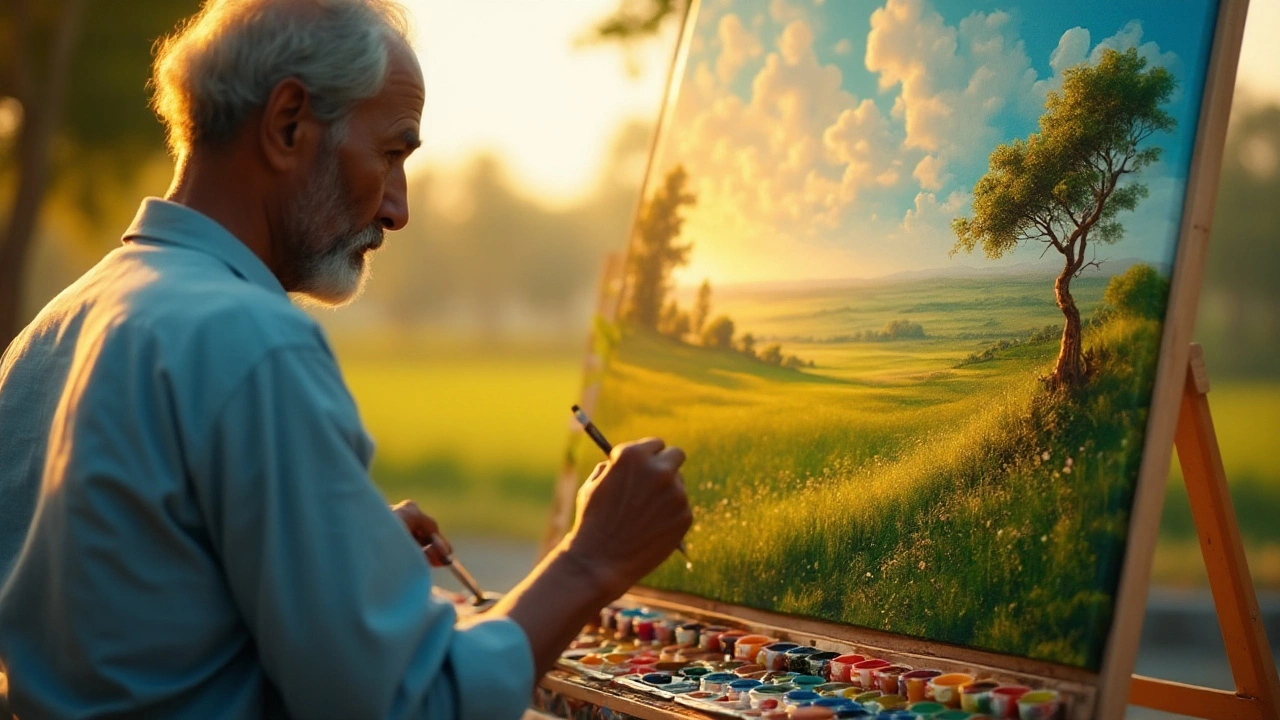
When you’re ready to fix a ripple, try the “dry brush” technique: load a brush with a little pigment, no water, and gently sweep over the troubled area. The dry pigment absorbs the excess moisture and smooths the surface. For landscape scenes, start with a loose sketch of the horizon line and major shapes. Block in the sky first; it’s usually the lightest part and sets the mood. Then move to foreground elements, layering colors from dark to light. Remember that shadows in nature are rarely pitch black – mix a touch of the base color with a darker hue for a more realistic look.
All three mediums share a simple truth: practice beats theory every time. Spend 10‑15 minutes a day experimenting with a single technique – a new brush stroke, a blending method, or a color mix. Track what works and what doesn’t, and you’ll build a personal toolbox faster than any tutorial can promise.
So grab your brushes, prep your workspace, and try one of these tips today. You’ll see immediate improvement, and the best part is you’ll keep discovering new ways to make your art stand out.