Portrait Medium Selector: Acrylic vs Oil
Standing in front of a blank canvas with a reference photo of a face, you hit the same wall every artist does: which medium should I use? The answer isn't just about what looks better on the shelf. It’s about how much time you have, how your brain processes color mixing, and whether you want to fix mistakes or live with them.
If you are asking if it is easier to paint a portrait with acrylic or oil, the short answer depends on your definition of "easy." If easy means "forgiving and fast-drying," acrylic wins. If easy means "blendable and slow-working," oil takes the crown. Neither is objectively simpler; they just demand different habits.
The Speed Factor: Drying Times and Workflow
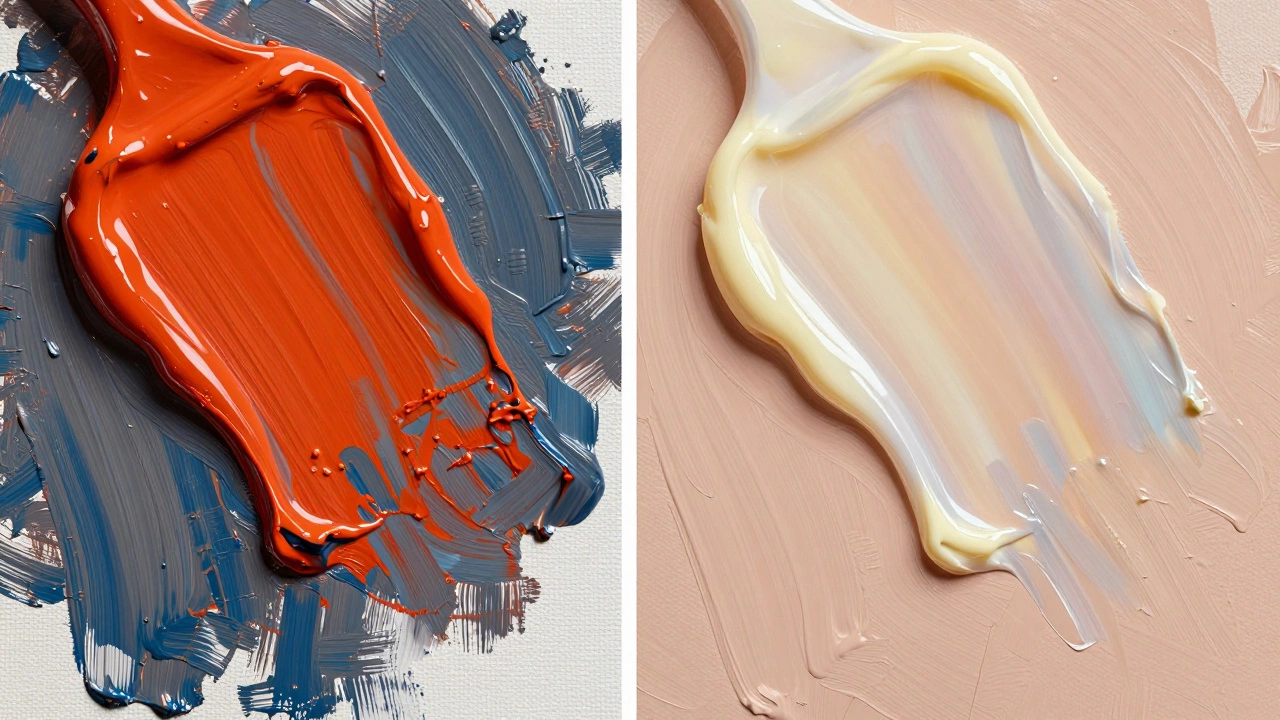
The biggest difference between these two mediums is time. Acrylic paint is a water-based medium that dries quickly through evaporation. Once the water leaves the pigment, the polymer binds permanently. This happens in minutes to hours, depending on thickness and humidity.
This speed changes how you work. With acrylics, you cannot leave a wet edge to blend into later. You must mix your skin tones before they touch the canvas. If you try to blend a cheekbone highlight while the base layer is still wet, you might get smooth gradients. But wait ten minutes, and that same brushstroke will sit on top like plastic. Many beginners find this frustrating because it forces a more decisive approach.
Oil paint is a solvent-based medium that dries slowly through oxidation. A thin glaze can stay workable for days. A thick impasto stroke might take weeks to fully cure. This gives you the luxury of time. You can lay down a base layer in the morning, step away for lunch, and come back to blend the shadows seamlessly in the afternoon.
For portraits, where subtle transitions in skin tone are critical, this slow drying time feels easier to many artists. You don't need to rush your mixing. You can adjust values gradually without fighting against a drying surface.
| Factor | Acrylic Paint | Oil Paint |
|---|---|---|
| Dry to Touch | 10-30 minutes | 24-48 hours |
| Blendable Window | 5-15 minutes | Hours to Days |
| Retouching | Easy (layers bond instantly) | Risky (must ensure underlayer is dry) |
| Work Session Length | Short, intense bursts | Long, relaxed sessions |
Blending Skin Tones: The Core Challenge
Portrait painting lives and dies by blending. Human skin is not a flat color; it is a complex map of warm highlights, cool shadows, and translucent layers. How each medium handles this transition defines its difficulty curve.
With oils, you can use the "wet-on-wet" technique. Load your brush with a dark value for the eye socket, then drag it slightly into the lighter value of the brow bone. The pigments merge physically on the canvas. You can soften edges endlessly until they disappear. This mimics the way we see reality-soft and continuous. For many, this feels intuitive and less stressful.
Acrylics resist this physical merging once they start to set. To achieve soft blends in acrylic, you often need retarders (additives that slow drying) or specific techniques like scumbling (dragging a dry, opaque brush over a dry layer). Alternatively, you must paint "optically blended" edges. This means placing a slightly darker stroke next to a lighter one, trusting the viewer's eye to mix them from a distance. This requires more planning and confidence in your initial placement.
If you struggle with decision-making and prefer to tweak things until they look right, oil’s blendability reduces anxiety. If you prefer clean, distinct strokes and working quickly, acrylic’s opacity allows you to correct errors easily by simply painting over them.
Mixing Colors: Consistency and Permanence
Color mixing behaves differently in each medium due to their chemical properties. Acrylics darken significantly as they dry. A vibrant pink mixed on your palette will look duller and cooler once it hits the canvas and loses its water content. This shift can be disorienting for beginners who think they’ve mixed the perfect skin tone, only to watch it change color after five minutes.
Oils, however, stay true to their wet appearance. What you see on the palette is what you get on the canvas. This consistency makes learning color theory easier because there is no variable changing during the process. You can study the relationship between Alizarin Crimson and Yellow Ochre without worrying about time altering the result.
However, oils require more solvents for cleanup and thinning. Turpentine or odorless mineral spirits are standard tools. These chemicals have strong smells and require proper ventilation. Acrylics clean up with soap and water. If "easy" includes low toxicity and simple cleanup, acrylics are undeniably superior. You can wash your brushes in the sink and keep your studio air fresh.
Correction and Forgiveness
Mistakes happen. Every artist paints an eye that looks too big or a nose that leans left. How you fix these errors impacts the perceived difficulty of the medium.
Acrylics are incredibly forgiving. Because they dry fast and form a waterproof film, you can paint over a mistake immediately. If you mess up a jawline, let it dry for ten minutes, and then cover it with a new layer. The old error disappears completely. This allows for a more experimental approach. You can block in shapes loosely, knowing you can refine them later without ruining the underlying work.
Oils are less forgiving in the short term but more flexible in the long term. If you make a mistake in a wet layer, you can scrape it off with a palette knife or wipe it away with a rag soaked in solvent. However, if you paint over a wet layer with another wet layer, you risk muddying the colors or creating cracks later if the layers aren't compatible (e.g., painting rigid acrylic-like layers over flexible oil layers is bad practice, but here we compare oil-to-oil).
The real risk with oils is the "fat over lean" rule. You must apply thinner layers first and thicker, oilier layers last. If you reverse this, the painting may crack years later. Acrylics do not have this strict structural hierarchy. You can paint thickly over thinly or vice versa without fearing structural failure. This removes a significant technical barrier for beginners.
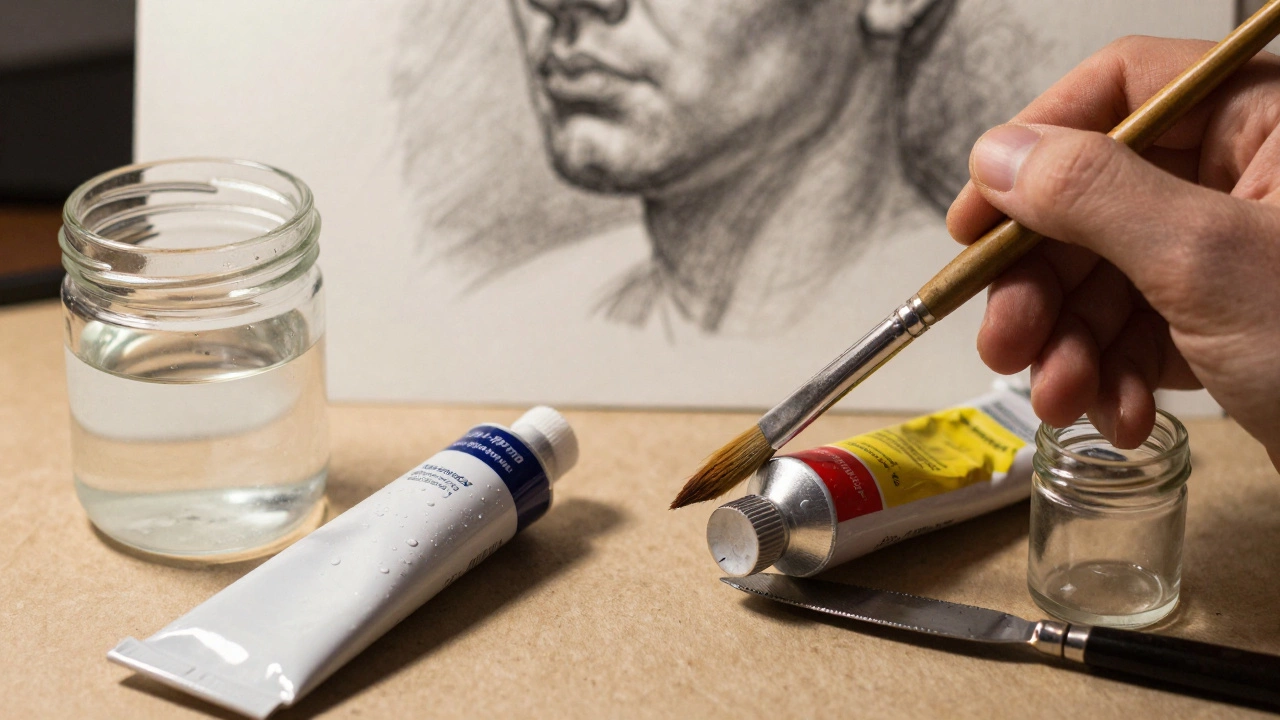
Tools and Setup: Barrier to Entry
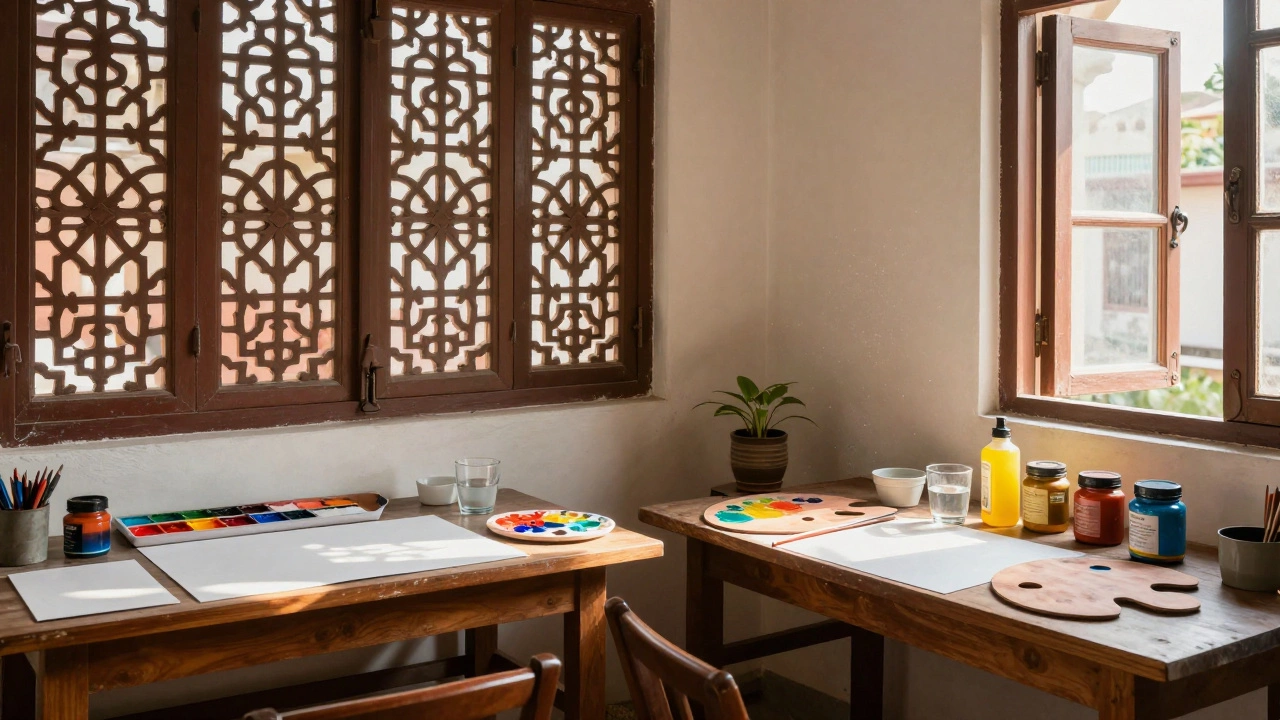
Setting up your workspace affects how accessible the medium feels. Acrylics require minimal setup. You need brushes, a palette (paper or plastic), water cups, and rags. That’s it. You can start painting within five minutes of opening the tube.
Oils require a more involved setup. You need brushes, a palette (glass or wood), solvents for thinning and cleaning, linseed oil for medium, and rags. You also need to consider ventilation. While modern odorless mineral spirits reduce the smell, they are still flammable and require careful storage. The cost of materials is also higher. Quality oil paints and solvents add up quickly compared to affordable student-grade acrylics.
If budget and simplicity are part of your definition of "easy," acrylics win hands down. They are accessible to anyone, anywhere. Oils demand a dedicated space and a larger investment in supplies.
Which Should You Choose?
There is no single winner. Your choice should align with your goals and constraints.
- Choose Acrylics if: You want to finish paintings quickly, you have limited space or ventilation, you prefer water-based cleanup, or you like the ability to paint over mistakes easily. Acrylics are ideal for students, hobbyists, and artists who enjoy energetic, textured styles.
- Choose Oils if: You value seamless blending, you want your colors to remain consistent from palette to canvas, you have the space and budget for proper ventilation and supplies, or you aim for a traditional, luminous finish. Oils are preferred by those seeking realism and depth in portraiture.
Many professional portrait painters actually use both. They might sketch and block in colors with acrylics for speed, then glaze with oils for depth. Or they might stick to one medium exclusively to master its nuances. Start with the medium that excites you most. Technical skill matters more than the tool itself.
Can I mix acrylic and oil paints together?
No, you should never mix acrylic and oil paints directly on the palette or canvas. Acrylic is water-based and plastic-like when dry, while oil is solvent-based. Mixing them creates an unstable emulsion that can crack, peel, or fail to adhere properly. Always keep them separate.
Is oil paint toxic?
The pigments themselves vary. Some heavy metal pigments (like cadmium or cobalt) can be toxic if ingested or inhaled as dust. However, the primary concern with oils is the solvents used for thinning and cleaning, such as turpentine. Using odorless mineral spirits and ensuring good ventilation minimizes health risks. Acrylics are generally non-toxic and water-cleanable.
How long does it take for an oil portrait to fully dry?
An oil painting dries to the touch in 1-3 days, but it can take 6 months to a year to fully cure internally. Thick impasto areas may take even longer. You should wait at least 6-12 months before varnishing an oil portrait to ensure all solvents have evaporated.