Watercolor Canvas Prep Simulator
Pick a primer, set your coats and grit, then watch the live preview update to match what your wash would actually do.
Tip: For large wet washes (like skies), more coats reduce bleeding. For fine detail, a smoother surface with glue size keeps edges crisp. The preview is an approximation of real behavior.
Most painters assume you just squeeze the tube onto the canvas and start mixing. But if you want your watercolor washes to stay vibrant and not bleed into the weave of the fabric, preparation is everything. Skipping this step often leads to a muddied look where colors sink too deep or dry unevenly. The core question isn't just "what do I put on it?" but "how much texture and absorbency do I want?"
The short answer: you need a barrier layer. This layer seals the porous fibers of the canvas so the water-based paint sits on top rather than soaking in. Without it, your first wet-on-wet technique will likely turn into a disaster of uncontrollable bleeding.
Why Raw Canvas Fails Watercolor
Canvas is typically made from cotton or linen fibers woven together. These natural materials are highly absorbent, designed to soak up oil paints slowly over days. Watercolor, however, relies on water evaporating quickly while pigment particles settle on the surface. When you apply raw watercolor to unprimed canvas, the water wicks into the fibers instantly. This causes two main problems:
- Pigment Loss: The color sinks below the surface, resulting in dull, flat tones that lack the luminosity associated with watercolor art.
- Uncontrolled Bleeding: Because the absorption rate varies across the weave, edges become jagged and unpredictable. You lose control over soft gradients.
Think of it like trying to draw with a wet marker on a napkin versus a sheet of plastic. One soaks up the ink; the other lets it slide and pool. For professional results, you need that plastic-like resistance, but with enough tooth (texture) to hold the pigment granulation.
The Standard Solution: Acrylic Gesso
The most common material used to prepare canvas for watercolor is Acrylic Gesso. Unlike traditional chalk-based gesso used for oils, modern acrylic gesso is flexible and dries hard. It creates a smooth, slightly textured white base that repels water initially but allows it to dry evenly.
Here is why artists choose acrylic gesso over other options:
- Flexibility: It moves with the canvas as it expands and contracts with humidity changes, preventing cracking.
- Adhesion: It bonds well to both cotton and synthetic canvases.
- Availability: You can find it in any art supply store in various grits (smooth, medium, rough).
When applying gesso, you generally use two to three thin coats. Let each coat dry completely before adding the next. If you rush this, bubbles form, and the surface becomes bumpy, which ruins delicate watercolor details. A medium-grit gesso is usually the sweet spot-it provides enough tooth for the pigment to catch without being so rough that it breaks brush strokes.
Alternative Primers: Sizing and Casein
While gesso is the go-to for many, purists and advanced artists often prefer Sizing solutions. Sizing is a liquid applied directly to the surface to reduce absorbency without adding bulk. There are two main types you should know about:
- Glue Size: Made from rabbit skin glue or hide glue. It’s traditional and creates a very crisp edge for fine detail work. However, it can yellow over time and makes the surface quite slick, which might be too slippery for broad washes.
- Synthetic Sizing: Modern polymer-based sizes that don’t yellow and offer better flexibility. They are safer for archival work and last longer without becoming brittle.
Another option is Casein Paint, specifically white casein. It acts similarly to gesso but has a different chemical structure. Casein is harder and less flexible than acrylic gesso. If you are painting on a rigid panel rather than a stretched canvas, casein works beautifully. On a flexible canvas, though, it may crack if the support moves too much.
| Material | Texture Level | Dry Time per Coat | Best For | Absorbency Control |
|---|---|---|---|---|
| Acrylic Gesso | Medium to Rough | 1-2 hours | General purpose, mixed media | Moderate |
| Rabbit Skin Glue | Smooth | 30 mins - 1 hour | Fine detail, traditional style | High |
| White Casein | Smooth to Medium | 4-6 hours | Rigid panels, opaque effects | Low |
| Watercolor Paper Paste | Very Rough | Overnight | Heavy texture, collage effects | Variable |
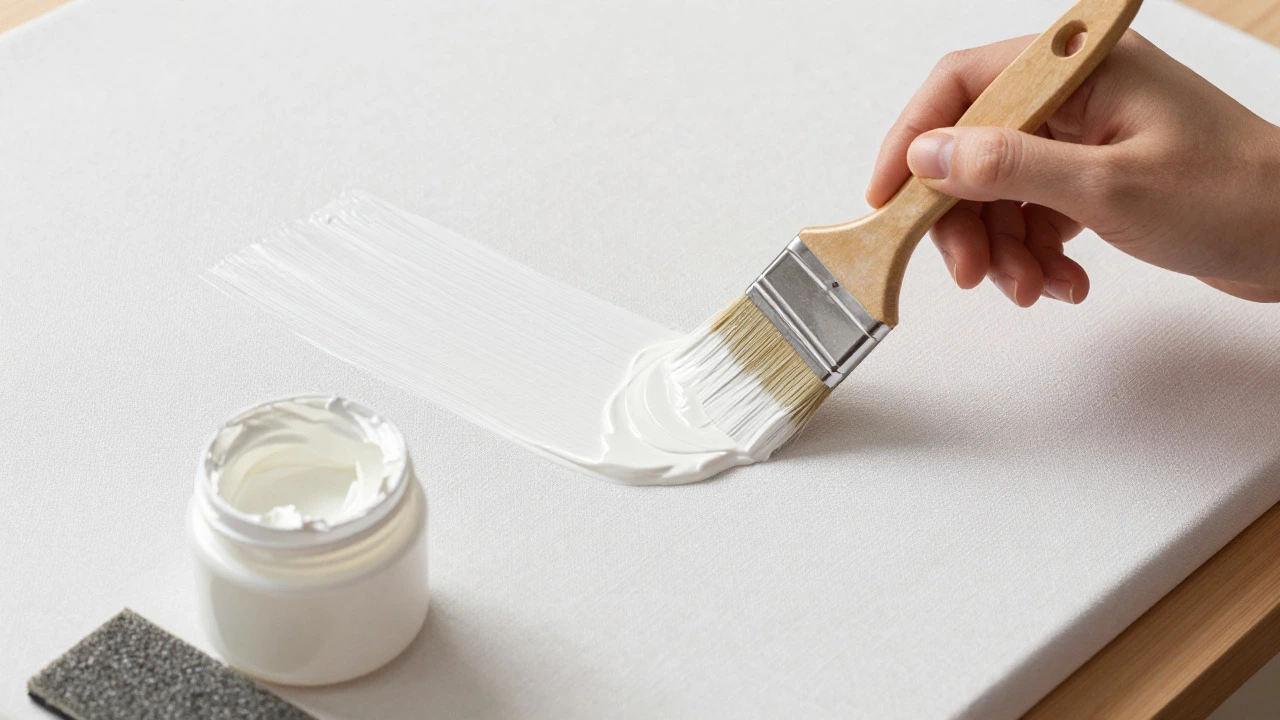
Step-by-Step Application Guide
Preparation takes patience, but it saves hours of frustration later. Here is the exact process to follow for a standard 18x24 inch canvas:
- Clean the Surface: Wipe the canvas with a damp cloth to remove dust. Dust trapped under gesso creates tiny bumps that show up in thin washes.
- First Coat of Gesso: Use a wide flat brush or a foam roller. Apply an even, thin layer. Don’t load the brush too heavily, or you’ll get drips.
- Dry Completely: Wait at least 2 hours, or until the surface looks matte white. If it looks shiny, it’s still wet.
- Sand Lightly: Use 220-grit sandpaper to smooth out any ridges. Wipe away the dust again.
- Second Coat: Apply another thin layer. This builds up the barrier. For heavy watercolor usage, a third coat is recommended.
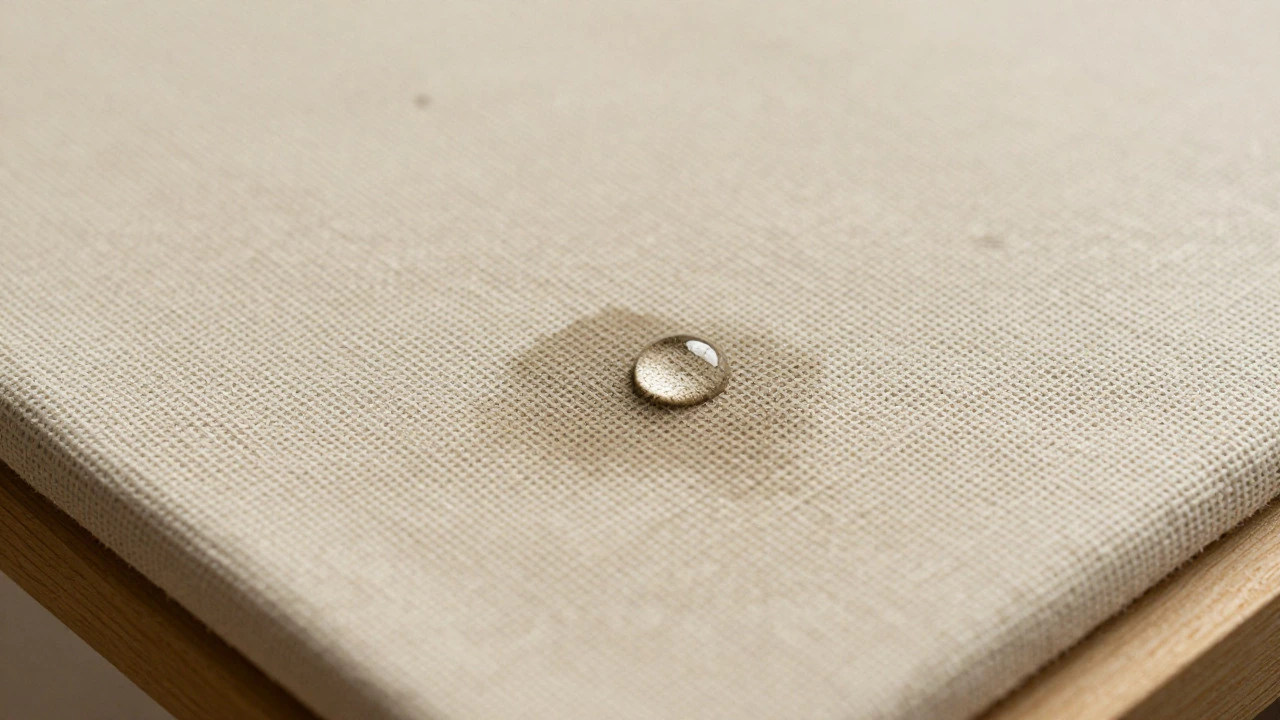
- Final Check: Once dry, test a corner with a drop of clean water. It should bead up slightly before absorbing. If it soaks in immediately, add another coat.
Pro tip: If you plan to use very large amounts of water (like in landscape skies), consider using a high-quality cold-press watercolor paper glued down to the canvas instead of priming the canvas itself. This gives you the authentic paper feel that many watercolorists crave, combined with the durability of a canvas backing.
Common Mistakes to Avoid
Even experienced painters make errors during prep. Watch out for these pitfalls:
- Using Oil-Based Primer: Never use oil primer for watercolor. It creates a slick surface that prevents water from drying properly, leading to permanent stains.
- Applying Too Thickly: Thick layers of gesso take days to dry fully inside the canvas. This moisture can warp the wood stretcher bars.
- Skipping the Test Patch: Always test your specific brand of gesso with your specific brand of watercolor. Some cheap gessos contain fillers that react oddly with certain pigments, causing chalking or flaking.
Remember, the goal is to create a surface that behaves predictably. You want the water to sit long enough to blend, but dry fast enough to preserve the crispness of the edges. Balancing this is the art of preparation.
Related Concepts and Materials
Understanding what goes on the canvas helps you understand how it interacts with other tools. Watercolor Paper is inherently sized during manufacturing, which is why it doesn't need extra prep. When you move to canvas, you are replicating that sizing process manually. Similarly, Gouache, which is also water-based, benefits from similar priming techniques because it shares the same water-soluble properties. However, gouache is more opaque, so it tolerates slightly rougher surfaces than transparent watercolor.
If you are experimenting with mixed media, knowing how Acrylic Paint interacts with gesso is crucial. Acrylics adhere strongly to gesso, making it easy to combine watercolor washes with acrylic underpaintings. Just ensure the acrylic layer is fully dry before applying watercolor, or the two mediums will mix unpredictably.
Frequently Asked Questions
Can I use spray gesso instead of brushing?
Yes, spray gesso is excellent for achieving a very uniform, thin layer. It reduces the risk of brush marks and ensures consistent coverage. However, it requires good ventilation and careful masking of the canvas edges to avoid overspray on the frame.
How many coats of gesso do I really need?
Two coats are the minimum for most projects. Three coats provide a stronger barrier against water absorption, which is ideal if you plan to use large volumes of water or rework areas multiple times. More than three coats adds unnecessary weight and drying time.
Does the type of canvas matter for watercolor prep?
Yes. Cotton duck canvas is more absorbent and softer than linen. Linen holds its shape better and has a tighter weave, which means it requires less gesso to achieve a smooth surface. If you use coarse cotton canvas, expect to use an extra coat of gesso to seal the larger gaps between threads.
What if my watercolor bleeds through the gesso?
If bleeding occurs, it usually means the gesso layer was too thin or didn't dry completely. You can fix this by applying a final coat of clear matte varnish or a dedicated watercolor medium over the dried gesso. This adds an extra hydrophobic layer without changing the texture significantly.
Is it worth buying pre-primed watercolor canvases?
For beginners, yes. Pre-primed canvases save time and guarantee a consistent surface. As you gain experience, you may prefer to prime your own to control the texture level exactly. Commercial pre-primed canvases often use a standard medium grit, which may not suit your specific style.