Art Digitization Pathway Finder
Select your preferred approach to start:
Scan It
High precision, flat works, detailed illustrations
Photograph It
Larger pieces, textured surfaces, quick capture
Redraw It
Full creative control, editable layers, new styles
Your Recommended Workflow
Essential Checklist:
You spent hours mixing paints, layering textures, and perfecting the light in your latest piece. Now you want that work on a screen-sharper, editable, and ready for social media or print. Turning traditional art into digital art isn’t about replacing your old methods; it’s about extending them. Whether you’re a painter, illustrator, or sketcher, moving from canvas to pixel opens up new ways to share, sell, and refine your work. The process is simpler than you think, but it does require the right tools and a bit of know-how to keep your original vision intact.
Many artists worry they’ll lose the soul of their piece when it goes digital. That fear is understandable, but with the right approach, your digital version can feel just as alive as the physical one. In fact, some find that digitizing helps them see details they missed before. Before we get into the steps, here’s what you need to know:
- You don’t need expensive gear to start-your smartphone might be enough.
- Scanning gives cleaner results than photos, but photos are faster and more flexible.
- Cleaning up your image digitally takes time but pays off in professionalism.
- There are multiple paths depending on whether you want to preserve the original look or rebuild it from scratch.
Choose Your Method: Scan, Photo, or Redraw?
The first decision you make sets the tone for everything else. You have three main options, each with its own strengths and trade-offs.
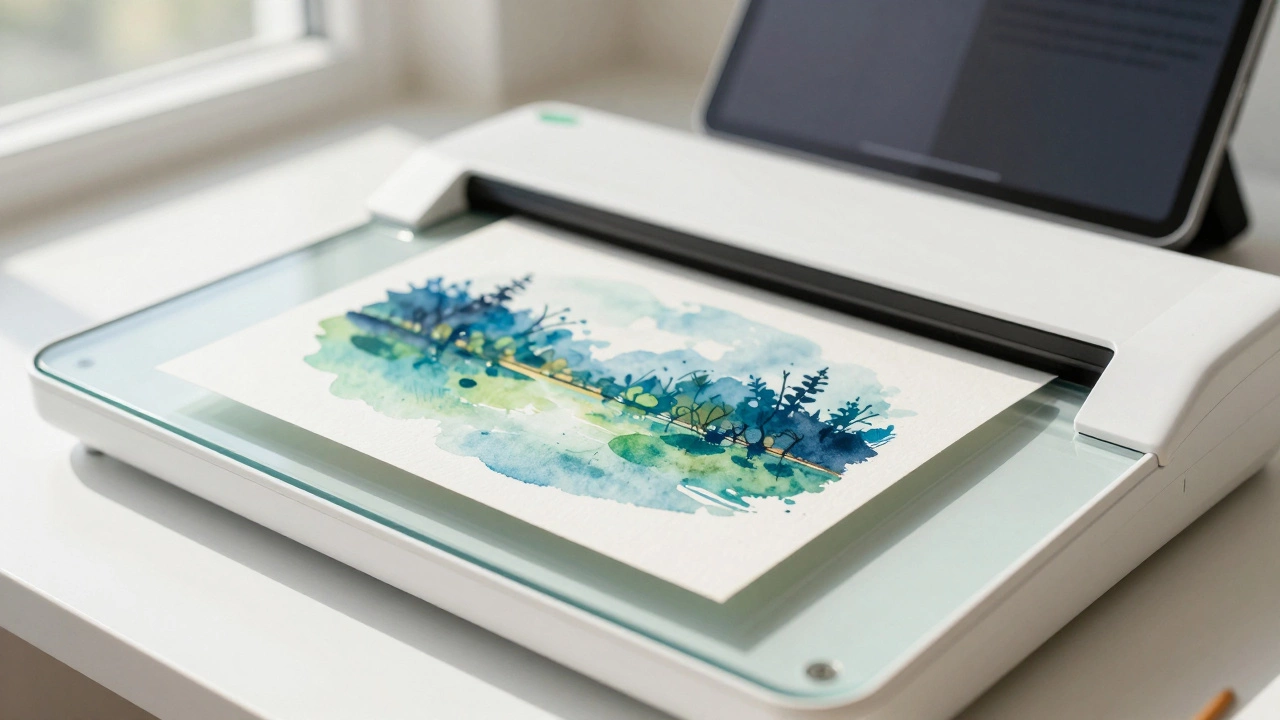
Scanning is the gold standard for flat works like drawings, watercolors, or prints. It captures every line and color shift without distortion. If you have access to a flatbed scanner, this is your best bet for high-quality reproduction. Most home scanners handle up to A4 size, which covers most sketches and small paintings.
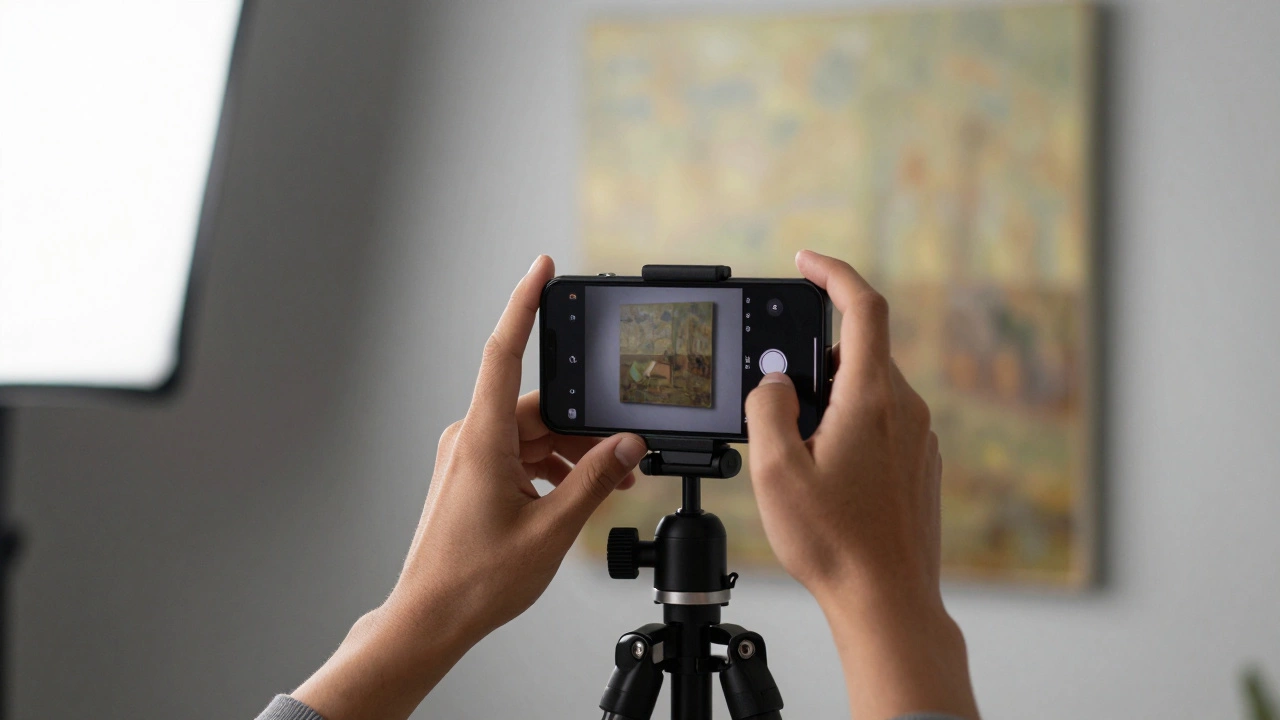
Photography works well for larger pieces or textured surfaces like oil paintings. With good lighting and a steady hand (or tripod), you can get surprisingly clean results. This method is also great if you don’t own a scanner. Just avoid flash-it creates glare and washes out colors.
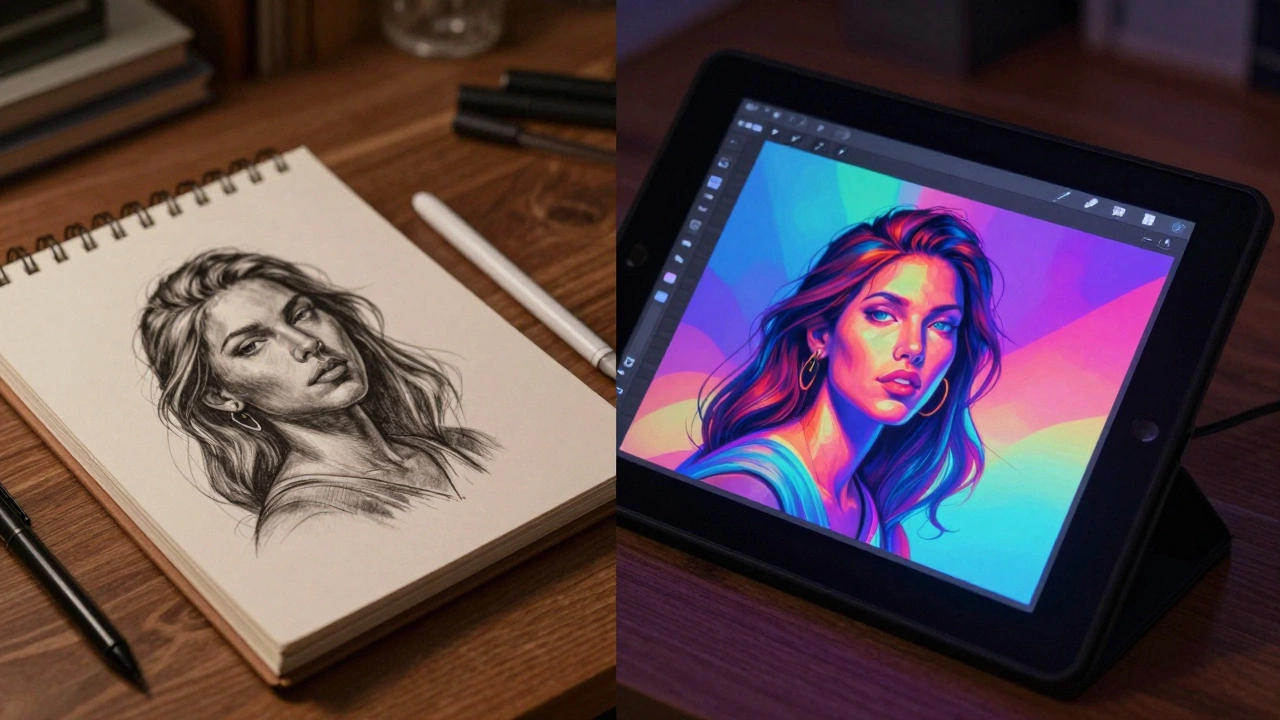
Redrawing digitally means starting fresh on a tablet using software like Procreate or Photoshop. This gives you full control over layers, effects, and edits. It’s ideal if you want to experiment with styles or fix mistakes from the original. But it takes time and skill, so only choose this if you’re comfortable working digitally.
| Method | Best For | Pros | Cons |
|---|---|---|---|
| Scanning | Flat artworks, detailed illustrations | High resolution, no distortion | Limited by scanner size, slower setup |
| Photography | Larger pieces, textured surfaces | Fast, portable, flexible angles | Requires good lighting, potential shadows |
| Redrawing | Full creative control, editing flexibility | Editable layers, unlimited undo | Time-consuming, requires digital skills |
Gather the Right Tools
Before you begin, make sure you have the basics covered. You don’t need a studio setup, but having the right equipment makes a big difference in quality.
- Scanner or camera: A flatbed scanner for precision, or a DSLR/smartphone with manual controls for photography.
- Lighting: Natural daylight or softbox lights to reduce shadows and glare.
- Editing software: Adobe Photoshop, GIMP (free), or Affinity Photo for cleanup and enhancement.
- Drawing tablet (optional): Wacom, iPad + Apple Pencil, or Huion for redrawing or adding digital elements.
- Color profile settings: Set your scanner or camera to sRGB for web use or CMYK for print.
If you're scanning, aim for at least 300 DPI for web use and 600+ DPI for print-ready files. Higher resolutions capture finer details, especially important for ink drawings or fine brushwork.
Capture Your Work Properly
No matter which method you choose, how you capture the image matters. Here’s how to do it right.
For scanning: Place your artwork face down on the glass, aligning it with the corner markers. Close the lid gently to avoid smudging. Use “Photo” mode rather than “Document” to preserve color depth. Save as TIFF or PNG-not JPEG-to avoid compression artifacts.
For photography: Set up your workspace near a window or under even artificial light. Place your artwork flat on a table or hang it vertically against a neutral wall. Shoot straight-on-never at an angle. Use a tripod or rest your phone on a stable surface. Turn off auto-enhance features that alter colors.
Pro tip: Take several test shots and zoom in on your screen to check for dust, wrinkles, or uneven exposure. Small fixes now save hours later.
Clean Up and Enhance in Software
Once your image is captured, it’s time to polish it. Even the best scans or photos come with imperfections-dust spots, skewed lines, dull colors. Cleaning these up is where your digital file starts to shine.
- Level and crop: Straighten any tilted edges and remove unnecessary borders. Most editors have an auto-level tool, but always double-check manually.
- Adjust brightness and contrast: Boost visibility without blowing out highlights or crushing shadows. Use curves for precise control.
- Remove noise and dust: Use healing brushes or spot removal tools to clean up specks. Be careful not to erase intentional texture.
- Sharpen selectively: Apply sharpening only where needed-edges and lines benefit most. Over-sharpening makes images look harsh.
- Export correctly: Save a master copy in TIFF or PSD format. Then export a web-ready version in JPEG or PNG with optimized file size.
If you’re planning to print your work, convert to CMYK and adjust saturation slightly-screens show brighter colors than printers reproduce.
Go Beyond Scanning: Add Digital Elements
Digitizing doesn’t mean stopping at a faithful copy. Once your base image is clean, you can enhance it with digital techniques.
Add backgrounds, overlays, or filters to give your piece a modern twist. Try blending modes like Multiply or Overlay to integrate textures seamlessly. Or create animated versions using simple frame-by-frame animation tools.
If you redraw parts digitally, consider keeping the original scan as a reference layer underneath. This lets you trace key lines while experimenting with new colors or compositions.
Some artists even combine scanned textures with vector shapes for hybrid designs-great for logos, posters, or merchandise.
Share and Sell Your Digital Art
Now that your artwork lives online, you can reach audiences far beyond your local gallery. Platforms like Instagram, Behance, and ArtStation let you showcase your work globally. Etsy and Society6 allow you to sell prints directly from your digital files.
When posting, include alt text describing your piece for accessibility. Tag relevant communities and use consistent branding across platforms. And remember-always watermark previews if you’re sharing publicly.
Looking to expand your network? Sometimes connecting with professionals outside your usual circle sparks unexpected collaborations. For example, checking out resources like this directory can introduce you to diverse networks-even if indirectly-by showing how different industries organize talent and services.
Common Mistakes to Avoid
Even experienced artists trip up during the digitization process. Watch out for these pitfalls:
- Poor lighting: Shadows and reflections ruin otherwise perfect captures.
- Low resolution: Blurry images won’t scale well for prints or large displays.
- Over-editing: Too much sharpening or saturation distorts the original intent.
- Saving in wrong formats: JPEG loses detail; always keep a lossless backup.
- Ignoring color profiles: Mismatched profiles cause inconsistent appearances across devices.
Taking extra care upfront saves frustration downstream. Test your workflow with a small piece before tackling your masterpiece.
Frequently Asked Questions
Can I turn my art into digital art without a scanner?
Yes. A smartphone or DSLR camera works fine if you control lighting and shoot straight-on. Edit the photo afterward to correct perspective and enhance clarity.
What resolution should I scan my artwork at?
Use 300 DPI for web use and 600-1200 DPI for print. Higher resolutions capture finer details but increase file size significantly.
Is it better to scan or photograph my painting?
Scanning offers higher accuracy for flat works, while photography handles larger or textured pieces better. Choose based on your artwork type and available tools.
How do I remove dust from a scanned image?
Use healing brushes or clone stamp tools in Photoshop or GIMP. Zoom in carefully to avoid erasing real details. Some scanners also offer dust removal filters built-in.
Should I redraw my entire piece digitally?
Only if you want full creative control or plan major changes. Otherwise, scanning plus minor edits preserves your original effort while making it usable online.
What file format should I save my digital art in?
Keep a master copy in TIFF or PSD for future edits. Export JPEG or PNG for web sharing. Use CMYK TIFFs for professional printing.
Can I animate my traditional art after digitizing it?
Absolutely. Import your cleaned-up image into animation software like After Effects or Procreate Dreams. Add motion effects, transitions, or loopable sequences.
Do I need special software to edit my scanned art?
Not necessarily. Free tools like GIMP or Photopea offer powerful editing capabilities. Paid options like Photoshop provide more advanced features and smoother workflows.
How do I prevent color shifts when converting to digital?
Calibrate your monitor and set your scanner/camera to sRGB. Compare the digital version side-by-side with the original under similar lighting conditions.
Can I sell my digitized traditional art online?
Yes. Platforms like Etsy, Redbubble, and Fine Art America let you upload high-res files and sell prints, stickers, or downloads automatically.