Painting Techniques: Quick Tips for Better Oil Art
If you’ve ever felt stuck staring at a blank canvas, you’re not alone. The right technique can turn that doubt into confidence. Below you’ll find straight‑forward advice that works for beginners and seasoned painters alike. No fluff, just practical steps you can try right now.
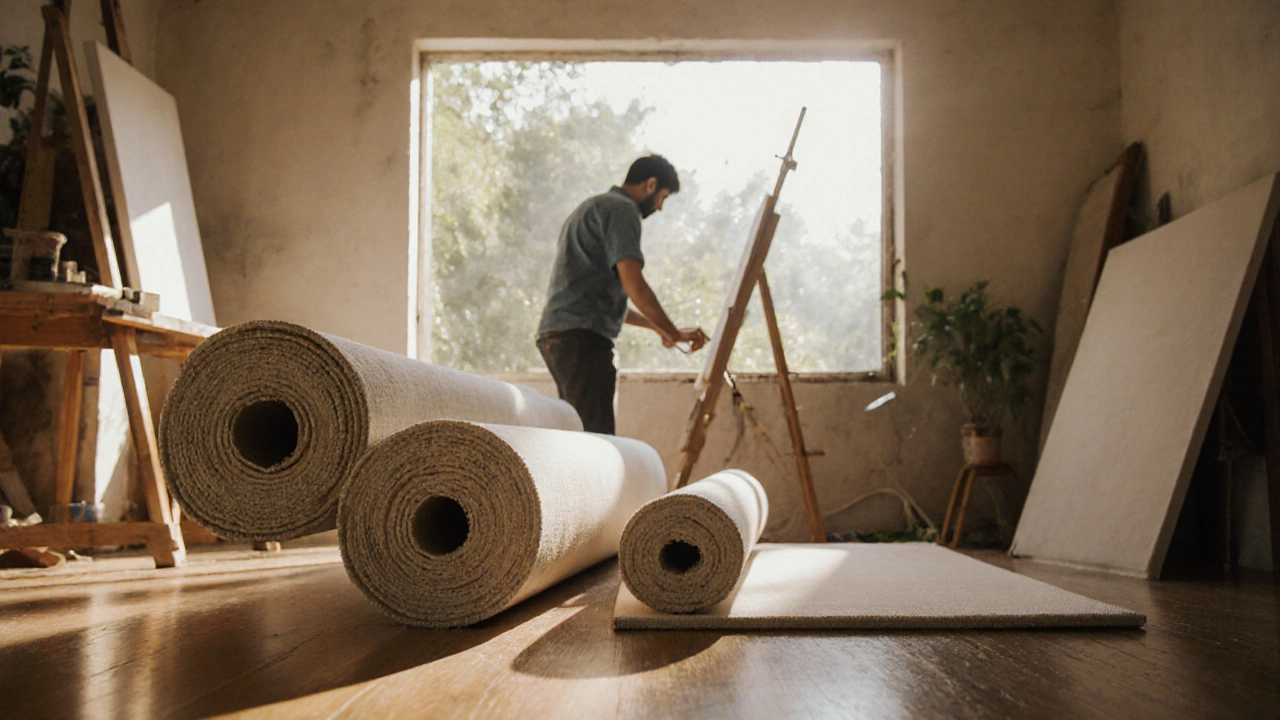
Prep Your Surface Right
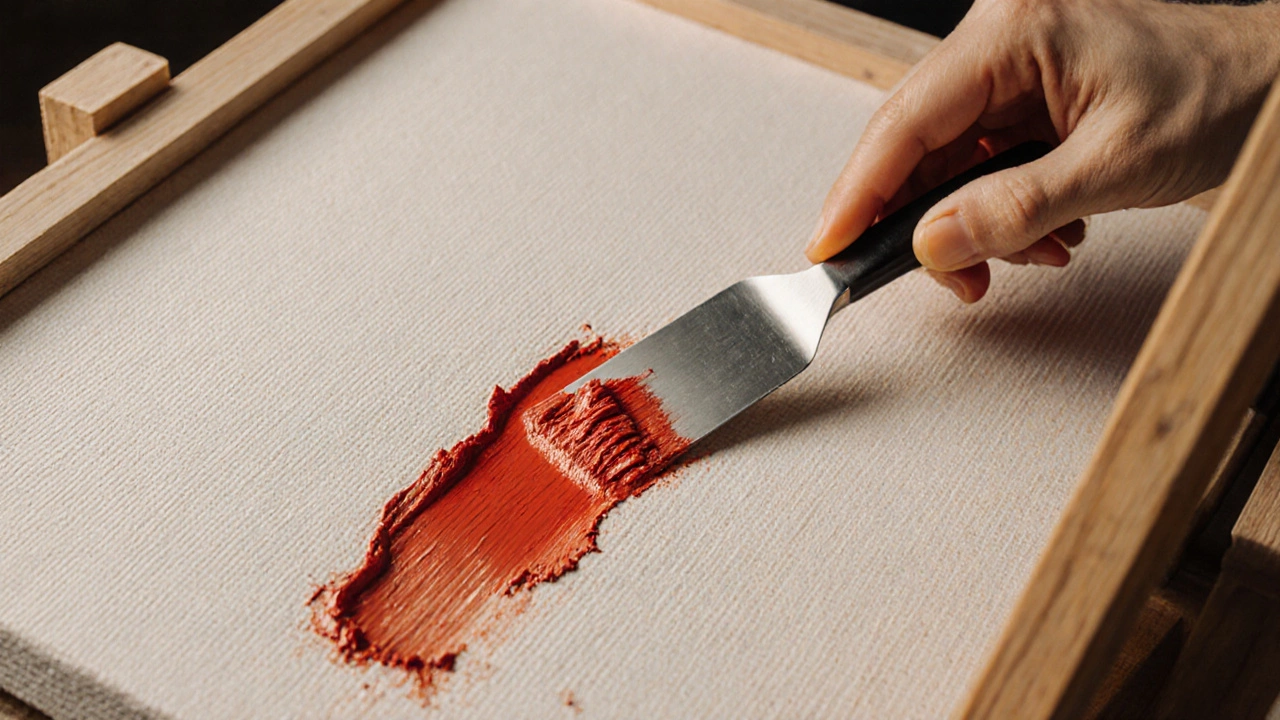
Before the first brushstroke, make sure your canvas is ready. A thin layer of gesso creates a smooth, absorbent surface that helps paint stick and stay vibrant. Apply two coats, let each dry, then lightly sand for an even finish. This simple routine cuts down on cracked paint later and gives your colors a solid foundation.
Choosing and Using Mediums
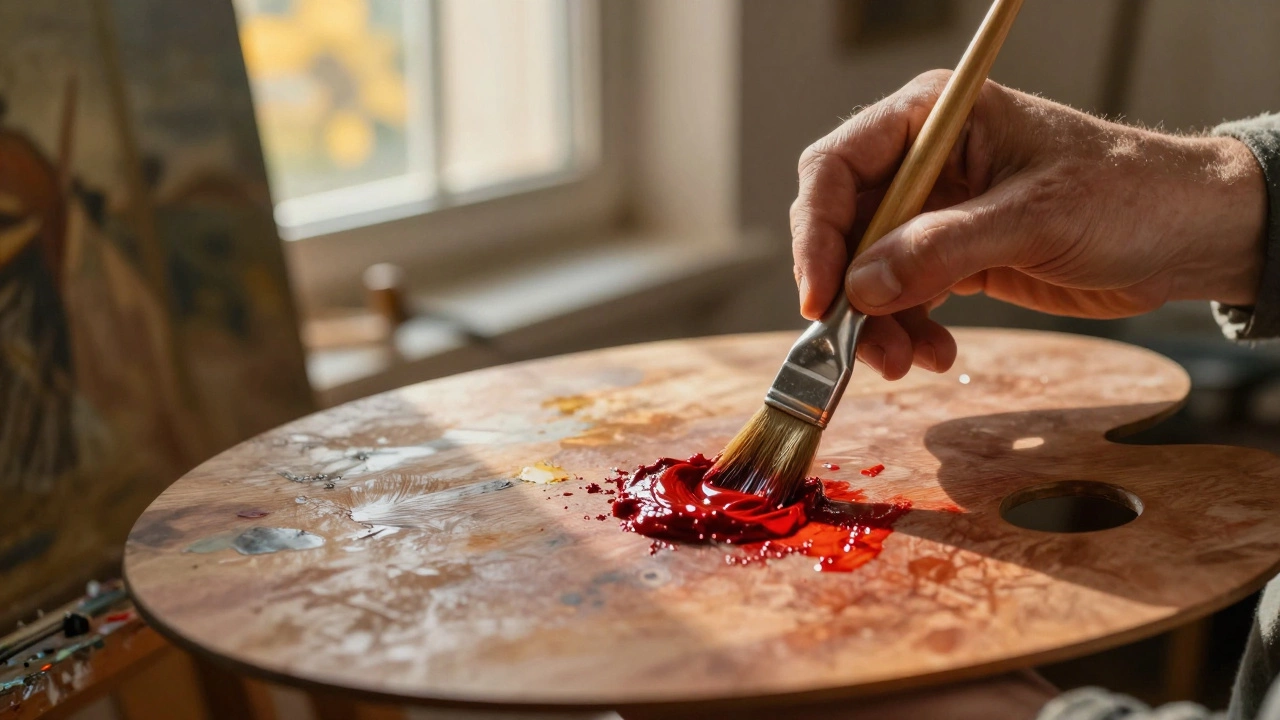
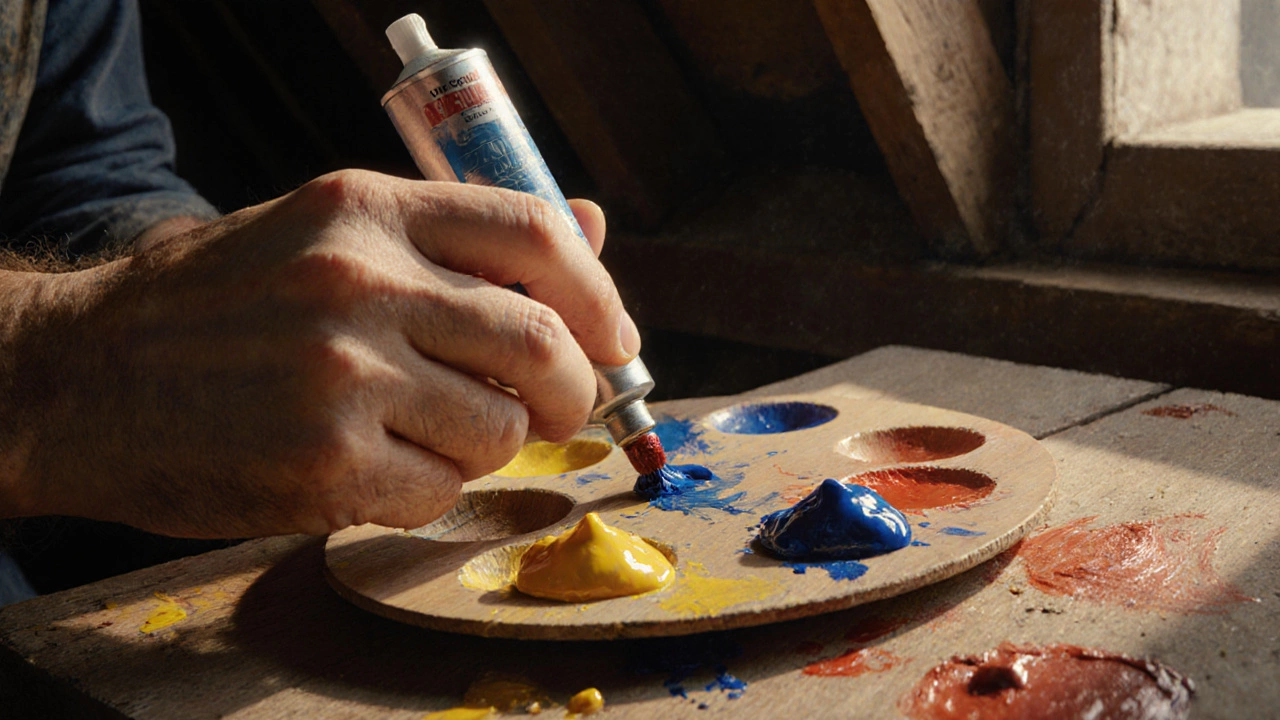
Mediums are the secret sauce of oil painting. They control drying time, texture, and gloss. For a quick, all‑purpose mix, blend linseed oil with a little turpentine or mineral spirits. If you want a slower dry, try stand‑oil or a wax medium. Curious about alternatives? Coconut oil works in a pinch but changes the paint’s flow, so test on a scrap first.
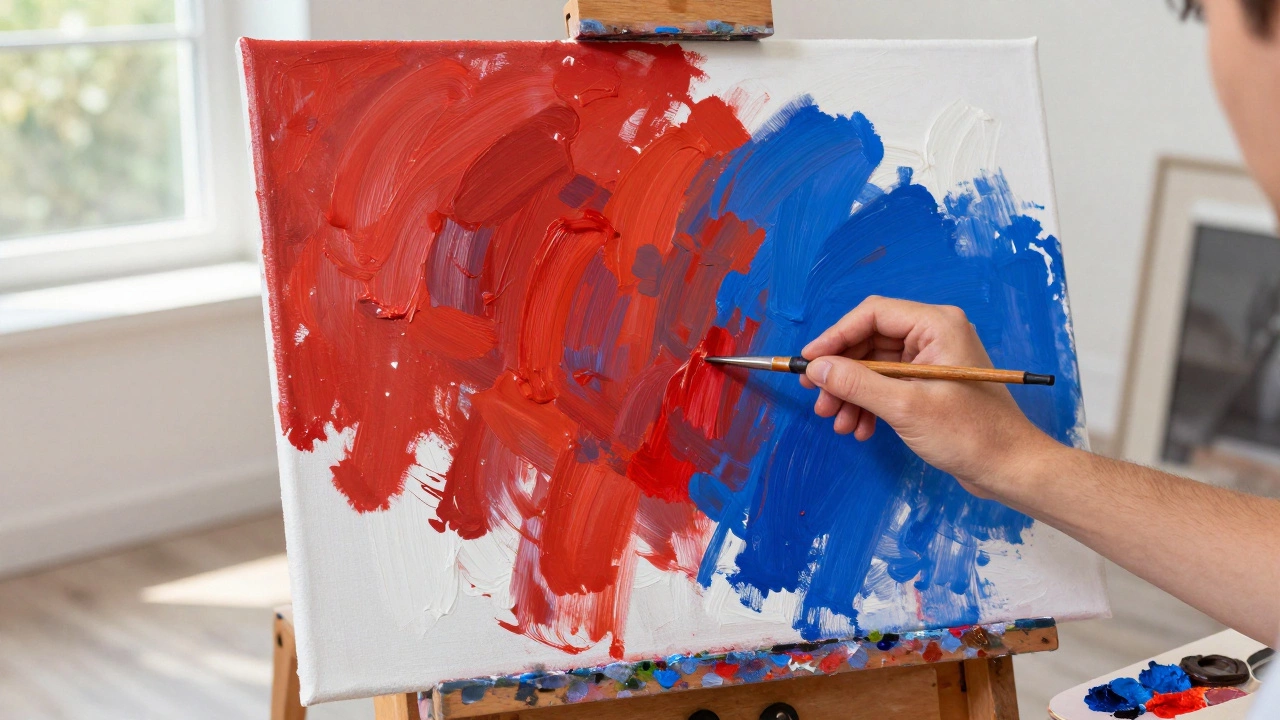
When you’re ready to add layers, remember the “fat‑over‑lean” rule: start with thinner (lean) mixes and finish with thicker (fat) ones. This keeps the paint from cracking as it ages. A thin underpainting can be made with just a dash of solvent, while later glazes benefit from extra oil for smooth blending.
Layer drying time varies. A thin wash might be touch‑dry in a few hours, but a thick impasto could need days. Temperature and humidity play big roles, so keep your studio at a stable 70°F and avoid damp walls. If you’re impatient, a short blast of a fan or a warm (not hot) lamp speeds things up without sacrificing quality.
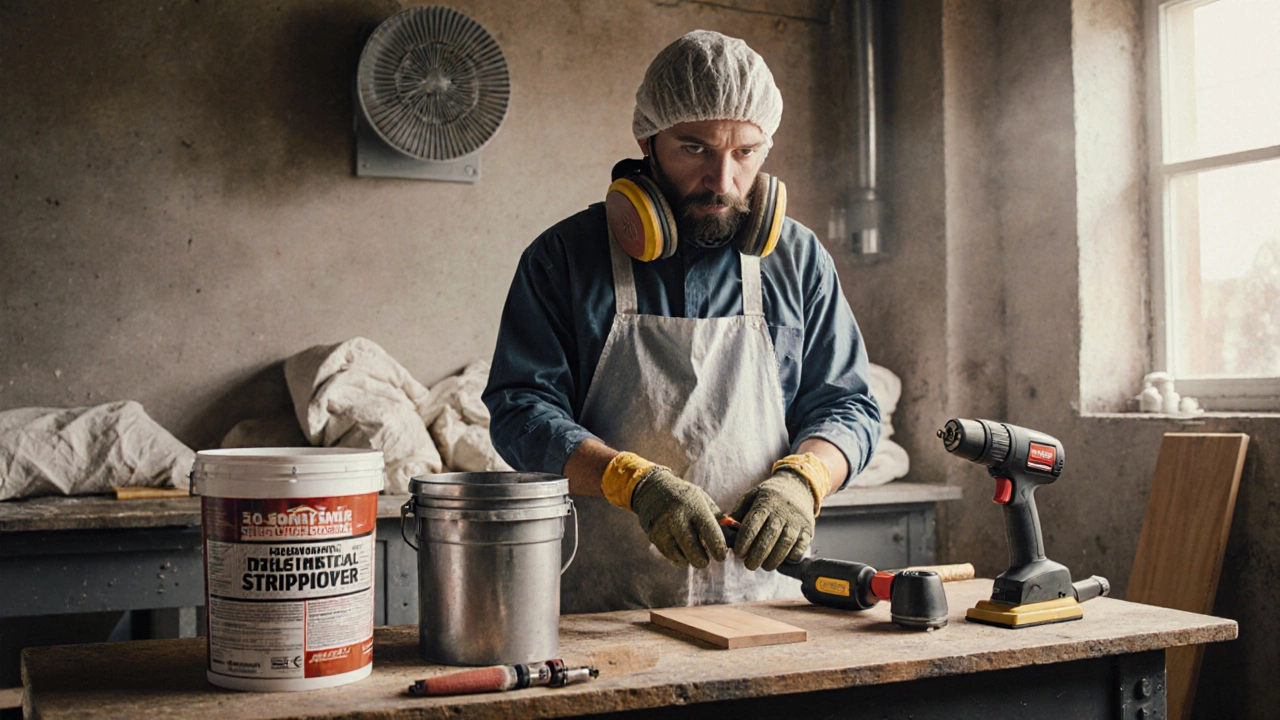
Got a mistake? Stripping can save a piece you love. Use a gentle scraper for soft paint, or a small amount of solvent on a cloth for stubborn layers. Always work in a well‑ventilated area and test on a hidden spot first. Removing only what you need preserves the underlying work and avoids a full redo.
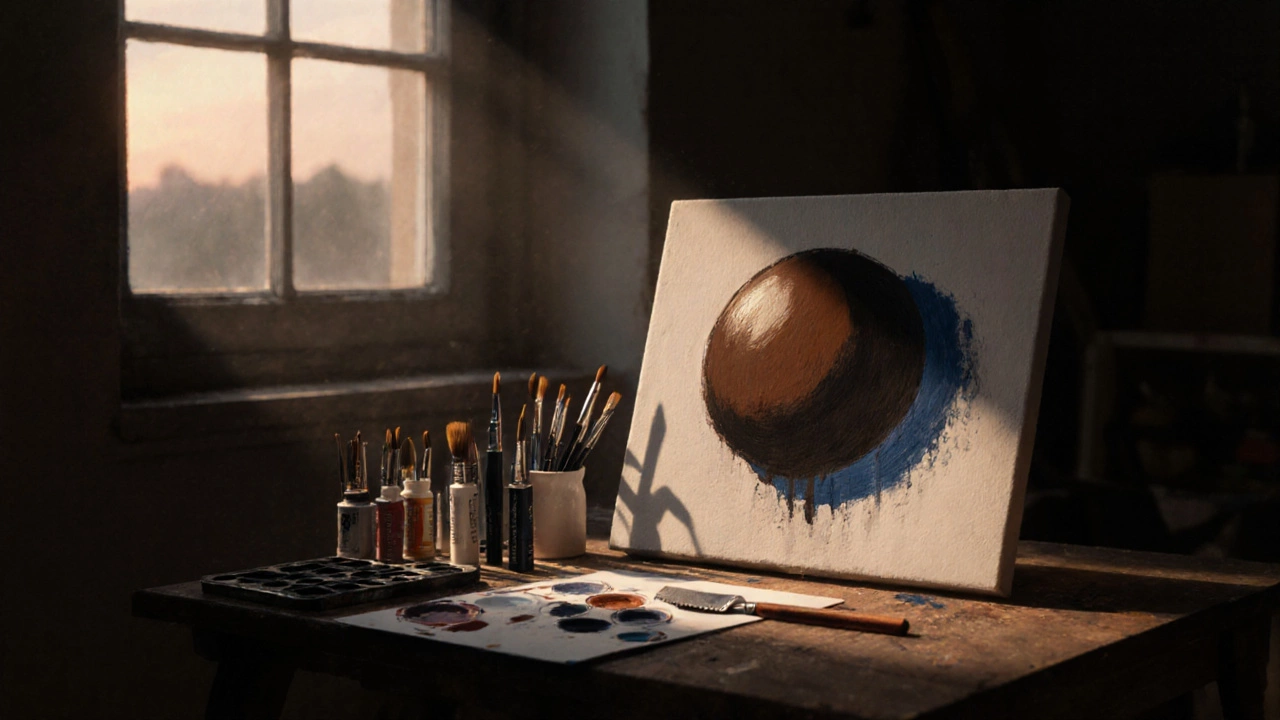
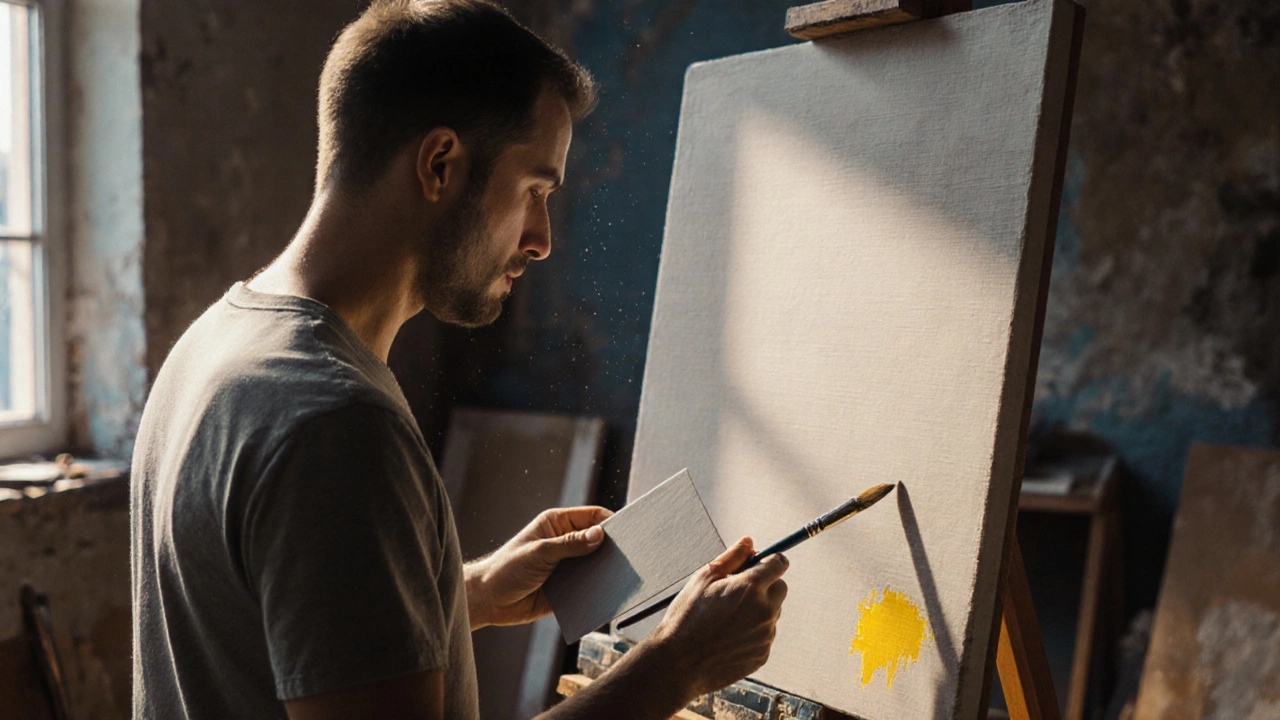
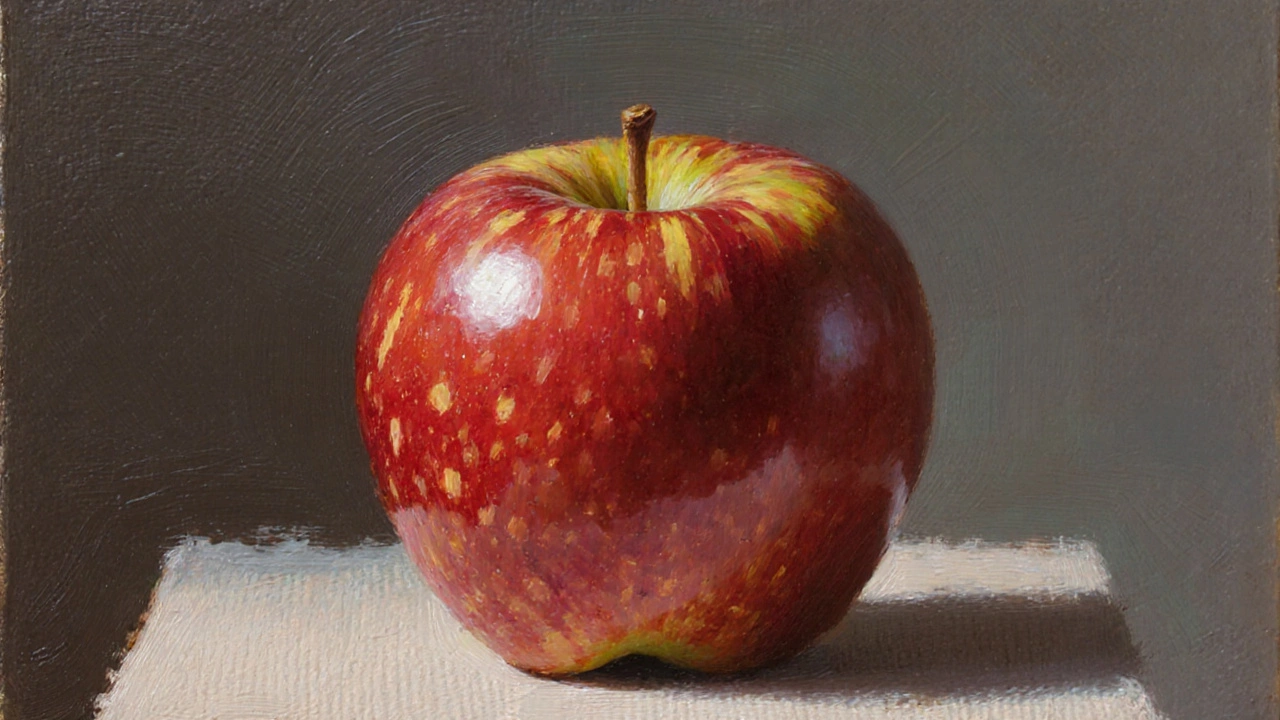
Still life is the easiest subject for beginners. Pick simple objects—an apple, a bottle, a cloth—and arrange them under good light. This setup lets you focus on how oil moves and mixes without worrying about complex forms. Start with a basic sketch, block in broad masses, then add details once the first layer is dry.
Finally, don’t overlook the golden rule of composition: the golden ratio. It’s a natural balance that guides the eye. Place key elements at points like 1/3 or 2/3 of the canvas width, and you’ll notice a more harmonious feel instantly. You don’t need math skills—just a quick visual check while you paint.
All these techniques—canvas prep, medium choice, layering, stripping, still‑life basics, and composition—form a toolkit that any oil painter can rely on. Try one tip today, see how it changes your work, then add another. The more you experiment, the faster you’ll develop your own style.
Ready to explore deeper? Our posts dive into each topic: from activating oil paint with the right solvents, to mastering the Goya technique, and even comparing coconut oil with linseed oil. Pick a article, practice the advice, and watch your paintings improve step by step.