Oil Painting: Tips, Techniques, and Resources
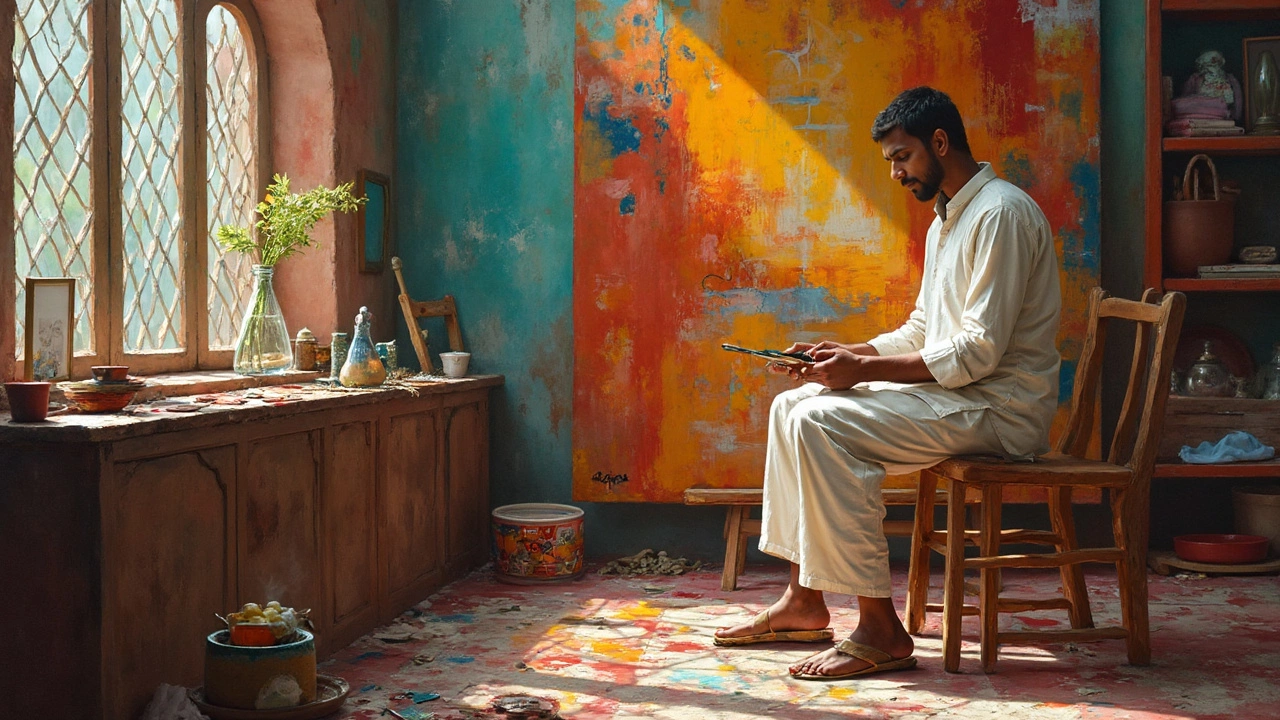
Whether you’re just opening a fresh box of tubes or you’ve been mixing on a palette for years, oil painting still feels magical. The thick, buttery feel, the slow drying time, and the endless color depth make it a favorite for many creators. This page pulls together the most useful advice so you can get practical results fast.
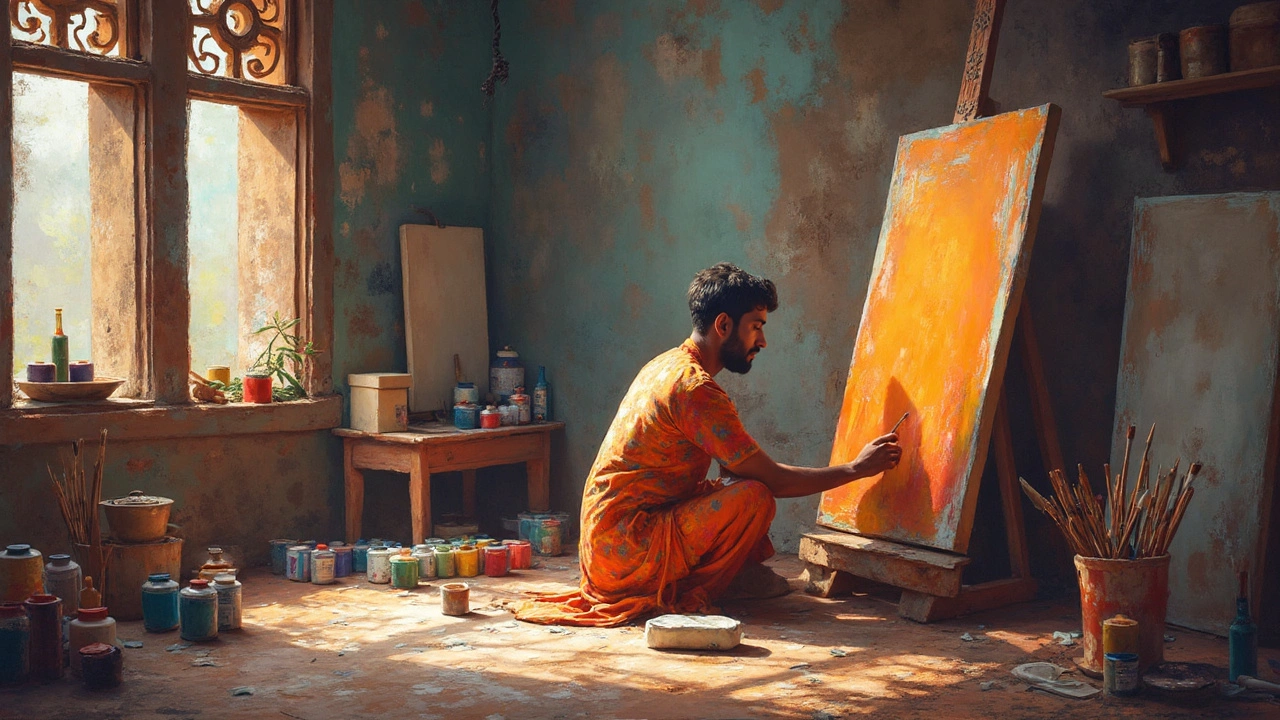
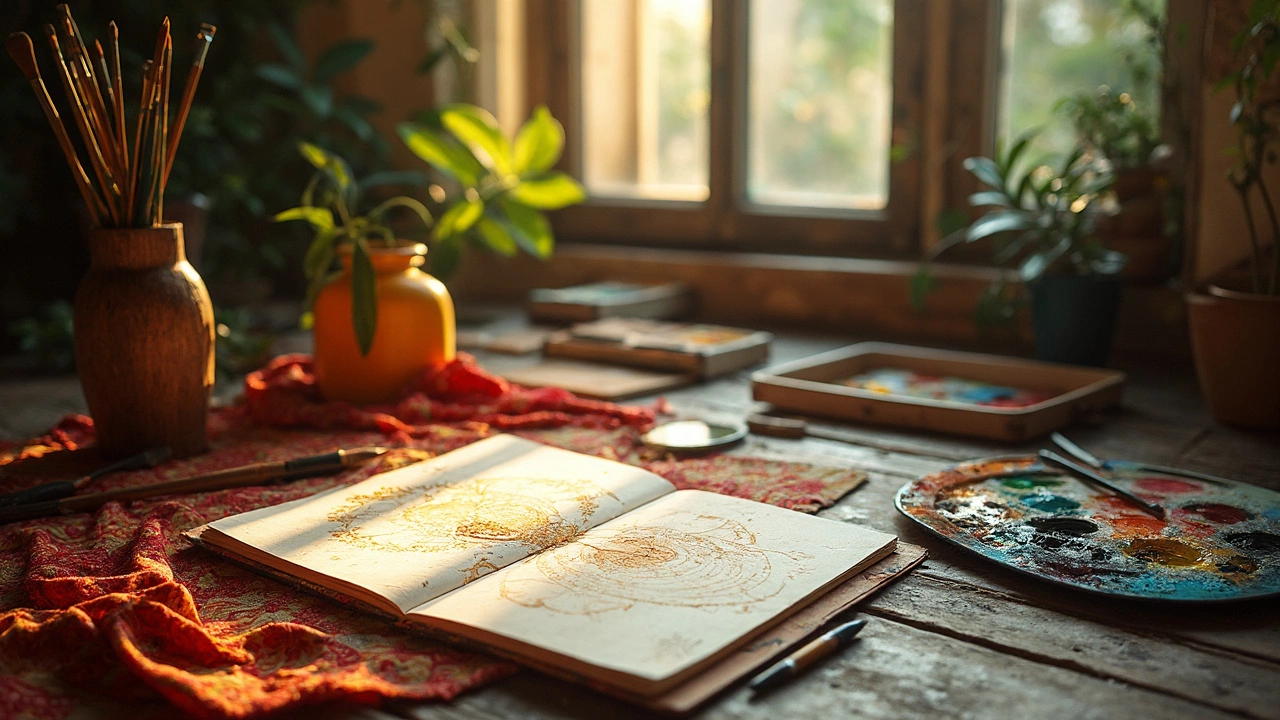
Getting Started with Materials
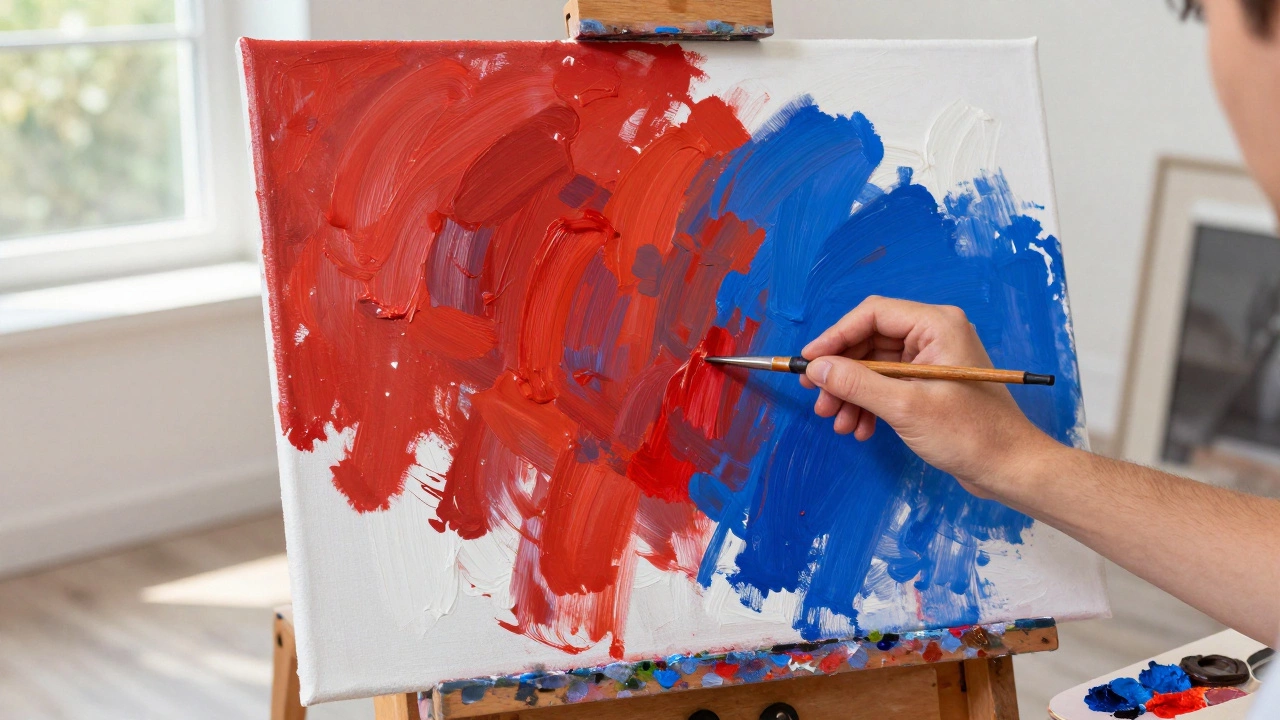
The first thing to sort out is your toolbox. You’ll need quality oil paints – you don’t have to break the bank, but a decent pigment range helps you experiment. Pair that with a few reliable brushes (hog or synthetic works fine), a sturdy canvas or board, and a palette that won’t warp. Don’t forget a solvent – mineral spirits or odor‑free options are common – and a medium like linseed oil or a modern synthetic blend.
If you’re wondering how to activate the paint, the answer is simple: mix a tiny amount of solvent with your paint on the palette, then add a medium to keep the color moving. This combo gives you a smooth flow and prevents the paint from clumping. Too much solvent makes the paint runny, while too much medium can make it gummy, so start with a 1:1 ratio and adjust from there.
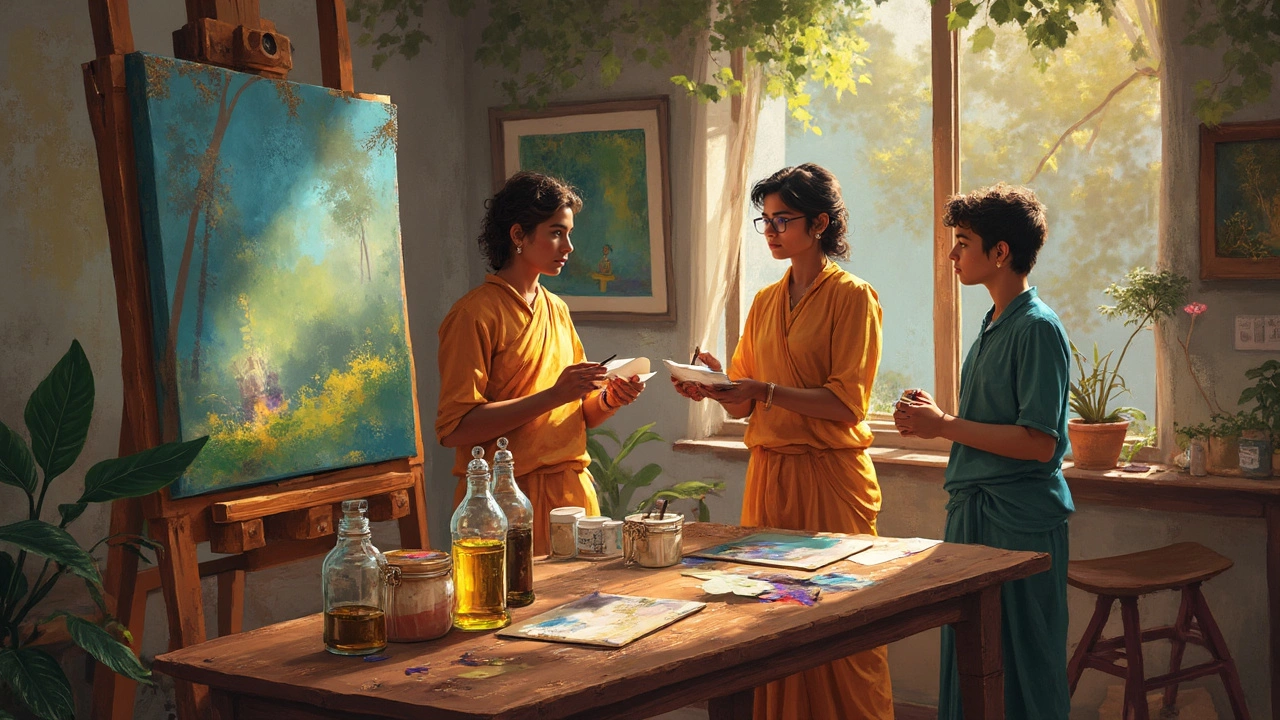
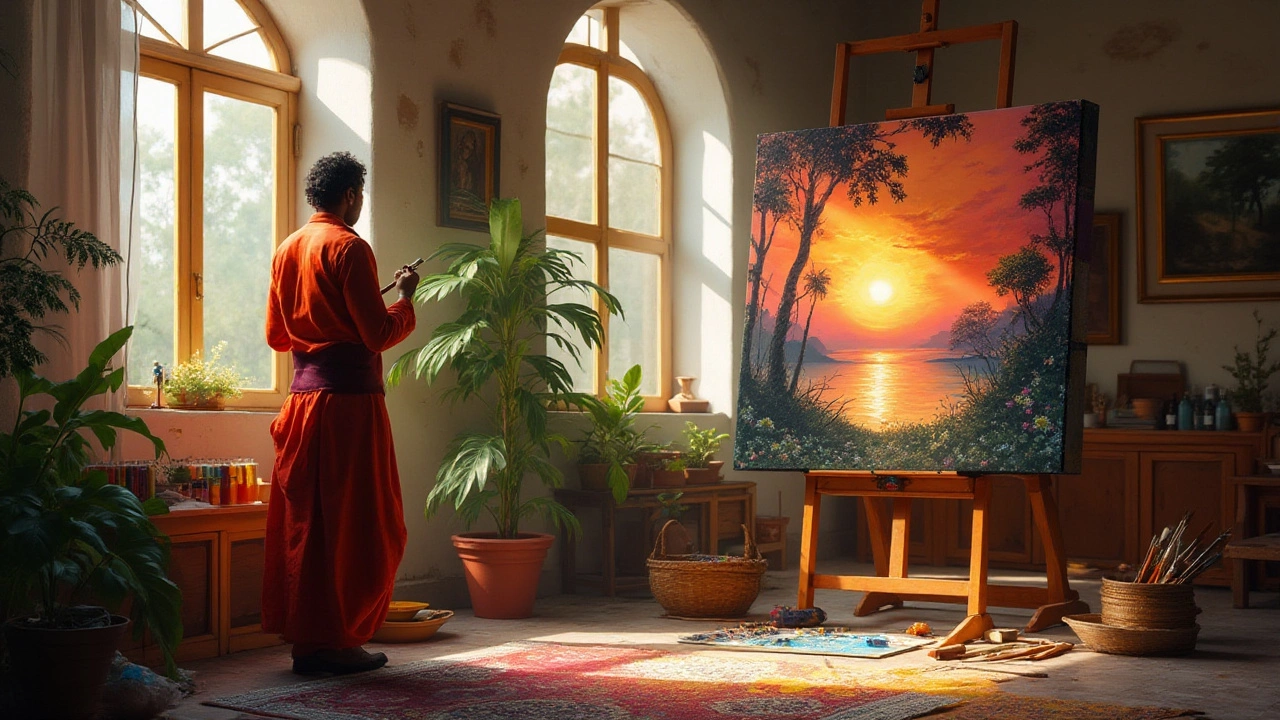
Pro Tips for Better Oil Paintings
One trick many artists swear by is the "golden rule" of composition – basically the golden ratio. Try placing key elements off‑center, at about 1/3 or 2/3 of the canvas width. It creates a natural balance that feels right to the eye, even if you’re not a math whiz.
Brush handling matters, too. Load the brush lightly, then scrape a bit of paint off before you start. This prevents excess paint from flattening your strokes and keeps the texture lively. When you need a smooth blend, work while the paint is still wet; the slower drying time of oil lets you soften edges longer than acrylic.
A common mistake is over‑working a wet area. It’s tempting to keep smoothing, but that can lead to a muddy look. Step back, let a layer dry a bit, then add details on top. This layering technique builds depth and avoids the dreaded “muddy brown” effect.
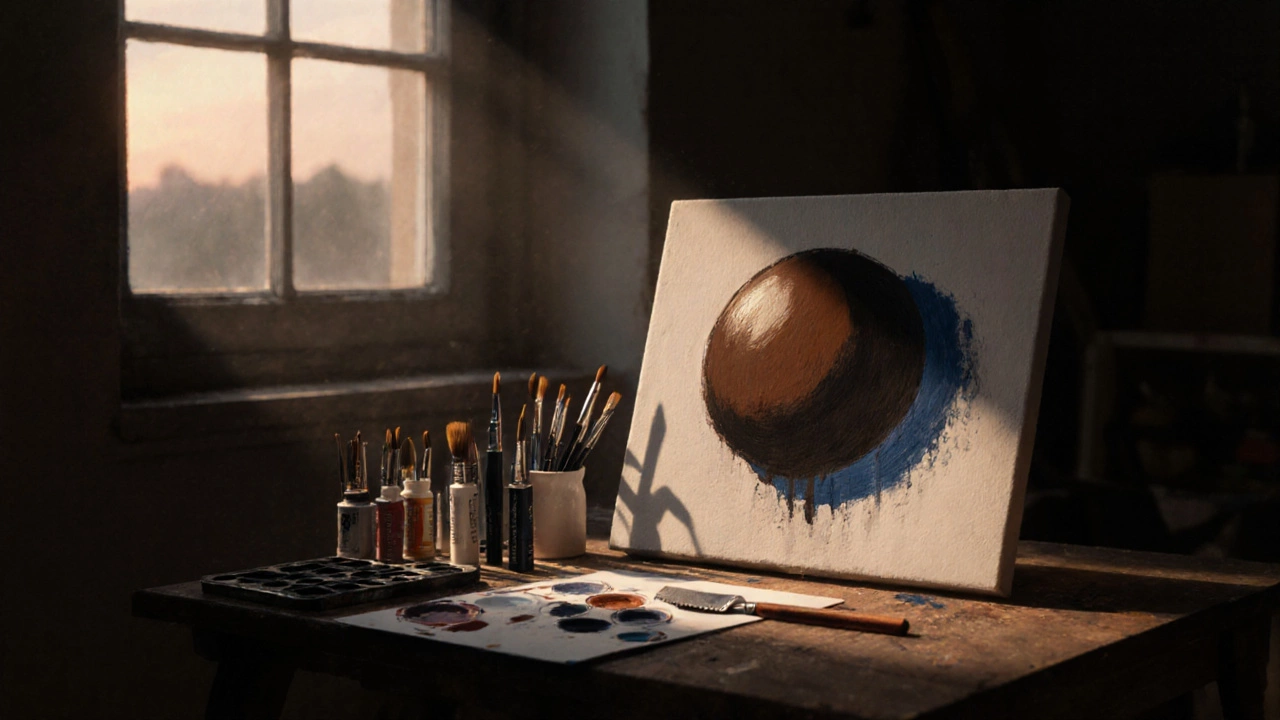
Finishing your piece is just as important as the painting itself. Once the surface feels dry to the touch (usually a few weeks for a medium‑size canvas), apply a thin coat of varnish. Varnish protects the colors from dust and UV light and gives the artwork a unified sheen. Choose a matte or gloss finish based on the look you want.
Still hungry for more? Our site hosts detailed guides on topics like "How to Activate Oil Paint," "Golden Rule in Art," and troubleshooting common painting problems. Dive into those articles for step‑by‑step instructions, product recommendations, and real‑world examples from working artists.
Bottom line: good oil painting starts with solid basics, a bit of experimentation, and a willingness to learn from each canvas. Grab your brushes, mix a fresh palette, and let the buttery texture lead you to your next masterpiece.