Portrait Painting Guide: Tips, Pricing & Lighting Secrets
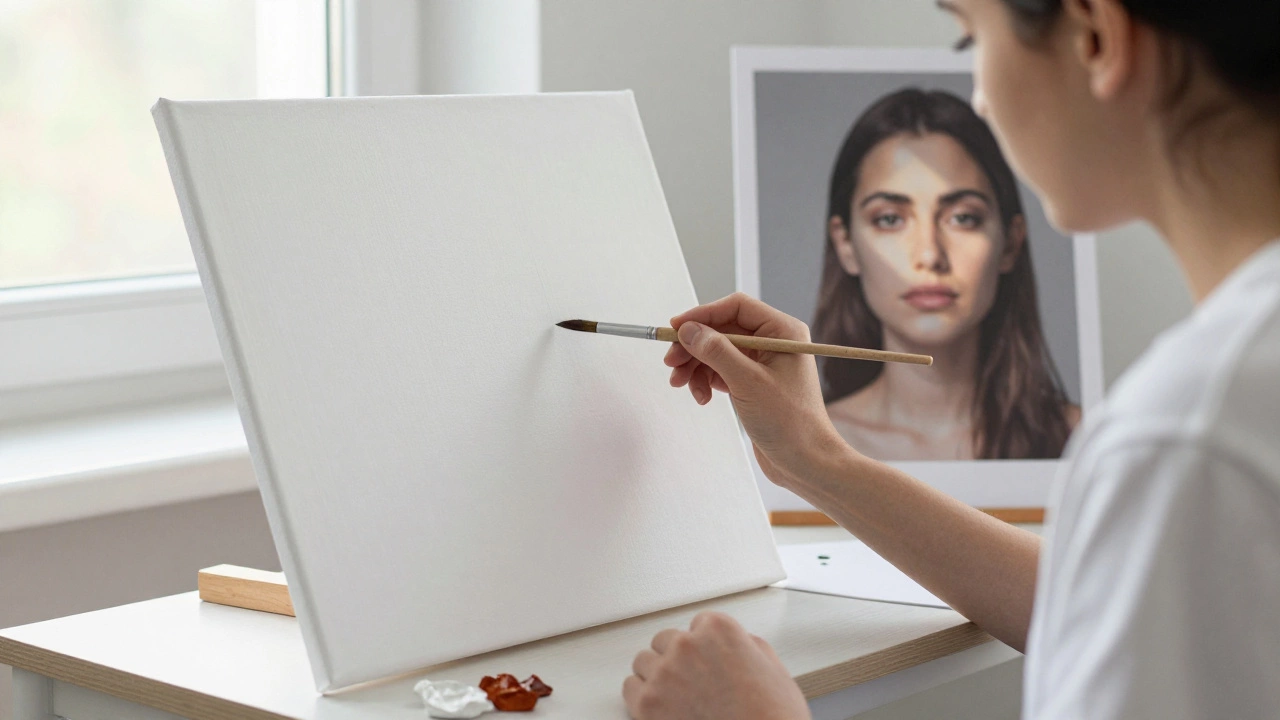
If you’re scrolling through art feeds, you’ve probably seen a portrait that just pops – the colors, the expression, the depth. Wondering how to achieve that yourself? You’re in the right spot. This page pulls together the most useful advice on portrait painting, from how much you should charge to the lighting setups that make faces come alive.
How Much Does a Portrait Cost?
One of the biggest questions new artists face is pricing. There’s no one‑size‑fits‑all answer, but a good rule of thumb is to start with your time, material costs, and a bit of profit margin. If you spend 20 hours on a portrait and charge $30 per hour for labor, that’s $600. Add the price of canvas, paints, and any framing – maybe another $100 – and you end up around $700. Of course, experience matters. A seasoned portraitist can command higher rates because clients trust their skill and reputation.
Another factor is the size and detail level. A small headshot on canvas will cost less than a full‑body, multi‑light study. Think about what the client wants – a quick sketch or a finished oil piece? Adjust your quote accordingly. When you present the price, break it down: "Labor, materials, and finishing." This transparency builds trust and makes it easier for the client to say yes.
Lighting Secrets for Better Portraits
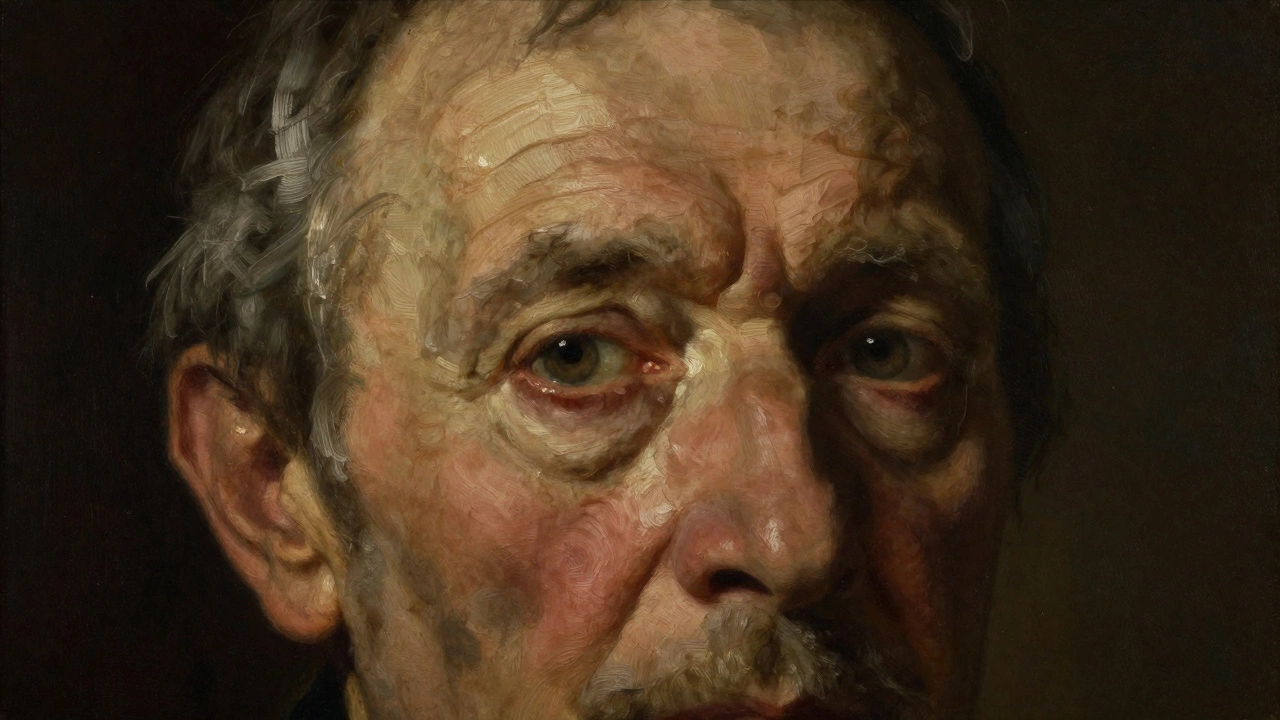
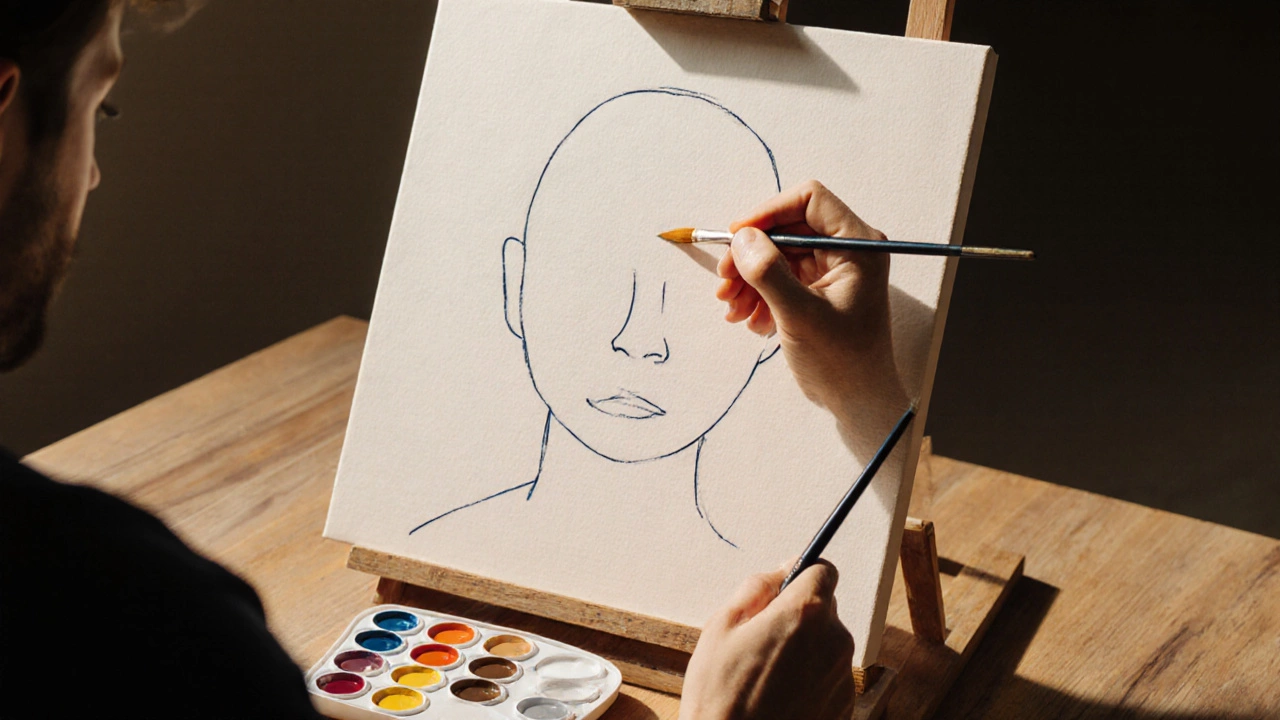
Most people associate three‑point lighting with photography, but painters benefit from the same setup. Place a key light at a 45‑degree angle to the subject’s face. This creates the main shadows and defines the shape of the nose, cheekbones, and chin. Add a fill light opposite the key, but keep it softer – a diffuser or a lower‑intensity lamp works well. The fill light lifts the darkest shadows without flattening the form.
Finally, a back or rim light separates the subject from the background. A small lamp placed behind the model, aimed at the shoulders, adds a subtle edge glow. Even in a tiny studio, you can mimic this look with desk lamps and household bulbs. The key is to test the placement, move the lights a few inches, and watch how the shadows shift. Once you’re happy, sketch the lighting scheme on a scrap piece of paper – it saves time when you start the actual painting.
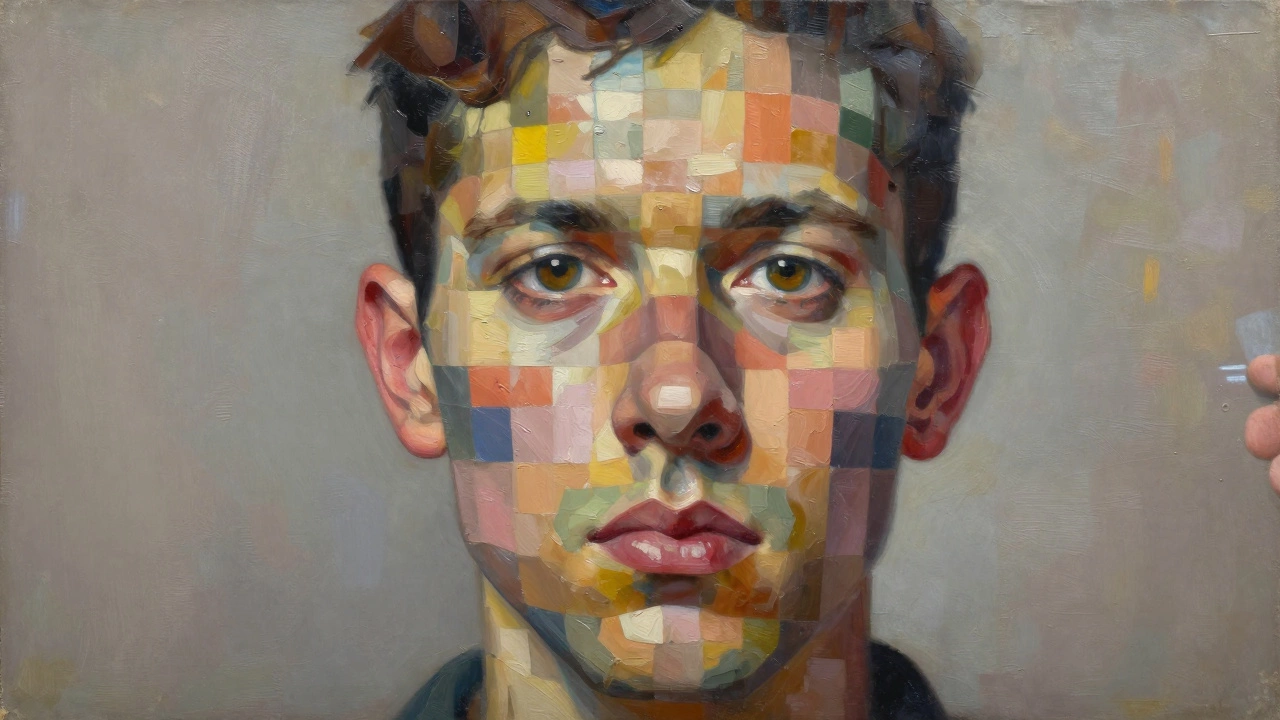
Beyond lighting, composition matters. The classic "1‑3 rule" suggests placing the subject’s eyes about one‑third down from the top of the canvas. This creates a natural balance and gives the viewer a comfortable place to rest their eyes. Pair that with a simple background – a muted color or a blurred texture – and the portrait will stand out without competing for attention.
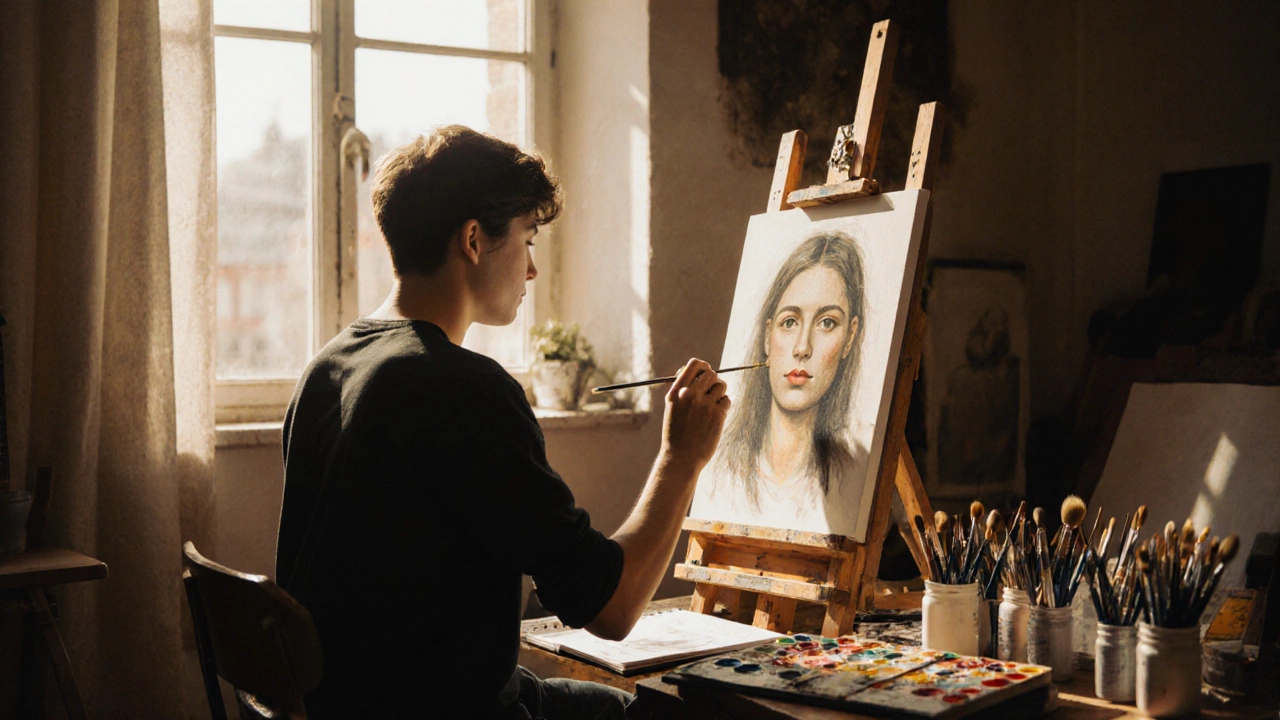
Many artists also wonder if they can turn portrait painting into a steady income. The answer is yes, but it takes extra effort. Build an online portfolio, join local art fairs, and reach out to businesses that need corporate headshots. Offer limited‑time discounts for new clients to get the ball rolling. Word‑of‑mouth spreads fast when people love the way you capture their likeness.
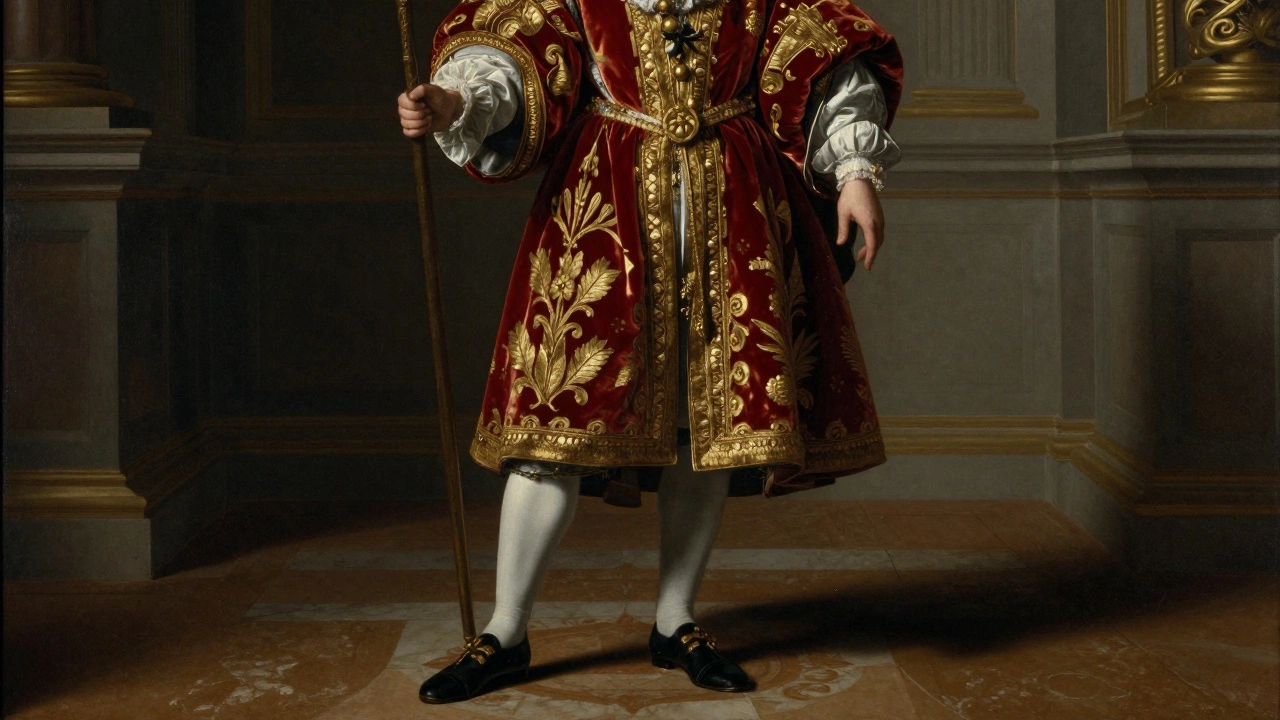
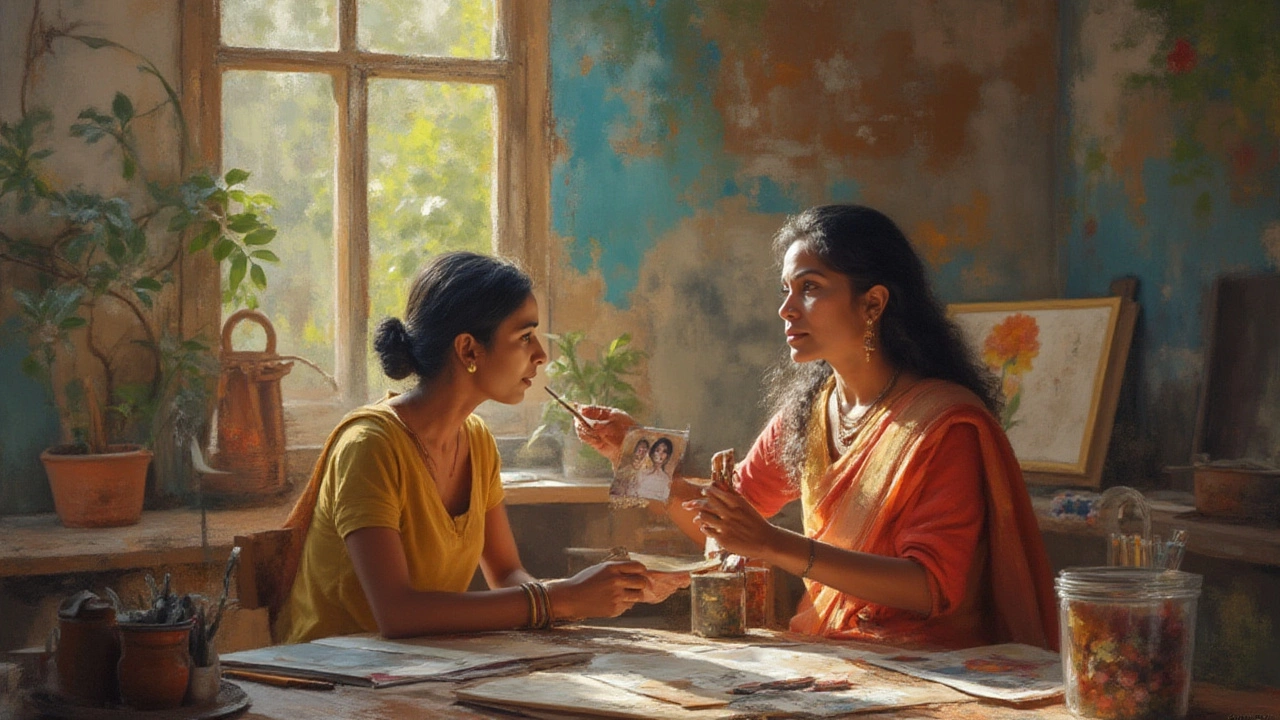
Lastly, remember that every portrait has a story. Whether you’re making someone look slimmer with strategic shading or exploring why historical subjects rarely smiled, your choices shape the narrative. Treat each commission as a partnership – ask the sitter about their personality, favorite colors, or a memorable moment. Those details help you decide lighting, pose, and color palette, turning a simple likeness into a compelling piece of art.
Ready to start your next portrait? Grab your brushes, set up those three lights, decide on your price, and dive in. The more you practice, the sharper your intuition becomes, and soon you’ll be the go‑to artist for anyone who wants a portrait that feels alive.